
How to clean projector screen surfaces safely depends on the material and its care instructions. Remove dust with its approved soft tool. Use water or soap only where permitted, follow any wiping direction, and stop if damage or a stubborn mark remains.
What should you identify before cleaning a projector screen?
The screen material, its viewing side and the kind of mark. Find the fabric name on the order, manual, product label or installer record; a frame’s model name can cover several surface options.
| Surface or situation | Useful starting decision | Detail to establish |
|---|---|---|
| Washable matte-white or grey material | Consider its documented water or mild-soap method | Whether the instructions call for wiping, blotting, rinsing or drying |
| ALR or CLR optical surface | Find the exact material’s care route | Directional structure, permitted cloth and cleaning action |
| Older glass-beaded material | Identify the original material before wet cleaning | Whether care is limited to gentle dry dusting |
| Woven or perforated acoustic material | Check the named fabric’s method | Care of openings, backing and drying before storage |
| Rear-projection surface | Identify which side needs cleaning | The actual material and front/back instructions |
| Unknown or damaged surface | Collect identification and condition photos | Whether cleaning is appropriate at all |
Even within one brand, care differs by material: the Elite Screens general care FAQ treats its specialty surfaces separately. A grey color or a plastic-looking backing won’t tell you which cleaner is allowed.
Then name the mark. Loose dust sits on top; a fingerprint may need a permitted damp method; a cut or crease is physical damage. Photograph the spot before you touch it, so you can compare the result afterwards.
How should you prepare the screen and remove loose dust?
Keep the screen steady and lift loose dust with the soft brush or cloth its material allows. Do this before you treat a stain. Keep hard tool edges, fingernails and dirty cloths off the viewing area.
Put the screen in the position its manual describes, and leave a retractable screen hanging on its normal mechanism. If a large or ceiling-height screen is hard to reach, let the installer handle it. Leaning across a flexible surface makes your touch harder to control.
Use clean, soft tools. Also keep the ones for the frame apart from the ones for the picture area. A cloth that has wiped a shelf or frame carries grit and cleaner. So put it aside and start with a fresh one.
Stewart Filmscreen’s current cleaning guidance describes light dusting with a soft brush and warns against touching the screen with the brush body or stiff bristles. Work lightly and watch the surface. Stop if the brush drags or catches.
Treat air tools as a material-specific option. A pressure setting for one screen won’t tell you what an unknown fabric can take. Start with dusting you can control, and keep blowers away unless the screen’s instructions call for one.
How should you clean a washable matte-white or grey screen?
With water first, if the material allows it, and its approved mild-soap method only if the dirt needs more. Wet cleaning also includes the rinse and drying steps for that material.
Draper’s current care sheet is a good worked example: for OptiView Matt White XT1000E and Contrast Grey XH800E it permits warm water or diluted mild dishwashing liquid, gentle wiping, a clear-water rinse and blot drying. Compare that route with your own material’s instructions.
- Put the permitted water or solution on the cloth, keeping it damp enough for controlled contact.
- Work on a small accessible area with the action described for that material.
- Lift the dirt gently, keeping the cloth’s contact face clean.
- Remove cleaner residue with the prescribed clear-water step.
- Dry the screen as specified before you retract or store it.
Work in small areas so you can see the surface and control where moisture goes. Reload the cloth away from the screen. When the cloth picks up visible dirt, turn it to a clean face or replace it.
Da-Lite’s new HD Progressive surface portfolio, announced in 2025, also allows mild soap.
How should you clean an ALR or CLR screen?
With the named material’s method, in its specified direction and with its contact action. ALR describes what the surface does optically; it is not a cleaning procedure.
StarBright CLR, CLR 3 and CLR 5 have a horizontal linear structure, so the Elite Screens material-care sheet calls for gentle left-to-right strokes with the permitted soft tool and a lightly moistened cloth. Vertical and circular wiping are excluded for those materials. CLR 2 also uses horizontal strokes but has its own cleaner wording.
Match the material name before you follow that example. Another ALR surface may call for gentle blotting instead. Also read the contact instruction as closely as the liquid instruction: the same cloth behaves very differently dragged across a texture and pressed gently onto a spot.
Keep pressure light and check the area as you go. If a mark won’t shift, stop and ask for material-specific help; more pressure or a different direction can damage the surface you are trying to save.
If the screen came without a material name, ask the seller or installer to identify it before any wet cleaning. In addition, send a photo of the label and the affected area. A close-up of the texture helps, but the purchase record is what identifies the grade.
What should you use for fingerprints or sticky stains?
Clear water first, applied the way your material’s care sheet says. Move to a named cleaner only if that document links it to your material.
For its listed TecVision surfaces, including XH800X ALR, Draper’s 2024 care sheet says to blot gently with a lint-free microfiber cloth dampened with clear water. For a stubborn or sticky mark, it permits equal parts Formula 409 and warm water on the cloth, then blotting and its compressed-air drying step. That recipe belongs to those TecVision materials only.
When you ask for help, say what hit the screen: a fingerprint, a food splash, adhesive, ink or something unknown. That helps the maker tell a deposit from a mark that rubbing would make worse.
Don’t repeat the attempt just because the area looks different while it’s damp. Finish the residue-removal and drying steps first. If a dry mark is still there, note how it looks and what you used, then ask for the next step.
However, paint, ink and scratches can survive cleaning. Keep the stain description, the material name and your earlier attempts together when you contact the supplier.
How should you remove residue and dry the screen?
Finish the material’s rinse or residue-removal step, then its drying method, before you judge the result. A damp patch or leftover cleaner can make unfinished cleaning look like permanent damage.
Use a fresh clean face of the cloth for residue. Otherwise, the dirty face puts the deposit and the cleaner straight back on the picture. Take care around edges, perforations and the bottom of the screen, where liquid can run into the construction.
Drying instructions differ, too. The OptiView route above uses blot drying. But Stewart’s general guidance lets remaining watermarks evaporate and advises against wiping them dry. Use the drying step that comes with your material’s procedure.
Once dry, look at the screen under ordinary room light, then project a plain image at your usual settings. Check the treated spot for deposits, streaks or a change in sheen.
If the residue is gone and the image looks even, you’re done. If the mark is stable but still visible, photograph it and ask for advice. Stop rubbing at that point.
Which tools and maintenance habits help prevent damage?
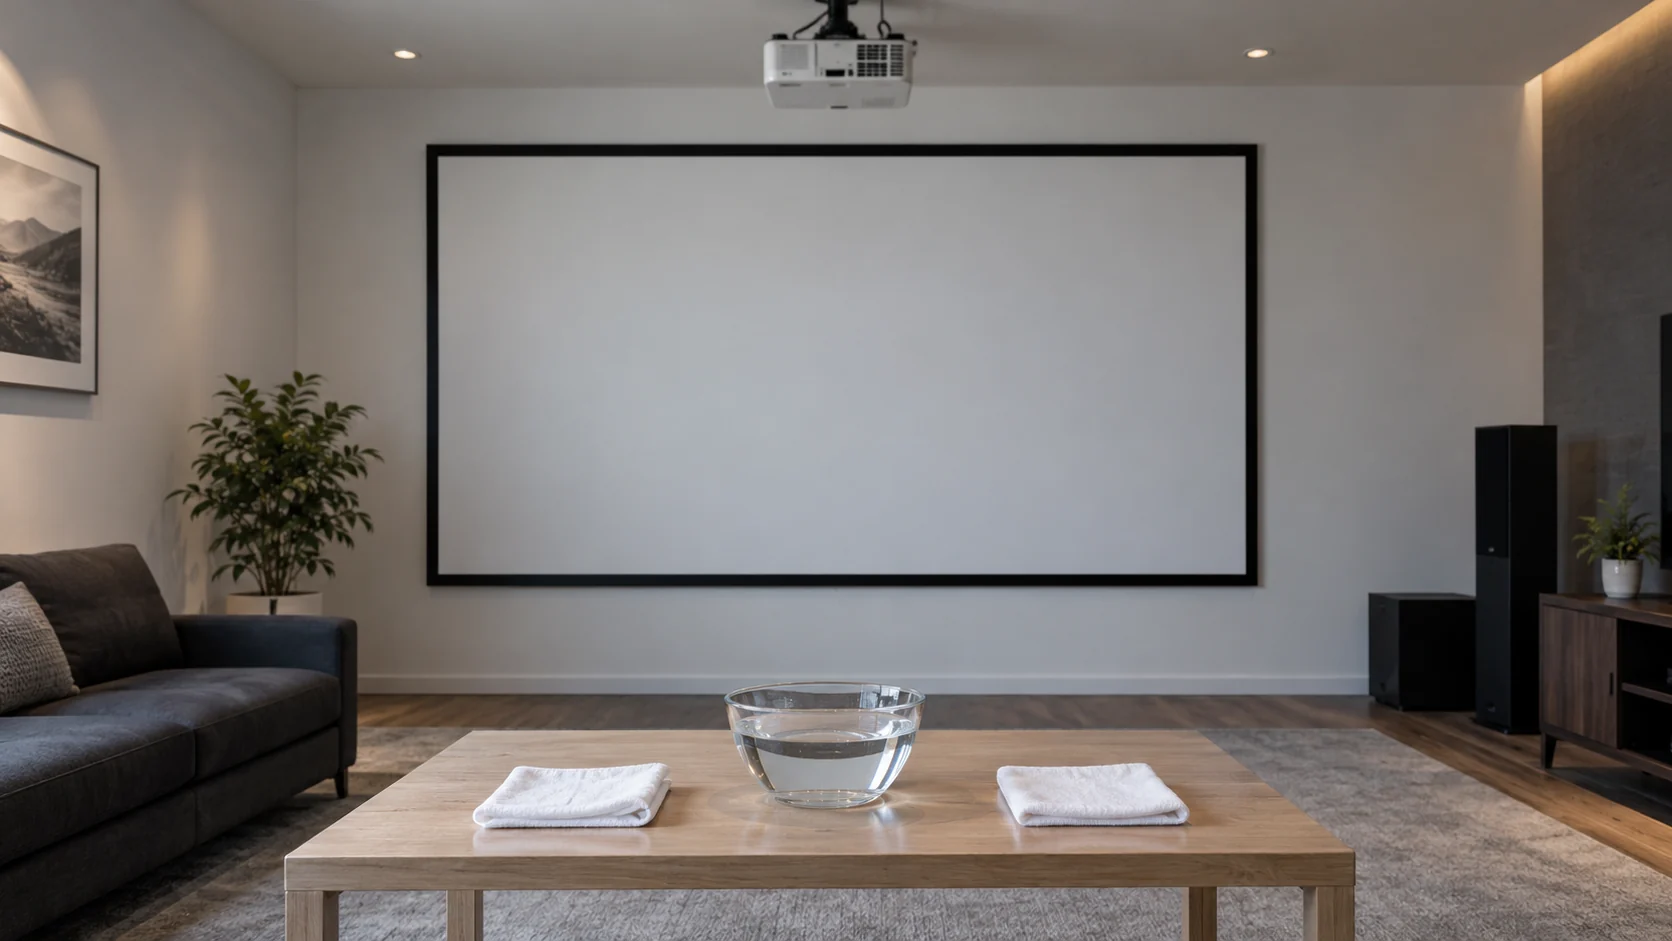
The best habit is touching the viewing face as little as possible, and using cleaners, brushes and air tools only on surfaces they are meant for. Clean when you can see dirt in the picture, not on a vigorous schedule.
| Tempting shortcut | Better decision | Reason to pause |
|---|---|---|
| Cleaning the screen with a household dust mop | Use the material’s specified soft tool | Mop fibers, hard edges or carried residue may be unsuitable |
| Spraying a cleaner across the picture area | Apply it to the permitted cloth when the procedure requires this | Runs and uncontrolled wetting can leave uneven treatment |
| Scrubbing a persistent mark | Finish the permitted sequence and request help | Added abrasion can change the optical face |
| Using alcohol because another screen permits it | Check the exact material’s chemistry restrictions | Specialty surfaces have different permissions |
| Rolling or packing a damp screen | Complete the documented drying process first | Moisture and debris become enclosed with the surface |
Handle the screen away from the image area where you can. A portable or retractable screen needs a quick check before it goes away. The Yard Master Wireless guide, revised in 2024, tells users to look for insects, sharp objects and foreign material before retracting or storing it. Check after a backyard movie night.
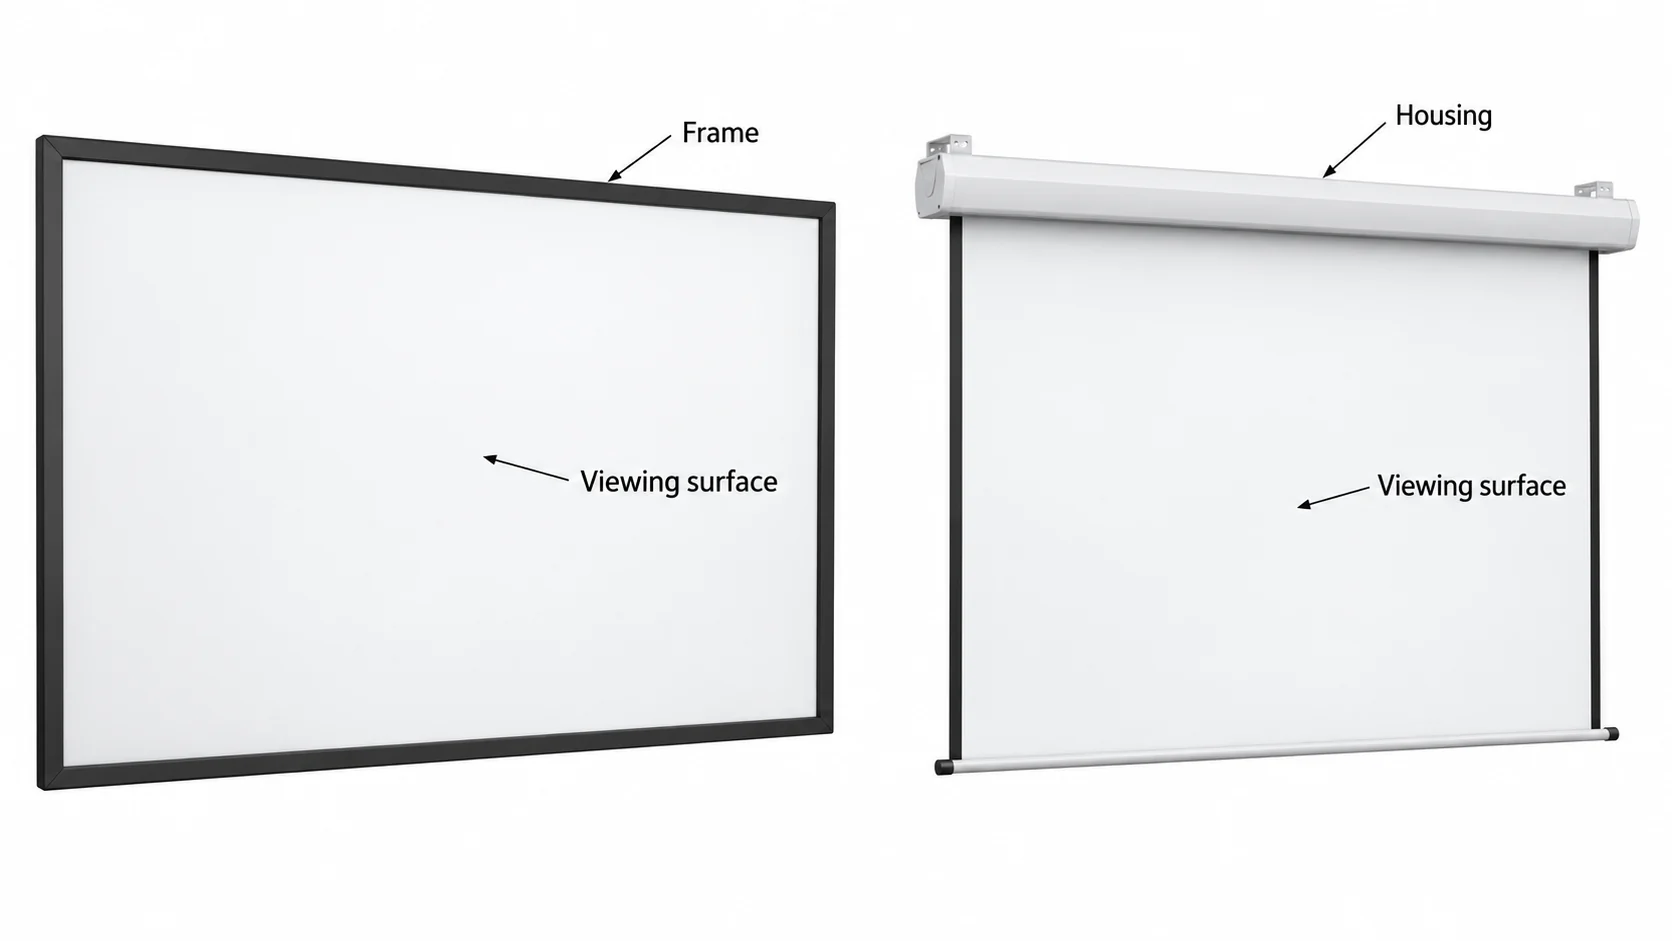
Clean the frame and the viewing material separately. A method that suits the frame’s finish may harm the optical surface. Put frame tools away before you return to the picture area. Keep liquid away from the mechanism and electrics.
When should you repair or replace the screen instead?
When the problem is a tear, lasting optical damage or a physical defect that permitted cleaning can’t fix. Cleaning removes deposits; a damaged shape or missing coating calls for repair or replacement.
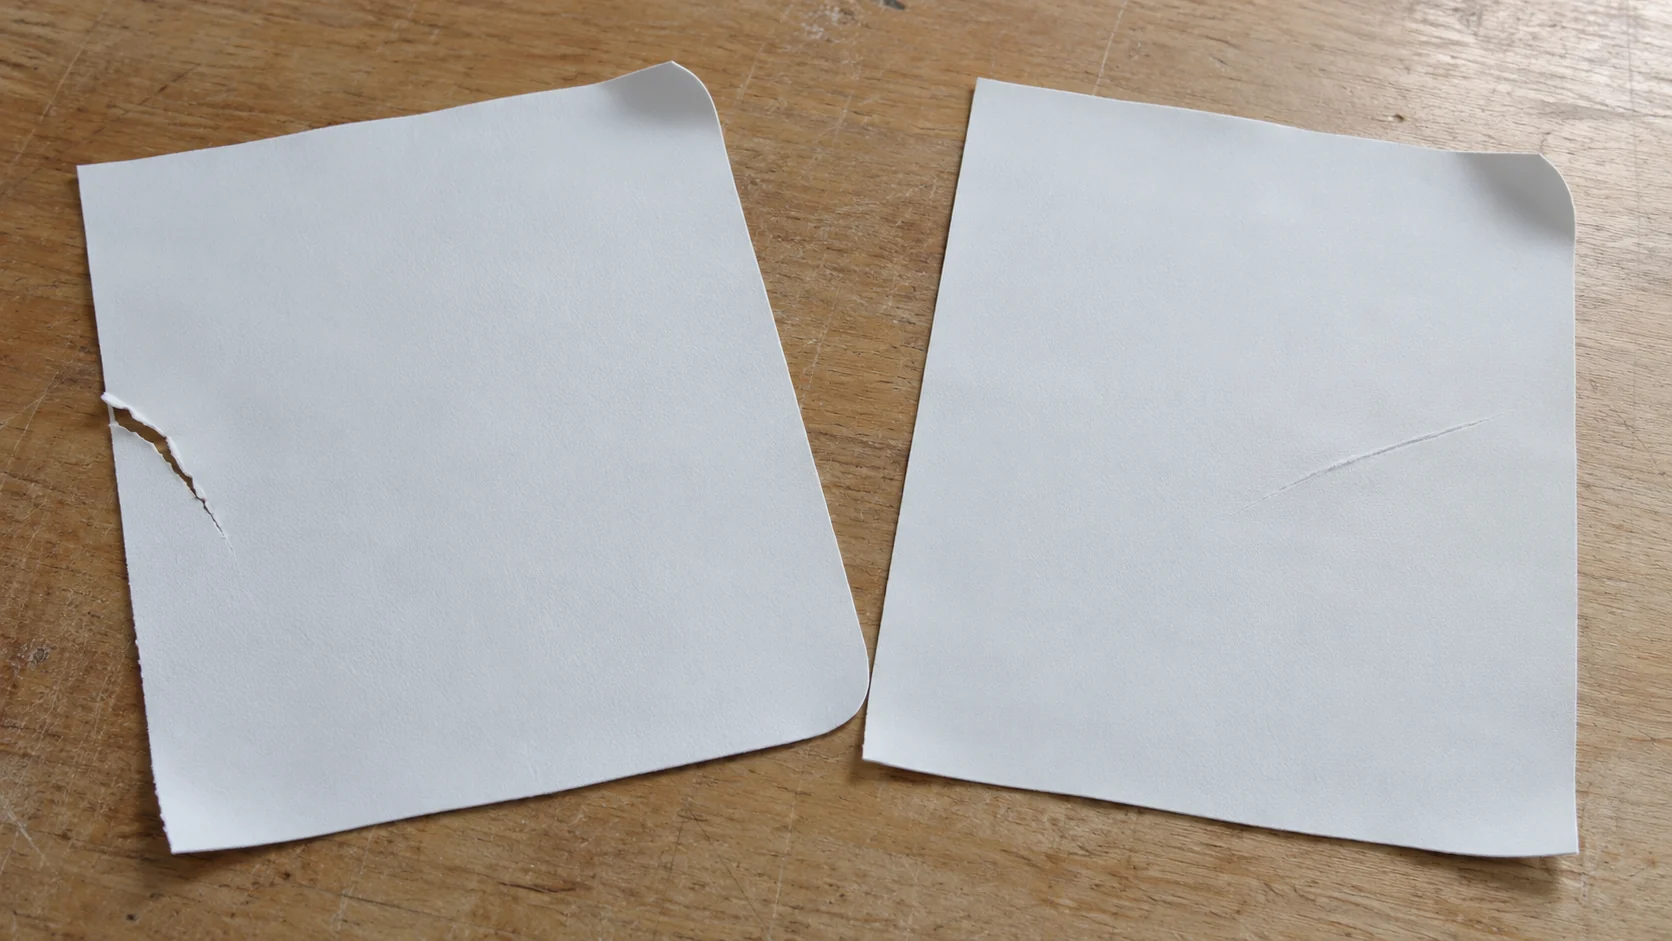
For example, a tear has a visible edge or opening. A crease changes the shape of the surface. A scratch stays visible in the same spot after dusting. Record these without poking at them, and ask the screen supplier whether the viewing material can be replaced in the existing frame.
Check what a quote covers. A replacement fabric, a new framed screen and a separate optical film are different purchases. Find out whether the frame, tensioning, roller or mounting can stay before you pick the cheapest material on the list.
Ask the screen builder what fits your installed screen. A film supplier explains the proposed face and how it comes to you. Keep those roles clear when the screen and its parts came from different companies.
Our company overview shows which material-supply and processing work we cover, useful when you compare a replacement face with a complete screen.
What should screen builders specify when sourcing replacement film?
The optical face, projection layout, dimensions, mounting construction and care evidence, all in one order. Include the care routine in the sample discussion as well as image quality and fit.
| Item | What to specify | Why it belongs in the order |
|---|---|---|
| Material identity | Exact face and supplied grade | Connects the optical trial and care document to the component |
| Projection layout | Front or rear projection and intended projector arrangement | Establishes which material route is being evaluated |
| Geometry | Finished image dimensions and required edge allowance | Defines the supplied piece and assembly interface |
| Delivered component | Film, replacement fabric, finished screen or other agreed format | Defines who completes the mounting work |
| Care evidence | Permitted cleaner, tool, motion, residue removal and drying | Supports the actual maintenance routine |
| Sample assessment | Appearance before and after the proposed care procedure | Checks the proposed combination on a representative sample |
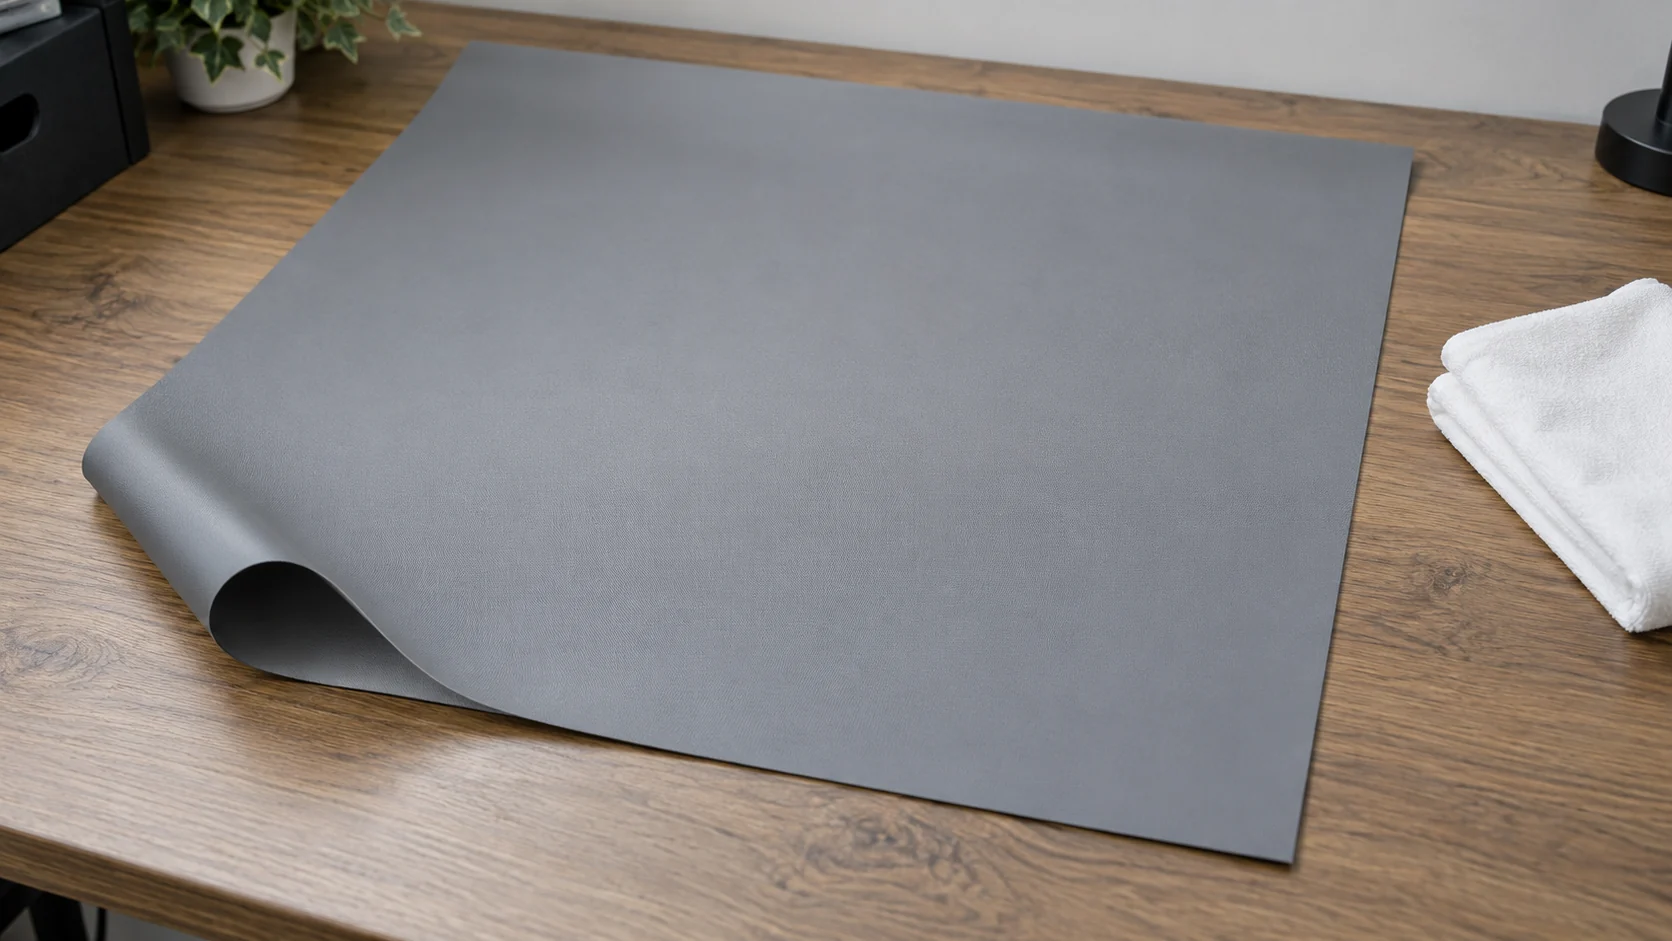
Puremorfilm supplies a front-projection screen film with a silicone functional surface. It is delivered in one piece without adhesive, so the screen builder decides the frame, tensioning and mounting. The silicone surface is inherently flame-retardant, with higher grades up to UL 94 V-0 on request, and the film uses a No DOP formulation. In the manufacturer’s laboratory tests, coffee and red wine left on the surface for 24 hours at 25°C wiped off with no obvious change, which matters for a screen in a home theater where drinks are close by. Standard samples ship within 3 days.
To open a replacement-material discussion, send the screen dimensions, intended mounting and care needs through our material enquiry. The projection screen film page has the supply details.
What should you do after cleaning or choosing a replacement?
Stop once permitted cleaning leaves a dry, even surface, and keep the material name with its care instructions. If a defect remains, take your photos and cleaning history into the service or replacement discussion.
- Keep the existing surface when permitted cleaning clears the deposit and the image remains even.
- Request a service assessment when a tear, crease, or persistent changed area remains.
- Confirm a compatible replacement surface and mounting arrangement before ordering new material.
For a new screen face, our front-projection film is a separate material route for builders to evaluate. It is a new paint-free material with a silicone functional surface, distinct from PVC, melamine, PP and PETG decorative surfaces.
For a material enquiry, contact us with the screen dimensions, projector layout and intended construction.
Frequently Asked Questions
How do I clean my ALR screen?
Wipe horizontally or blot gently, whichever the named material’s instructions specify, with its permitted soft cloth. Some CLR surfaces need horizontal wiping; other ALR materials use blotting.
Can outdoor projector screens get wet?
Yes, within the exposure the outdoor model is built for. Elite’s Yard Master Wireless guide says to disconnect power in heavy rain, wind, thunder or lightning.
Can I use soap and water to clean a projector screen?
Yes, if the material’s care instructions allow it. Use the gentle action they describe, remove the residue and dry it as specified.
Can I use a stronger cleaning agent for screen stains?
Yes, but only a cleaner the exact material’s instructions approve; Draper’s listed TecVision materials permit their named diluted cleaner for stubborn marks. A stronger product can damage an optical coating.
Can a torn projector screen be repaired?
No, for the torn materials covered by Elite’s care sheet; the remedy is replacement. Ask the screen supplier whether the frame or mechanism can stay with a compatible replacement.