
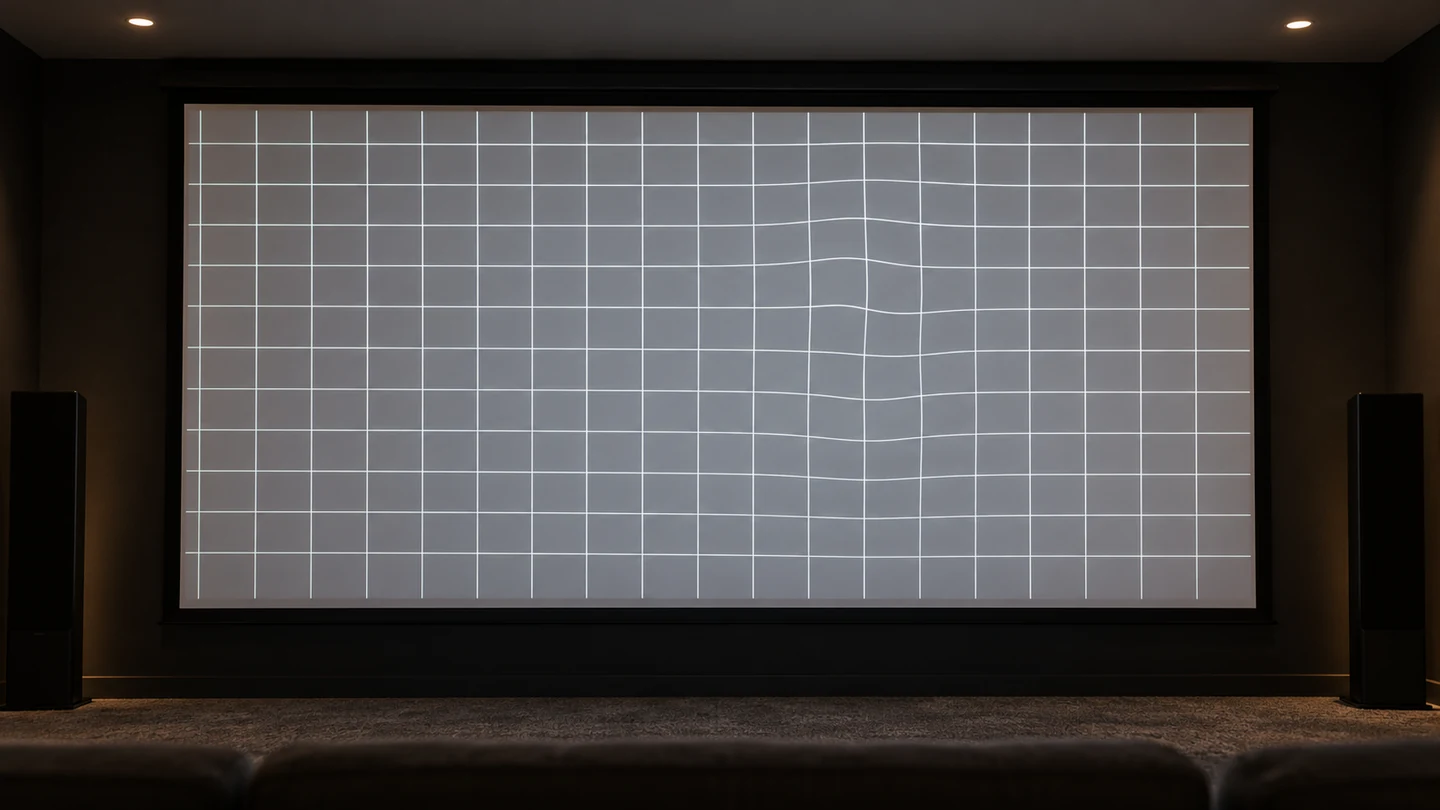
Projector screen wrinkles need a fix matched to the screen’s construction and material: a non-tensioned pull-down, a tab-tensioned retractable screen, a fixed frame and a taped, joined surface each call for a different first step. Heat is only an option where the exact material’s maker permits it: the Yard Master 2 hairdryer instructions specify about 3 feet, and the CineGrey 5D Designer Cut instructions about 1 foot. Each distance belongs only to its own procedure.
So first tell a storage imprint from an installation problem or damaged material, and record what the projected image shows, before you change tension or apply heat.
What causes wrinkles and waves in a projector screen?
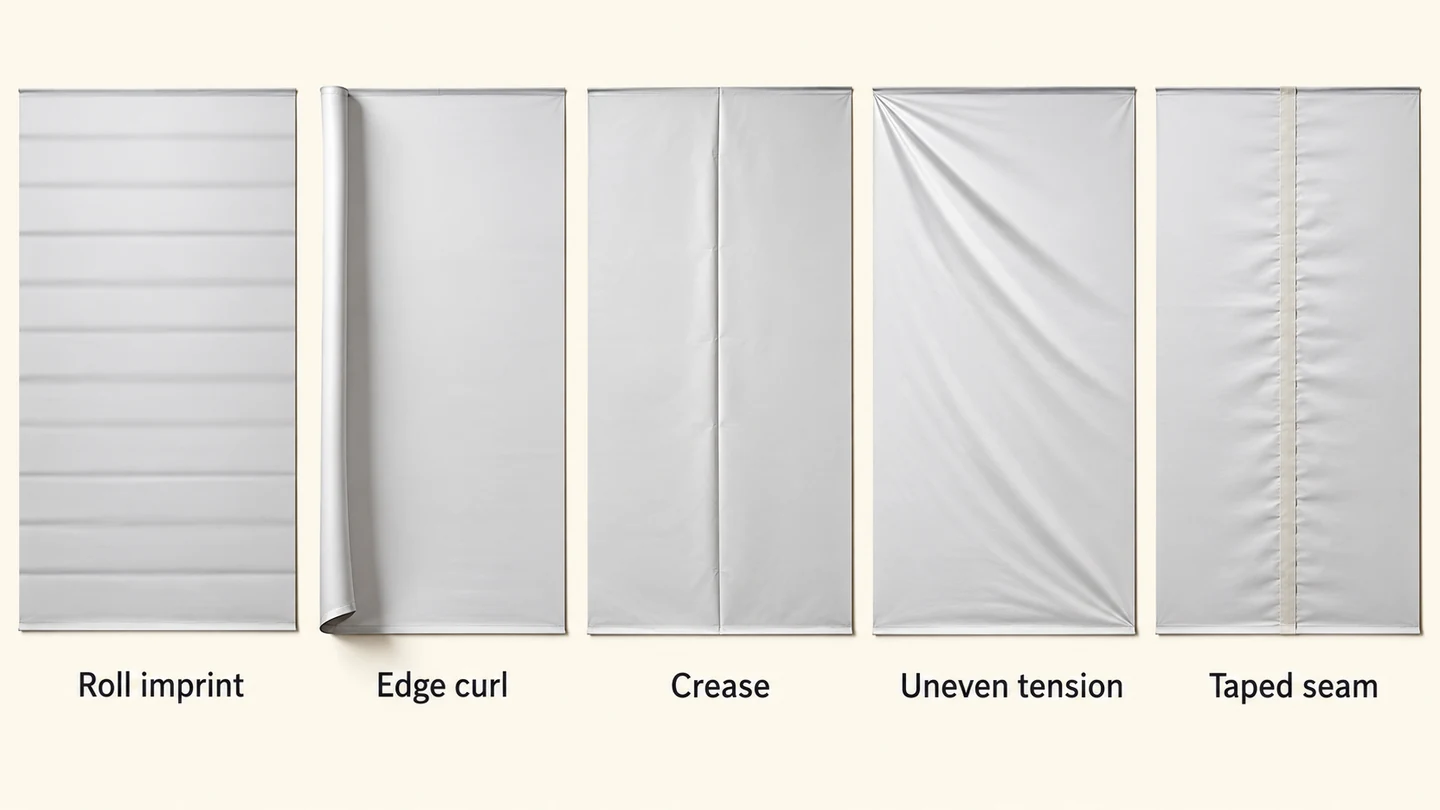
Storage, temperature changes, assembly and tension can all affect a screen’s shape. The pattern you see tells you what to inspect first, but not, on its own, the single cause.
PVC screens are a good example. ShowTex’s April 10, 2025 care guidance says its PVC screens stiffen in the cold and soften when warm, and unfolding one before it has acclimatized can leave permanent folds or cracks. It gives a transport and storage range of 5–30°C with relative humidity below 80% for those screens.
| Pattern | Possibility to investigate | First check |
|---|---|---|
| Repeated horizontal lines | Rolled-storage imprints | Material and storage instructions |
| Curled side edges | Temperature or non-tensioned construction | Model, room conditions and deployment |
| Sharp shipping crease | Folded packing or local deformation | Manufacturer’s unpacking and repair route |
| Diagonal or corner wrinkle | Frame assembly or uneven tension | Square assembly and correct attachments |
| Wrinkle following a taped join | Joint, tape or joined-material behavior | Construction and storage history |
| Local fold or crack | Physical damage | Photograph and obtain a service assessment |
The screen cleaning guide covers dirt and marks; cleaning cannot straighten a deformed mounting or a badly assembled frame.
Is a wave visible only with the lights on a defect?
Not automatically: judge it against the viewing conditions the screen was bought for and the maker’s own criteria, because a dark-room check and a lights-on room can reveal different problems.
Epson’s troubleshooting guidance includes checking that the projection surface is flat and trying another surface, which can help check whether the distortion follows the screen. Record a plain test image and a camera pan, with the projector position and viewing distance.
Elite gives one maker’s yardstick for its matte-white non-tensioned screens. Its official wave FAQ checks projected content with the lights off from a distance equal to the screen diagonal; for a 120-inch screen, that is 10 feet. That is its criterion for that screen category, not an acceptance standard for every screen.
If you bought the screen for lights-on viewing or a UST projector, document those conditions too, and send the supplier both a raking-light photo of the wave and the projected-image evidence.
What should you check on a non-tensioned pull-down screen?
On an Elite Manual B, follow its documented route for rolled-memory lines and cold-related side curl, and do not assume the same advice fits every manual or motorized screen.
The Manual B manual, revision V04182026LY, treats roll-storage memory lines as correctable, links side curl on its non-tensioned surface to low temperature, and recommends leaving the installed screen lowered for a few days in a warm room. That is a starting point for that model, not a universal waiting period.
Check the manual revision, intended drop and installation first. Keep the room conditions steady while you watch, and note whether the lines show in the projected picture. If your screen’s maker prescribes another deployment or storage method, use that.
Do not hang extra weights on the bottom bar or rub the face to force it flat. If curl persists or the material has a sharp fold, send the supplier the model details and photos; a non-tensioned screen simply has less shape control than a tensioned one.
How do retractable and fixed-frame tension problems differ?
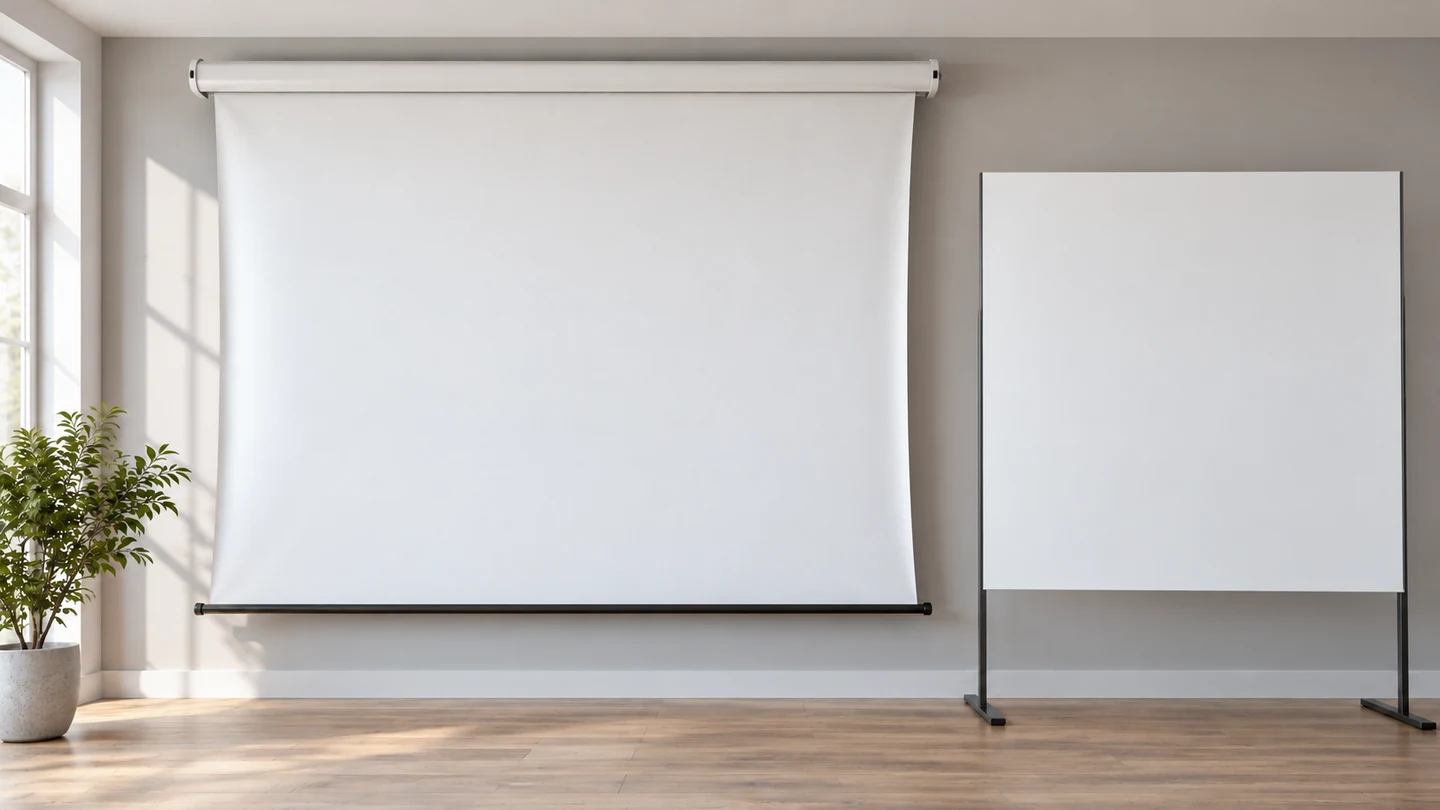
A retractable tab system and a fixed frame spread the forces differently, so follow the adjustment sequence for your actual system instead of treating every wrinkle as a call for more tension.
Stewart’s April 21, 2025 retractable-screen guidance explains that, in its system, tighter side cords take tension away from the bottom batten, and changing the black drop or lower limit can wrinkle the bottom corners. On that construction, cranking up side-cord tension can work against the fix.
For a fixed frame, the Draper StyleLine 2024 installation instructions call for a level, square frame and adjustments along the long edges first, then the short edges, without distorting or tearing the surface. Use the hardware arrangement shown in your own instructions.
A top wrinkle that stays after the documented adjustment is a service question. In one owner’s forum report about a Screen Innovations motorized screen, setting the tension as the instructions described did not remove wrinkles across the top; the owner later reported that the maker agreed to replace the screen. That outcome belongs to that case, not to a warranty rule for other brands, so send your own maker the model, photos and the steps you have tried.
Can you use heat to remove a screen crease?
Yes, but only where the exact material’s instructions permit a controlled hairdryer procedure. The procedures below apply to different products and must not be combined into one general method.
| Named material | What its instructions permit | Important scope |
|---|---|---|
| Elite Yard Master 2 | A medium-setting hairdryer from the back, about 3 feet away | First allow the mounted surface the stated settling time |
| Elite CineGrey 5D Designer Cut material | Medium-setting hairdryer from the back, about 1 foot away, before installation | Gentle edge stretching, avoid overheating and allow complete cooling |
| Silver Ticket fixed-frame vinyl in its care page | A guarded hairdryer procedure | Uses protection, the coolest starting setting, movement and cooling |
The Yard Master 2 crease FAQ and the CineGrey 5D care guide, revision December 30, 2022 cover different surfaces and situations, so their distances are separate instructions.
Silver Ticket’s vinyl-screen page also calls for a thin damp cloth over the matching front area, heat from the back, constant broad movement and cooling. Read the whole procedure before you start; the table only compares what each maker permits. If you cannot identify the material, or its instructions do not mention heat, ask the maker. Do not use a heat gun, iron, steam or improvised weights.
Why are small waves obvious with an ultra-short-throw projector?
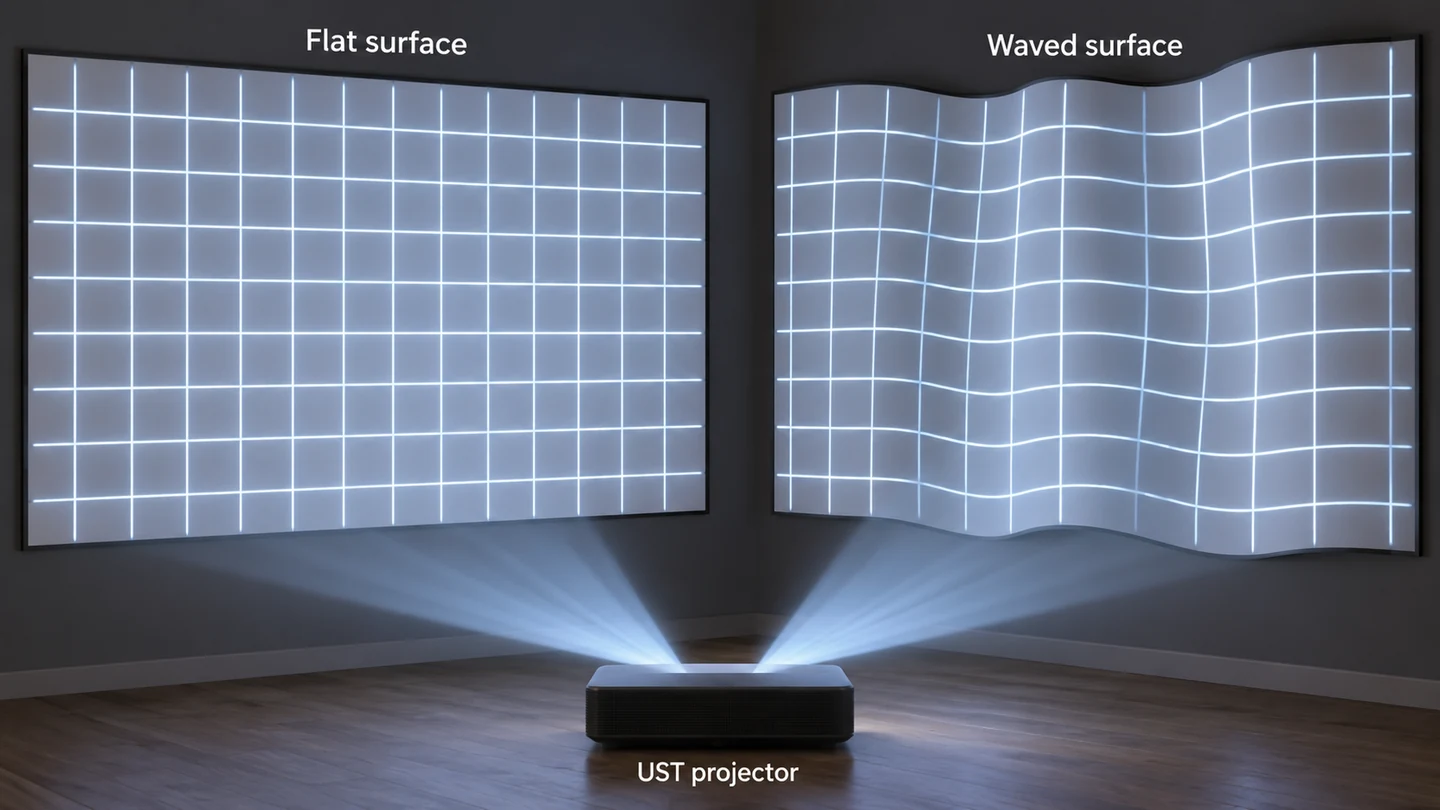
A UST projector lights the screen from close range at a steep angle, so a small change in surface shape can produce conspicuous image distortion, and waves that went unnoticed with a standard-throw projector can suddenly show.
Draper’s January 2018 UST explanation describes how small waves and wrinkles create greater distortion because of that geometry. What you see is a shift in the image’s position and shape, not one fixed shadow pattern.
Project a grid or a straight image edge across the affected area and across a known flat surface, with the projector left in place. Check both the mounting and the surface before trying any wrinkle treatment.
Choose a screen construction and optical material suited to the projector’s throw. A fixed frame or tab-tensioned system can give the shape control a UST setup needs, provided it is assembled correctly and the material is compatible. The projector screen gain guide covers the separate brightness and viewing-angle choice; gain cannot correct geometric distortion from a waved surface.
Why do taped screen seams need separate diagnosis?
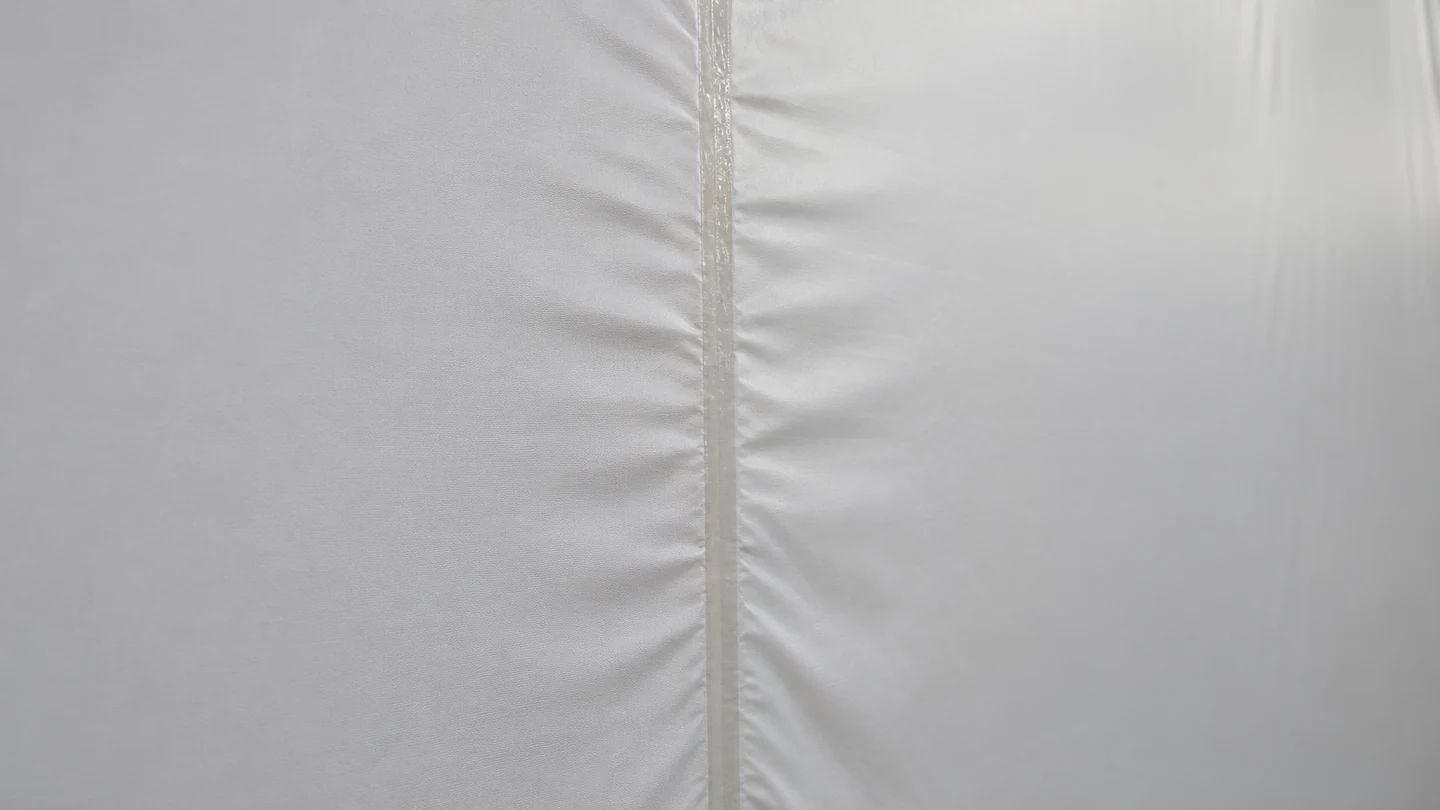
Because a taped joint adds tape, joined edges and a storage history that have to be inspected together; a wrinkle along that line does not by itself show that the tape shrank or that the screen material is sound.
The original staging example was a multi-piece surface taped together, fixed to a wood frame and later rolled for storage, after which wrinkles appeared along the joins. The discussion described the problem without establishing its cause.
Rosco’s projection-screen guide, in its 2018 hosted version, describes its own clear tape as a product for temporary seaming or repair and says taped joins may spread within two months. That is about its tape and an opening joint, not proof of why another tape-and-screen construction puckered.
Keep the join details, tape identity and rolling direction in the service record, and let the screen or installation supplier assess the joint before anyone removes tape, applies heat or changes the edge attachment. A welded surface and a temporarily taped one are different constructions.
When should the manufacturer assess the screen?
Contact the maker when a permitted adjustment fails, the wrinkle keeps coming back, the material has a crack or sharp local fold, or you cannot identify the approved treatment, and stop increasing tension or temperature while the cause is unclear.
Give the model, material, dimensions, mounting type and installation photos, plus the delivery and storage history, room conditions, where the defect starts and whether it shows in projected content. For a motorized screen, locate the affected area relative to the roller, black drop, tabs and bottom bar.
List every adjustment already tried and the instruction you followed, so the service team can tell a new defect from the result of repeated changes. A video of a slow image pan shows why a physical wave matters for viewing.
Ask for a model-specific service or replacement decision against the maker’s warranty terms. Creases, cracks and attachment problems may need different remedies after inspection.
Where does a one-piece projection film fit?
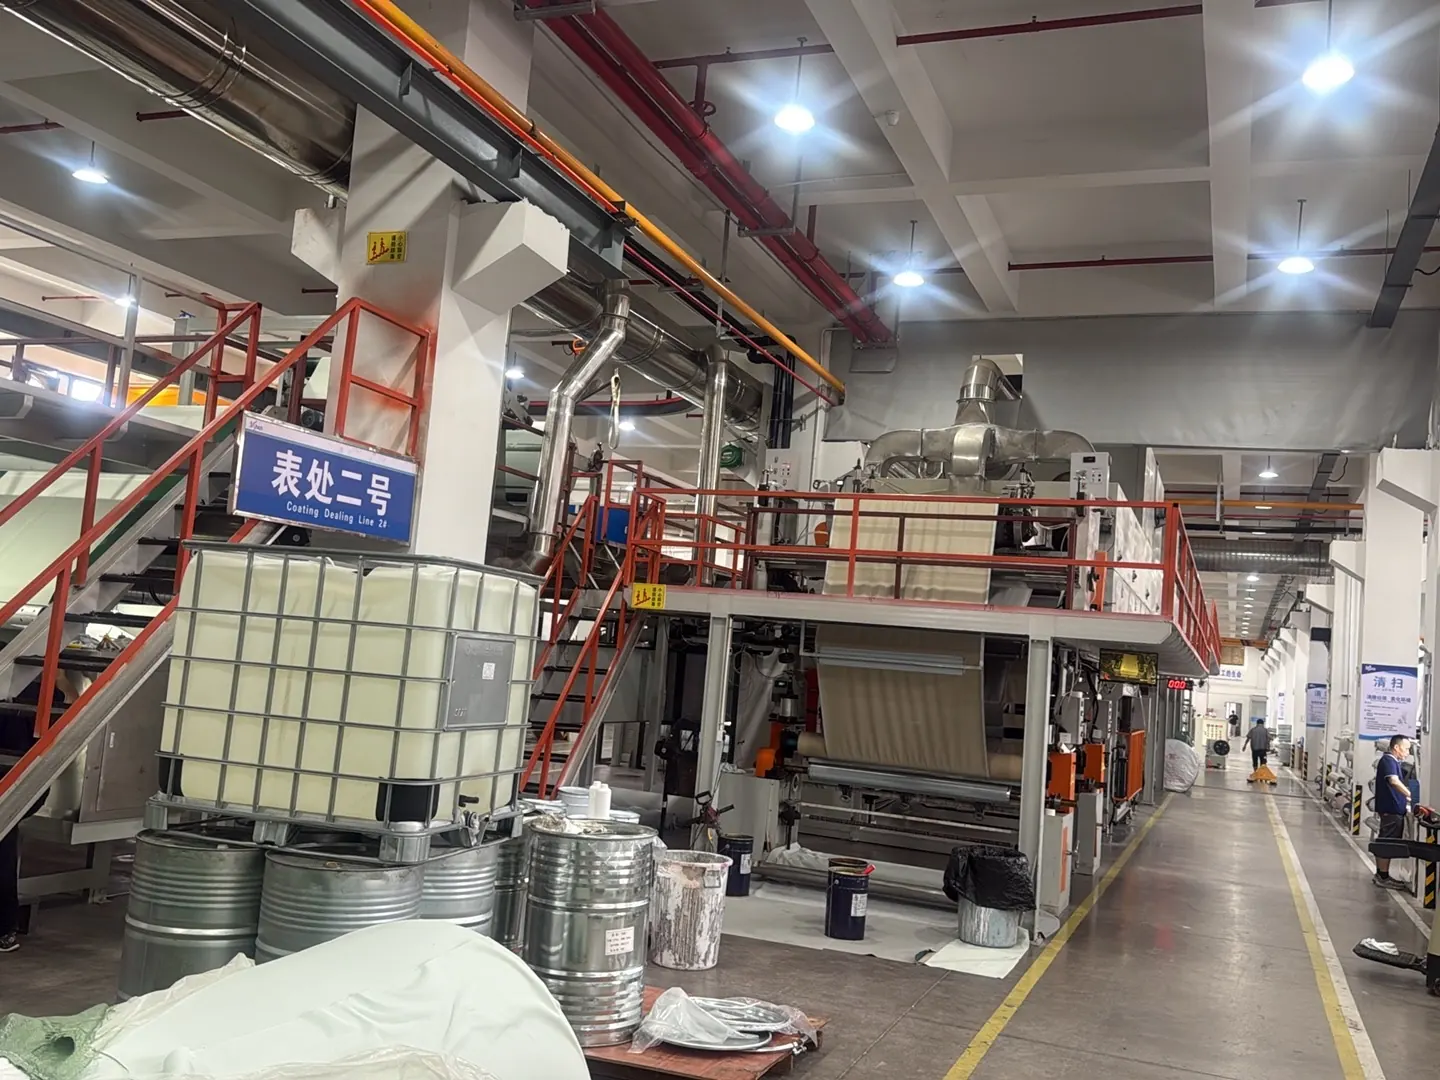
Puremorfilm’s projection film is supplied in whole pieces, so there is no taped join within the piece, but it still needs a suitable mounting and installation; evaluate the material, mounting and projector together.
Puremorfilm supplies projection film with a silicone functional surface for front projection, without back adhesive and in whole pieces. Standard samples ship within three days. Supply is mainly in rolls, with laminated panels available on request. Our silicone surface is inherently flame-retardant, with higher grades up to UL 94 V-0 available on request. In the manufacturer’s laboratory tests, coffee, red wine and soy sauce held at 25°C for 24 hours wiped off with no obvious change. We use a No DOP formulation.
This is a paint-free facing, distinct from PVC, melamine, PP and PETG decorative faces. See the projection screen film, and use the supplier evaluation checklist to tie the quoted grade, sample and test conditions together; film test data cannot guarantee an installed screen’s flatness. Do not apply other manufacturers’ heat procedures to this film.
Which action should you take first?
Identify the construction and use that model’s route, inspecting without heat or extra force while you collect the evidence the maker needs.
| Situation | First action |
|---|---|
| Manual B memory lines or side curl | Use that manual’s deployment and observation guidance |
| Retractable tab-tension wrinkle | Check the specific cord, batten and drop instructions |
| Fixed-frame wrinkle | Check square assembly and its attachment sequence |
| Wave exposed by UST projection | Assess geometry and compatibility with the projector |
| Wrinkled taped join | Obtain an assessment of the joint construction |
| Crack, persistent fold or failed permitted treatment | Request service advice before further treatment |
For a supplied front-projection film enquiry, contact us with the dimensions, mounting, projector arrangement and installation requirements.
Frequently Asked Questions
How do you get wrinkles out of a projector screen?
By matching the fix to the cause: storage imprints, frame tension and a damaged joint need different handling, and heat belongs only where the exact material’s instructions allow it.
How can I flatten my projector screen?
Assemble or deploy it exactly as specified, apply the tension or deployment its instructions call for, and ask for service if the projected image is still distorted.
Why is there line imprints on my screen?
Rolled storage can leave slight, non-permanent lines on some materials; Elite says these should disappear once the material is fully stretched, though that does not cover every fold or wave.
Should the Projection screen be kept in a cool dry place ? or should it be kept warm?
Yes, either works for the material in Elite’s FAQ, as long as it is dry before packing; room temperature just makes it easier to stretch onto the frame. Follow the storage limits for your own material.
I see waves on my matte white non-tensioned screen, how do I remove/fix them?
The first step is a lights-off check with an image projected, from the distance Elite specifies for that screen type; if the waves still show in your real viewing conditions, follow the model’s care route and contact the maker.