
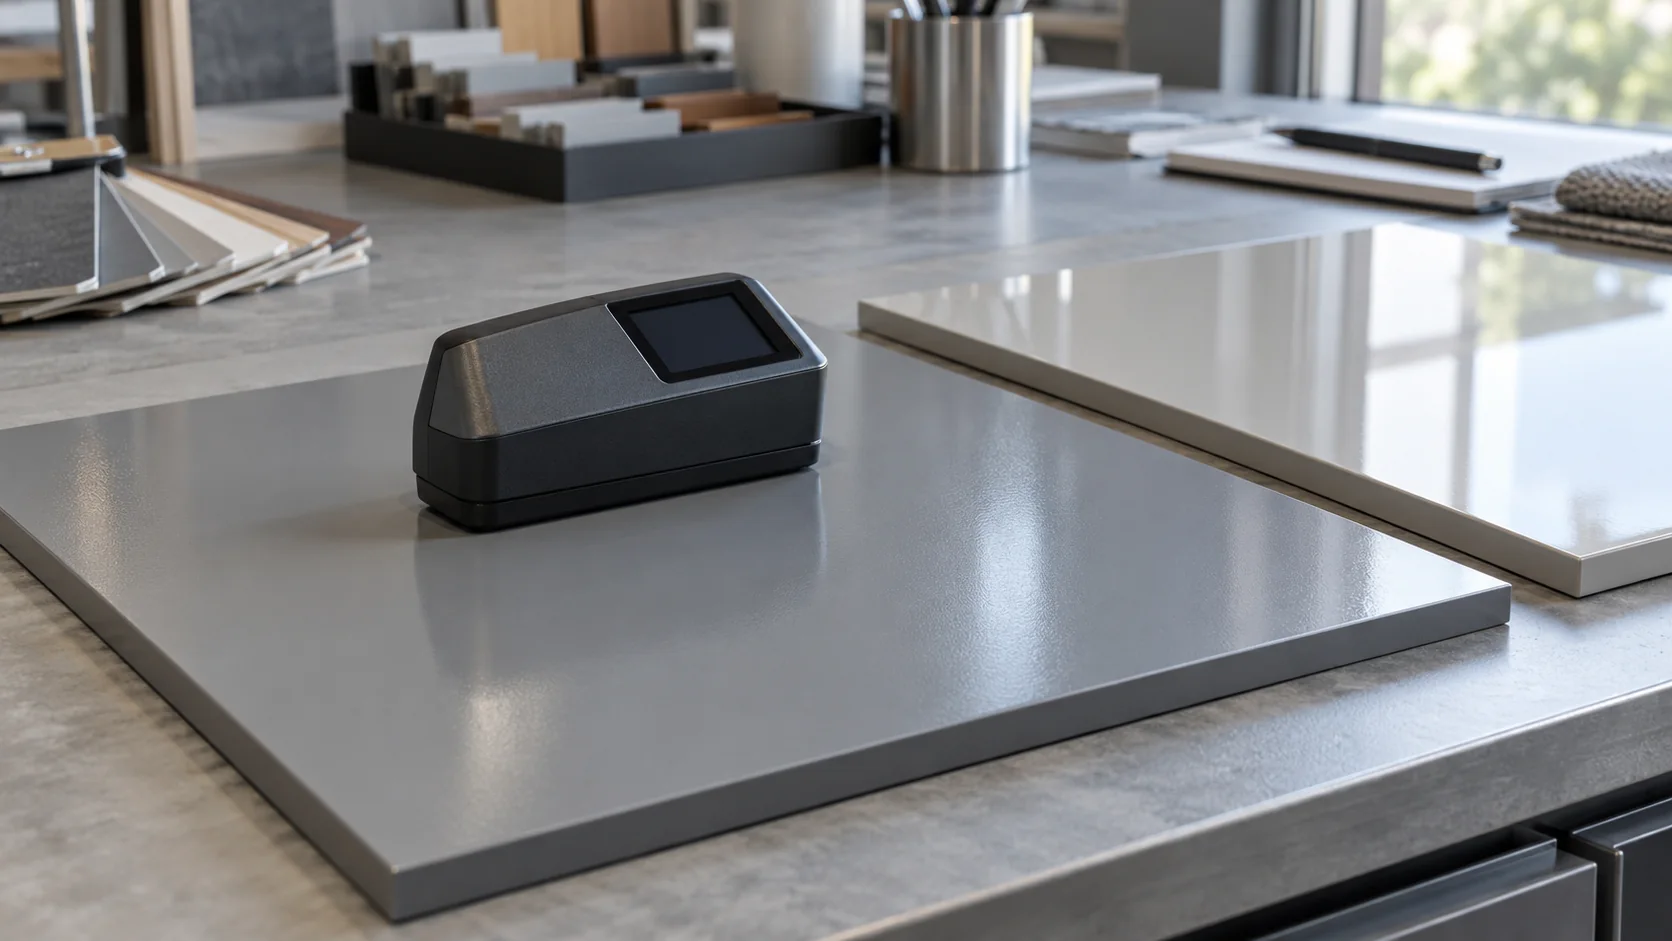
Gloss measurement compares specular reflection with a black-glass reference and reports the result in gloss units, or GU, at a stated geometry. Start at 60°, then switch to the 85° geometry for a low-gloss surface or the 20° geometry for a high-gloss one. Keep the measurement angle beside every result.
For cabinet doors and wall panels, that number is part of the appearance specification. Two surfaces can return similar readings yet look different side by side because their texture or reflected-image clarity differs. A useful approval combines a repeatable measurement with a retained visual reference and a clear description of the finished sample.
What does gloss measurement actually measure?
Gloss measurement records light reflected near the mirror direction and compares it with a reference under defined geometry. The result describes one aspect of surface shininess. A glossmeter measures that specular part of the reflection, so a surface that scatters considerable light can still produce a low gloss reading.
The unit is GU. It expresses a comparison with a reference, not a percentage of all the light reflected by the surface. A pale matte finish can look bright because it scatters light broadly, while giving a low specular-gloss result.
The public ASTM D523-25 description covers nonmetallic specimens and relates instrumental gloss to visual shininess observed at roughly corresponding angles. It also explains that the surface’s refractive index affects the reading. When a face material changes, retaining the old target number may therefore need a fresh visual comparison.
The practical question is whether the selected geometry distinguishes the samples you need to approve. A test angle that separates moderately glossy surfaces well may give closely grouped results at the matte or highly reflective end. Choose the geometry for that range before deciding which samples match.
For an appearance choice rather than a measurement method, the matte versus gloss cabinet guide explains how those finishes work in a room.
Which test angle should you use?
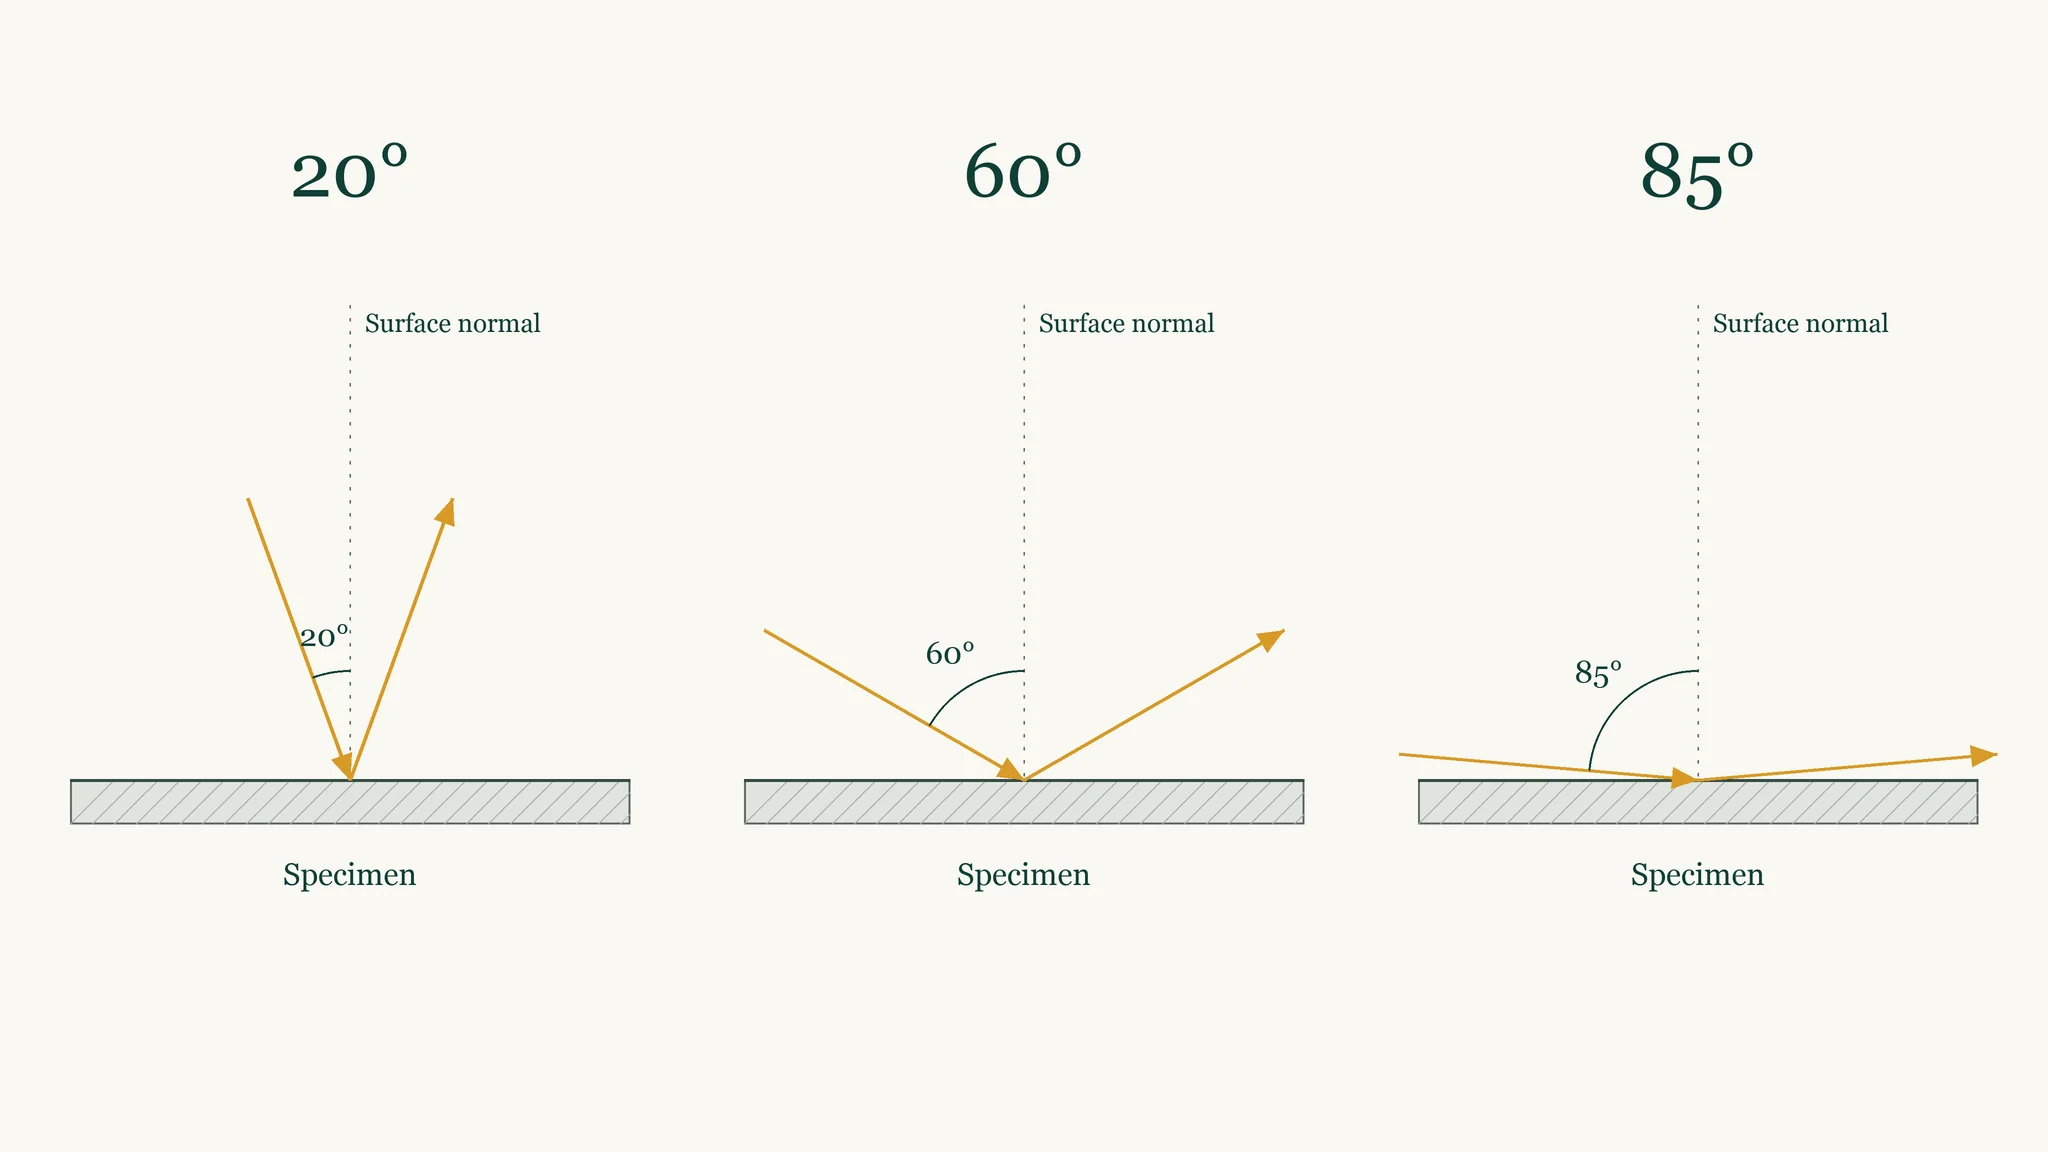
Take the first reading at 60°, then keep the 60° geometry for mid-gloss surfaces, switch to the 85° geometry for low gloss and switch to the 20° geometry for high gloss. Compare the reference and candidate at the selected angle, and retain that angle throughout the approval record.
| Geometry | When to use it | Why it helps | What to retain |
|---|---|---|---|
| 60° | Initial assessment; retain it for an initial reading of 10–70 GU | General comparison across the middle range | The actual reading and geometry |
| 85° | Initial 60° reading below 10 GU | Better resolution at low gloss; a larger spot can average local texture variation | Geometry, position and sample orientation |
| 20° | Initial 60° reading above 70 GU | Better resolution at high gloss and greater sensitivity to haze effects | Geometry and the related visual appearance |
This selection follows the instrument-maker guidance for test angles. The angles describe the optical arrangement. A result taken at one geometry and another taken at a different geometry are different measurement conditions.
For a supplier comparison, resolve the geometry before discussing the difference between the numbers. Otherwise, a buyer can reject a matching finish or accept a visibly different one simply because the two reports used different setups.
Paper and paperboard also have a 75° method associated with TAPPI T480 and ISO 8254-1; that paper-specific geometry should not become the default for a decorative panel. Keep the test object and method together when reading a glossary or equipment brochure that covers several industries.
What steps give a repeatable gloss reading?
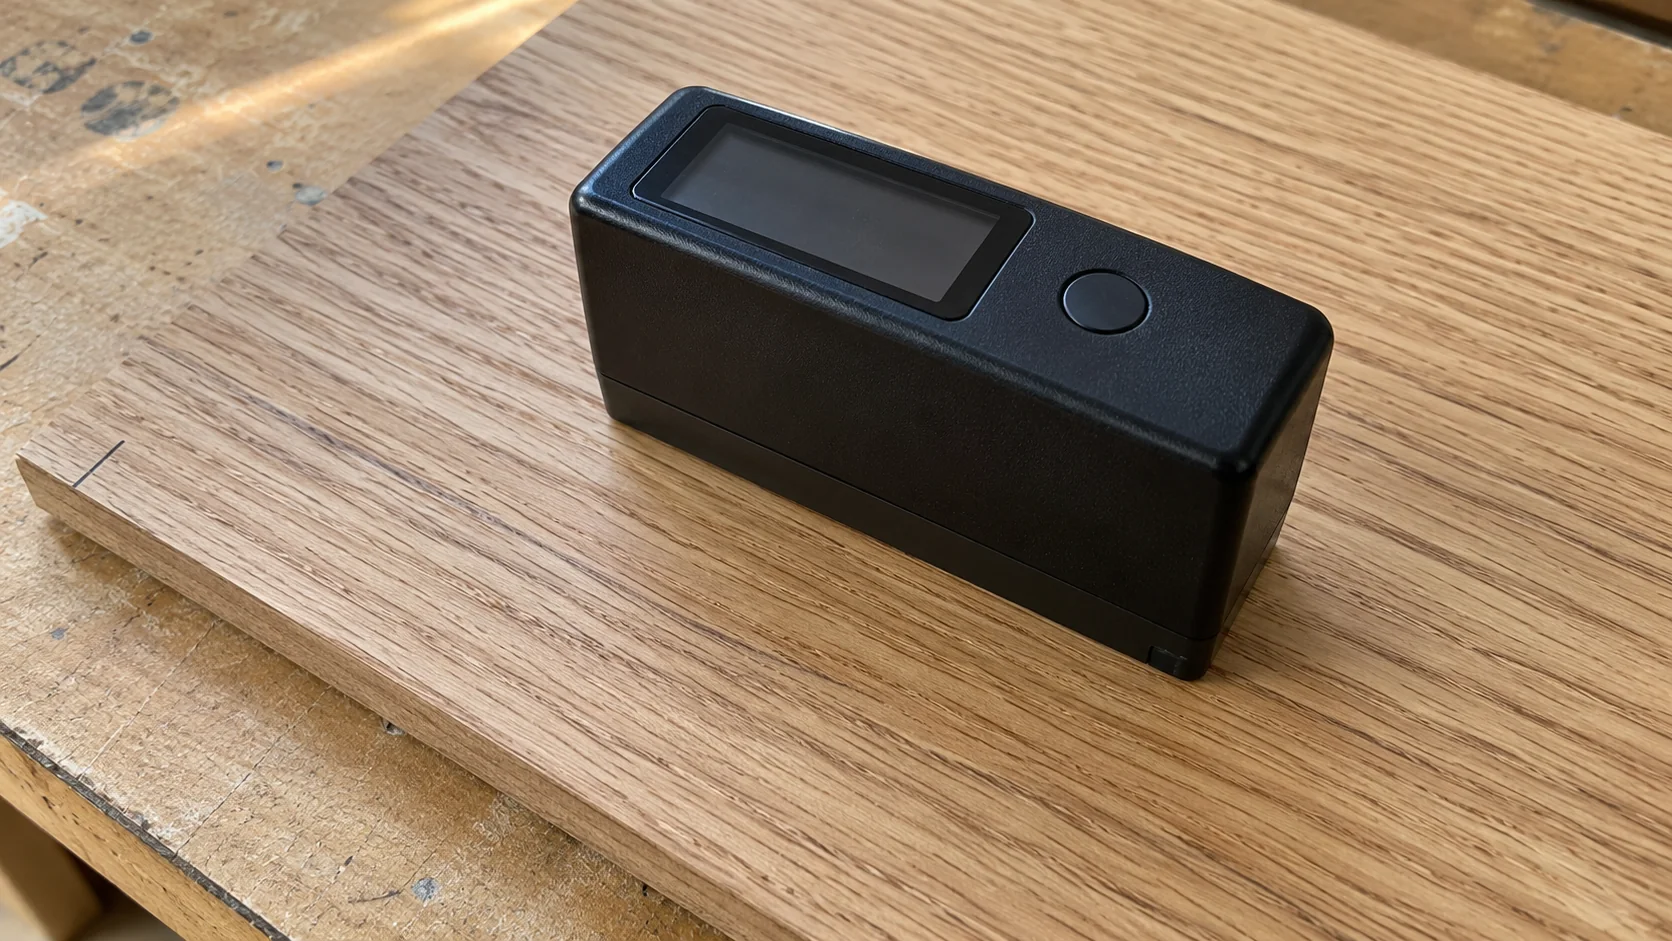
Use the instrument’s reference standard and calibration procedure for the geometry being reported, then measure a clean, flat area of the finished sample. Record the angle, sample identity and measurement position with each result. Keep the reference sample and candidate in the same orientation so the comparison can be repeated.
A practical measurement sequence is:
- Identify the finished sample and choose the geometry for its gloss range.
- Check the instrument and reference standard, and perform the specified calibration procedure.
- Place the instrument securely on the agreed measurement areas, with the same orientation on each sample.
- Record individual readings and positions before calculating any requested summary.
- Retain the instrument identification, reference details and sample description with the results.
The Novo-Gloss operating guide gives a concrete example: inspect the tile and optics, use the tile holder and follow the calibration prompts. Its positioning template helps place measurements at corresponding locations across samples.
Finger marks, residue or a chip on the reference tile can affect calibration and the readings based on it. Clean the tile and optics with the method specified for that instrument, and replace a damaged tile before the next approval.
A flexible film sample also needs a clearly described support. A loose sheet placed on a bench and a finished laminated panel are different specimen configurations. Record which one was measured, and compare like configurations when evaluating a replacement batch.
Agree the measurement locations before seeing the results. Averages are easier to interpret when the underlying readings show whether the surface was uniform or whether a particular area differed.
How does surface texture affect gloss readings?
Surface texture changes how reflected light is distributed, so the measured area may combine small ridges, valleys and flatter regions. The selected geometry and measurement spot affect that combined result. For a directional woodgrain or embossed face, fix and record the orientation so subsequent samples are compared using the same arrangement.
Rhopoint’s explanation of specular and diffuse reflection describes why matte surfaces can scatter substantial light while returning low gloss readings. Its angle guidance also notes that the larger spot used at 85° can average variation on textured or slightly uneven surfaces.
Inspect where the instrument sits. A sample with a broad flat face, a narrow molded detail and a heavily textured area may not offer equivalent measurement locations. Mark the usable areas on a sample photograph or drawing so another person can repeat the arrangement.
For a woodgrain face, note the grain direction and instrument orientation in the same record. This is a proposed control for the comparison, not a claim that every woodgrain produces a particular directional difference. If the texture prevents stable contact, the method and instrument need review before the number is accepted.
Touch and gloss also describe different features. A low-gloss appearance does not specify how a face feels in the hand. The ultra-matte and soft-touch comparison covers that separate choice, which is useful when the sample approval includes both appearance and feel.
Why can matching GU readings still look different?
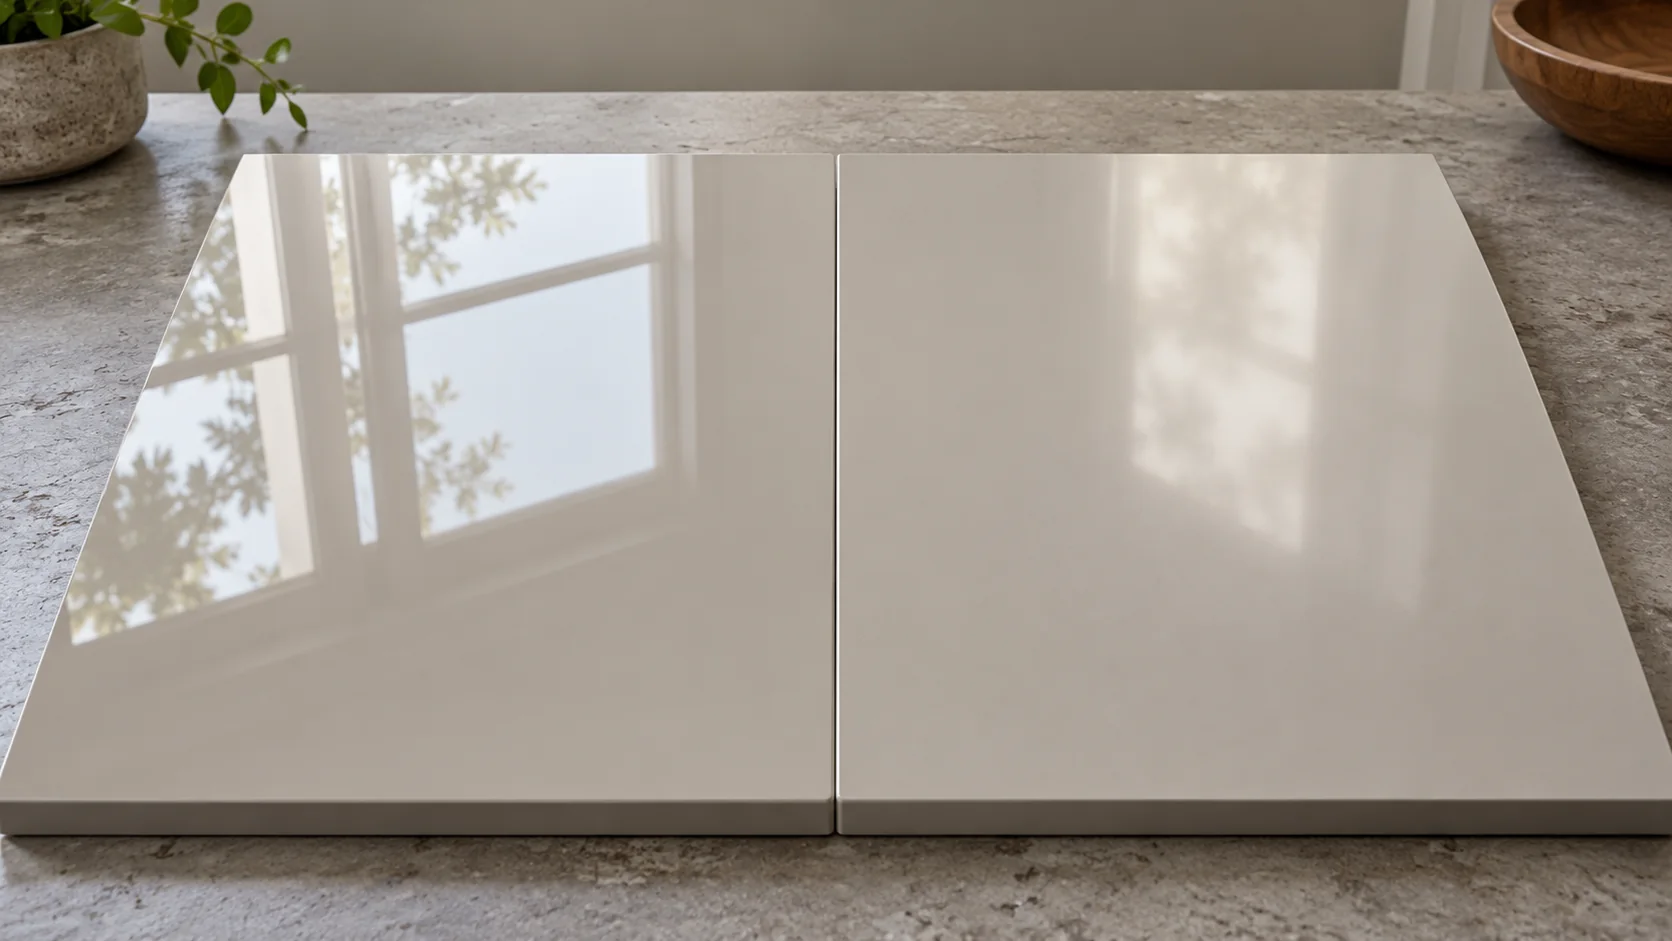
Matching GU readings can still look different because gloss is only part of reflected appearance. Texture, reflection haze and the clarity of a reflected image also influence what you see. When color or gloss differs widely, equal numerical differences can also produce unequal visual differences, so keep a side-by-side appearance check.
A surface may show a blurred reflection while another gives a sharper outline under the same lamp. A gloss reading records the light collected within the instrument’s defined geometry; it does not provide a complete description of that reflected image. The D523 public scope and significance notes identify image clarity, haze and texture as related appearance properties.
Compare the reference and proposed finish under the same light, at the same time, and from the intended viewing positions. Put adjacent cabinet-door or wall-panel samples next to each other. This exposes a mismatch at the joint more clearly than viewing each sample in a different room.
Keep the light arrangement with the approval record if it is part of the decision. A light skimming along a wall reveals relief differently from broad illumination across it. The wall washing versus wall grazing explanation helps connect that visual check with the proposed installation.
When reflected-image clarity or haze is important to the project, specify the relevant property and method separately.
What belongs in a gloss acceptance specification?
A gloss acceptance specification should bind the target and agreed tolerance to the method, geometry, instrument reference, specimen construction and measurement locations. Add orientation and a retained visual reference under defined lighting. This lets the numerical result and the appearance check refer to the same finish and the same sample configuration.
| Item | What to specify | Why it belongs in the record |
|---|---|---|
| Method and geometry | D523-25 where applicable, plus the selected angle | Establishes what the result means |
| Target and tolerance | The agreed target and acceptance limits at that angle | Makes acceptance a shared requirement |
| Reference and instrument | Instrument identity and reference-standard details | Supports a repeatable setup |
| Specimen | Loose film or finished panel, support and surface identity | Prevents comparison of different sample constructions |
| Locations and orientation | Marked areas and a repeatable instrument direction | Keeps the sampling arrangement consistent |
| Visual reference | Retained sample, light arrangement and viewing positions | Preserves the intended overall appearance |
| Related properties | Haze, reflected-image clarity or texture requirements when needed | Covers appearance that the gloss number leaves open |
Set the tolerance from the project and agreed capability, rather than copying a generic finish-label chart. A “matte” name used by one supplier may cover a different range from another supplier’s name. The retained sample gives the discussion a physical reference while the measurement details make the comparison reproducible.
Keep gloss acceptance separate from wear or scratch claims. The cabinet surface durability test guide explains the different evidence used for those properties.
How can a silicone decorative surface be specified?
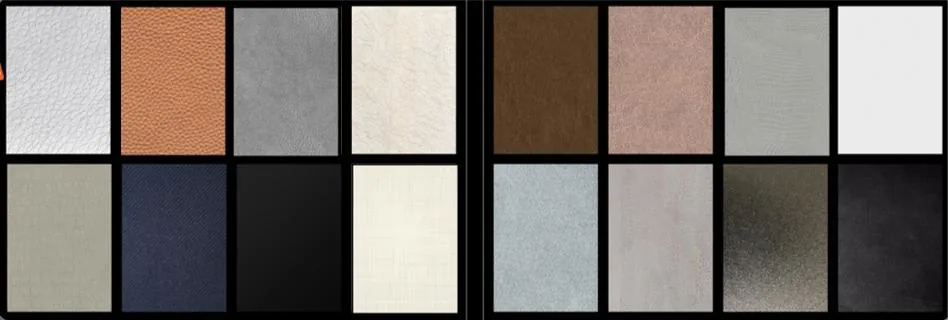
Puremorfilm makes decorative film with a silicone functional surface for furniture and interior walls, and its gloss and texture can be customized. For a sample request, describe the target appearance, measurement geometry and intended component. We supply mainly rolls for PUR flat lamination, with laminated panels available on request.
Our furniture decorative film uses a No DOP formulation. The silicone surface is inherently flame-retardant, with higher grades up to UL 94 V-0 available on request. In the manufacturer’s laboratory tests, coffee, red wine and soy sauce left at 25°C for 24 hours wiped off with no obvious change.
Free samples are available for evaluation. Our paint-free material uses a silicone functional face, distinct from PVC, melamine, PP and PETG decorative faces. Use the agreed sample and measurement record to discuss the required finish.
What should you approve before a production batch?
Approve the selected geometry, a numerical acceptance requirement and the appearance of the finished sample before ordering the batch. For a repeat finish, compare the new sample with the retained reference using the same setup. For a new texture or material, review both the measurement method and the visual match.
| Situation | Approve first | Keep with the decision |
|---|---|---|
| Repeating an established finish | A result at the agreed geometry and the visual match | The retained reference and new sample record |
| Selecting a low- or high-gloss face | The geometry that resolves that range | The initial assessment and selected-angle result |
| Changing texture or sample construction | A suitable measurement area and comparable specimen setup | A photograph or drawing of positions and orientation |
| Finishing adjacent visible panels | The complete side-by-side appearance | Lighting, viewing arrangement and agreed reference |
Write the actual method and angle, such as D523 with a 60° geometry when appropriate, alongside the target. Keep individual readings available if a summary conceals local variation. Resolve a measurement difference and a visual difference as separate observations so the next sample addresses the problem you saw.
To discuss a custom surface, contact us with the target gloss and test angle, reference sample, texture and intended application.
Frequently Asked Questions
What is the unit of gloss?
The unit of gloss is the gloss unit, or GU, which expresses the measured specular reflection relative to a reference. State the geometry with the value. A number without its measurement angle is incomplete for comparing surface samples.
How do I use a gloss meter to measure gloss?
You measure gloss by selecting the geometry, running the instrument’s reference check or calibration, and then measuring the identified sample at recorded locations. Keep the instrument stable and use the same orientation for comparisons. Save the readings with the specimen and reference details.
What angle is used to measure gloss on paper?
A 75° geometry is used for the paper and paperboard method associated with TAPPI T480 and ISO 8254-1. Decorative-panel measurements need the method and geometry appropriate to that specimen; D523 covers the 20°, 60° and 85° geometries for nonmetallic samples.
Can GU readings taken at different angles be compared?
No, GU readings taken at different angles should not be treated as interchangeable results. Re-measure the samples at the same agreed geometry for a direct comparison. Keep the original angle recorded so the earlier result can still be interpreted correctly.
What gloss level counts as matte, satin or high gloss?
Matte, satin and high-gloss names have no single universal GU table across products and industries. Read the supplier’s stated range together with the geometry and compare the actual sample. The finish label is useful for a shortlist; the agreed appearance and measurement specification govern approval.