
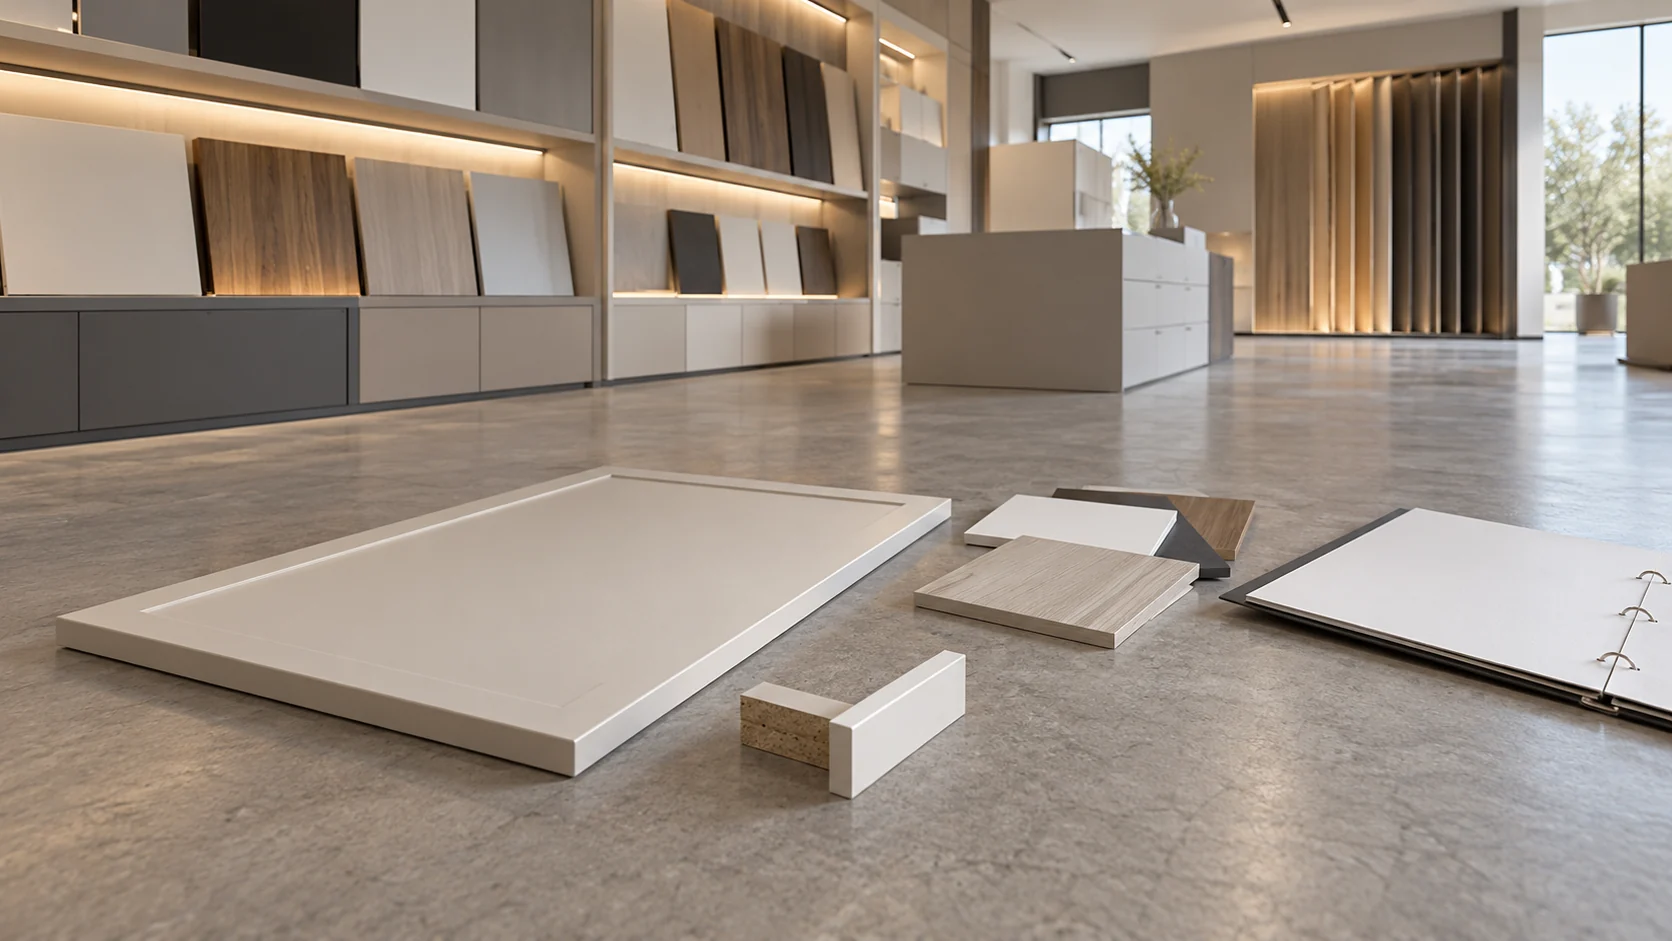
A cabinet door can keep its shape while its finish stains, scratches or lifts at an edge. A cabinet surface durability test should match the damage you want to prevent, use an identified specimen, and report its conditions and endpoint. Read scratch, abrasion, chemical, moisture and adhesion results together before you accept a finish for your actual cabinet construction.
What should a cabinet surface durability test cover?
The visible finish and its weak interfaces, under the exposure the cabinet will really see. Cabinet strength and hardware operation are separate questions: a hinge-cycle report tells you nothing about a stained door.
| Concern in use | Evidence to request | What to look for in the result |
|---|---|---|
| A hard object marks the face | Appropriate scratch or coating-hardness test | Indenter, load, support and definition of damage |
| Repeated rubbing changes the face | Abrasion test suited to the surface | Abradant, load, cycles and wear endpoint |
| A spill marks or softens the finish | Chemical or stain exposure test | Substance, dwell, cleaning and assessed change |
| Water reaches the bottom edge | Finished-door edge exposure test | Seam construction, contact conditions and swelling or delamination |
| Temperature changes stress the finish | Heat or temperature-cycle test | Exposure sequence and condition after recovery |
| A coating releases from its support | Suitable adhesion assessment | Substrate, method and location of failure |
Start from the actual door, drawer front or end panel you plan to buy. Paint and clear coats, resin-faced panels and polymer-faced doors each have different surfaces and interfaces, and a thin finish on a soft core can behave differently from the same finish on a rigid test panel.
The cabinet materials guide helps you identify the face and the construction under it. Then choose evidence for each likely failure. A broad cabinet certification can cover structure and operation as well as finish, so check which properties a surface report actually tested.
Which specimens represent the cabinet you plan to buy?
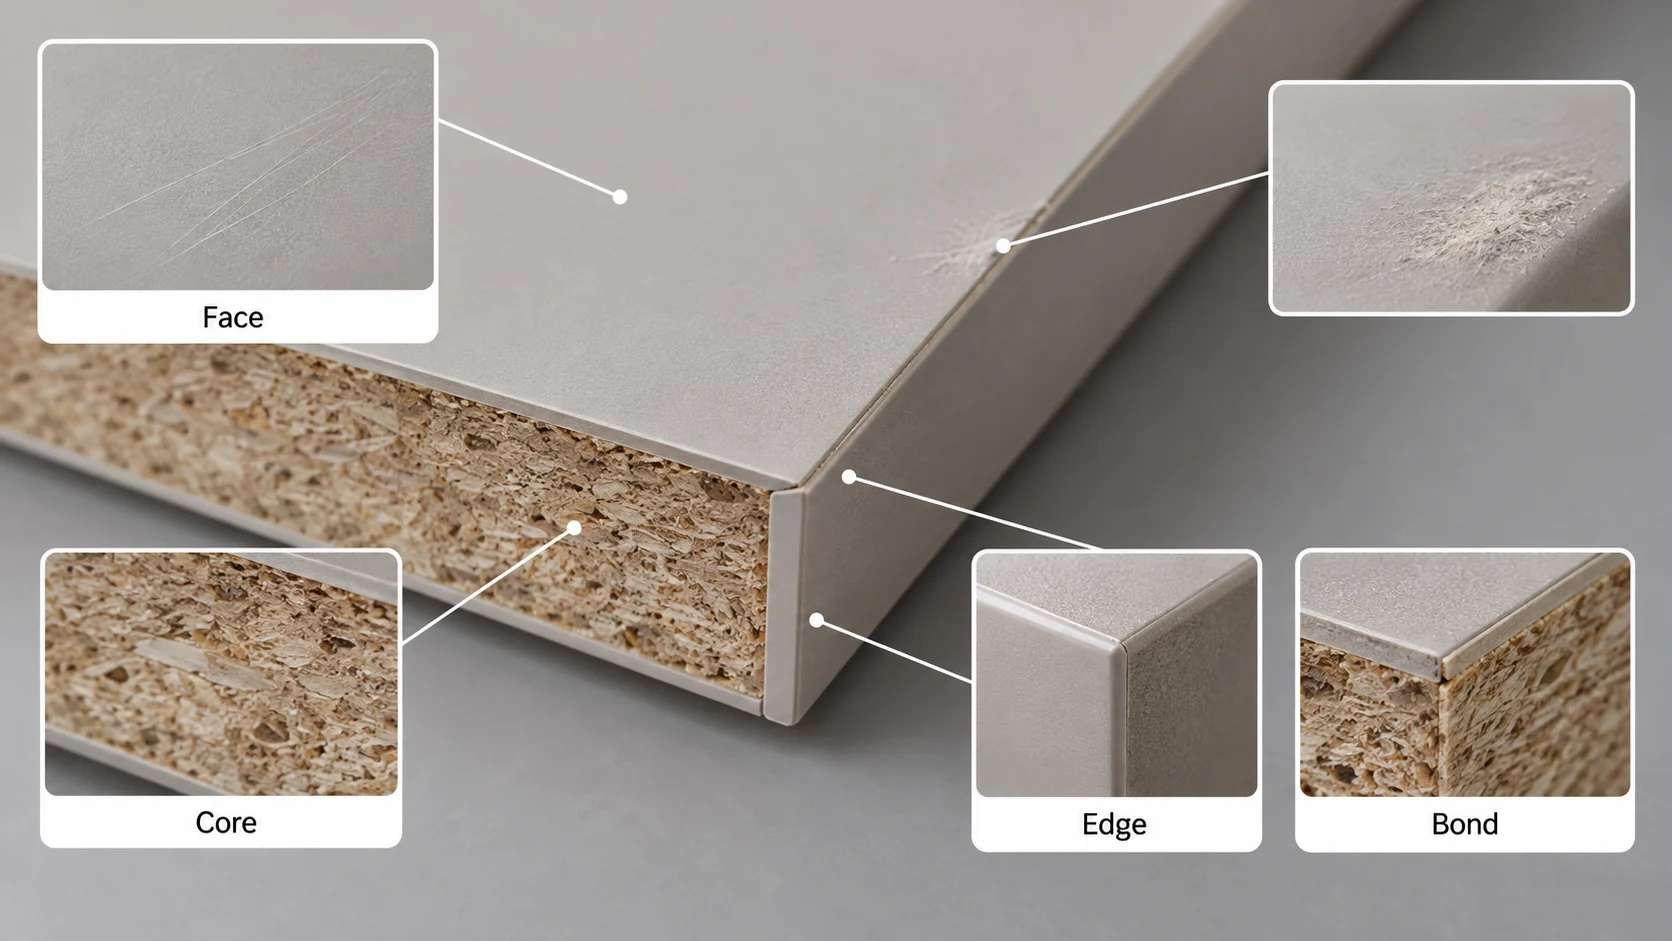
Specimens with the specified finish, core and edge construction, with their preparation and conditioning recorded. A material name alone is too broad to tell you what was tested.
Record the coating or facing product, color, texture, thickness where it matters, core and edge treatment. For a coating, note the system and how it cured; for a laminated part, name the facing, adhesive and substrate. The lab needs that to interpret what failed.
A flat face coupon lets you compare surfaces under controlled conditions. A finished door adds seams, corners and the processing that made it. Use both when your specification asks separate face and edge questions, and keep an untested piece for judging color or sheen change.
For wood-based parts, name the construction correctly: solid lumber, veneer, plywood, particleboard or fiberboard, as distinguished in the USDA Wood Handbook’s composite-material chapter, revised in 2021. Our MDF and solid wood comparison adds selection context. A woodgrain print or a veneer face tells you nothing about the core.
The same applies to melamine and laminate: use the chosen grades and their actual test methods, and don’t carry a result over to a different facing, thickness or core because the sales name matches.
What do pencil hardness and scratch results tell you?
A pencil grade tells you how a coating responded to graded pencil leads under the stated procedure; a scratch result has to name the contact and the damage it measured. Neither is a general score for all cabinet wear.
ASTM D3363-22 covers organic coatings on metal or similarly hard supports, and warns that on wood or another softer substrate, the support can deform and affect the result. Check the specimen description before you compare pencil grades.
Find out whether the report judged surface scratching or cutting through the coating; the grade belongs to that endpoint. Pencil manufacturer and batch, the support and the coating’s condition all affect comparability, so a higher grade from a different setup doesn’t rank two finished doors.
For damage from another kind of hard contact, use a scratch method with the relevant indenter and load, and keep that result in its own units. A pencil grade is a ranked result. It converts neither to a mineral-hardness number nor to abrasion cycles.
When you approve appearance, decide whether a faint surface line, a permanent scratch or exposed core counts as failure, then ask for photos and the report’s definition of damage. That keeps “no obvious scratch” meaning exactly what was observed.
How is a pencil hardness test run?
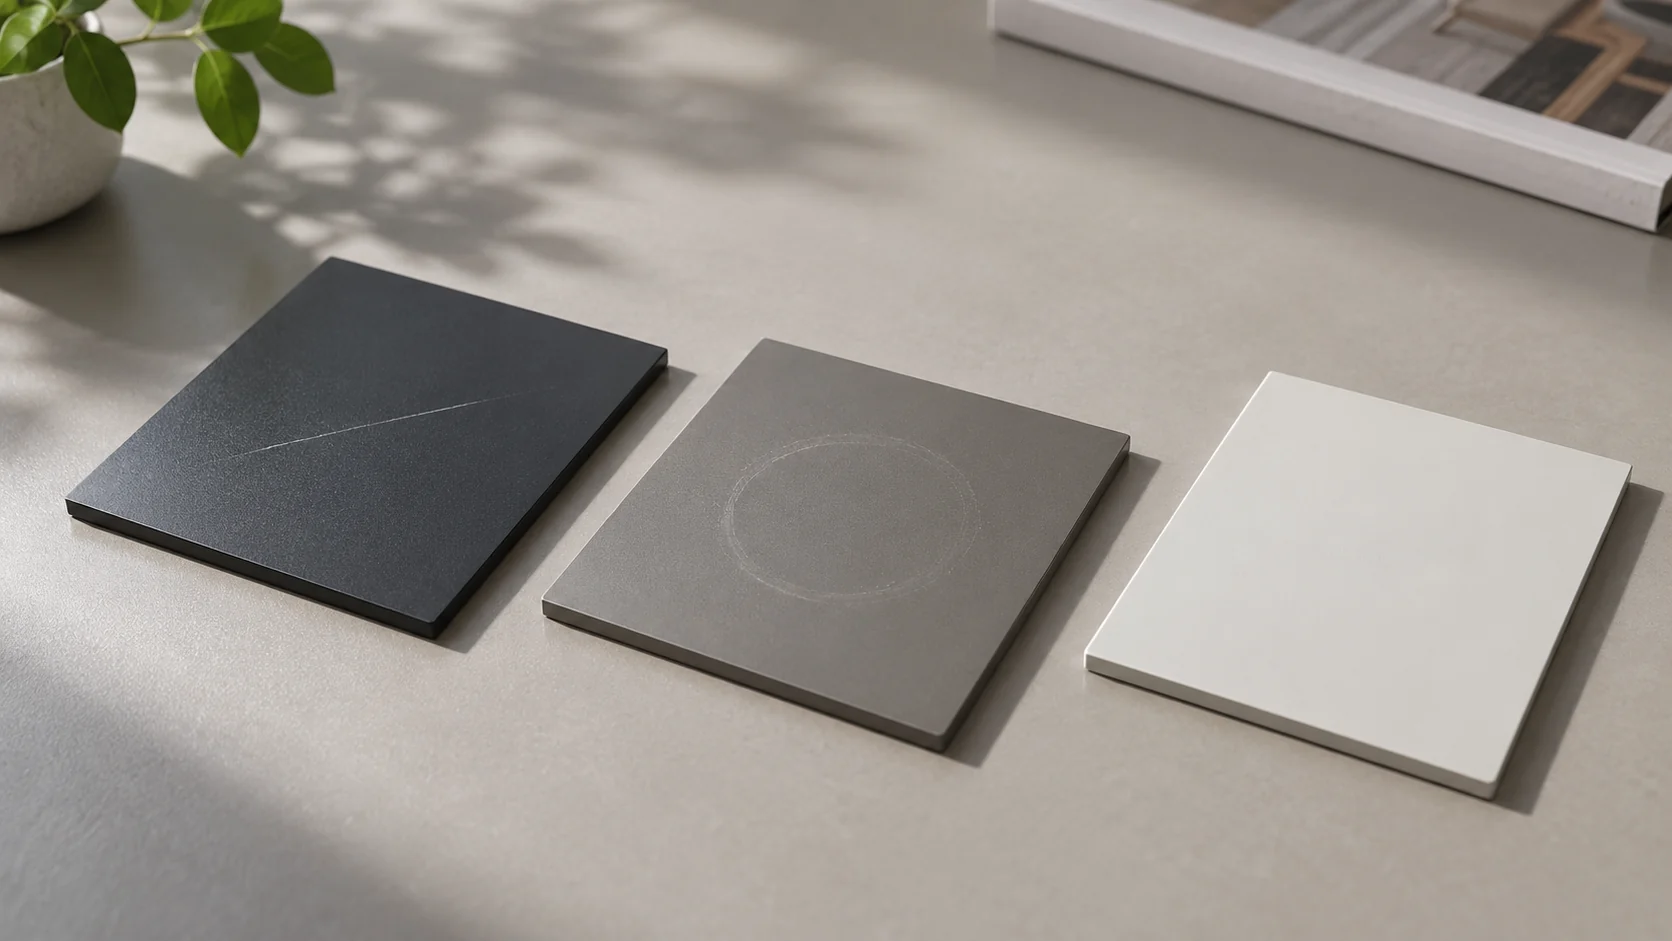
A pencil hardness test pushes prepared pencil leads across a coating using the selected procedure, then identifies the grade at the boundary between damage and no damage. The set spans softer B grades, the intermediate HB grade and harder H grades.
Preparation matters: the exposed lead needs the prescribed working end, and the stroke must use the method’s angle, pressure and damage assessment. ASTM D3363-22 and ISO 15184 are similar in content but not technically equivalent, so a report should name the method and edition and follow that method’s preparation and sequence.
A complete grade determination examines the boundary across a pencil series. A single-pencil check such as no visible damage with 2H records the response to that particular pencil under the stated conditions. When a document quotes one grade, check which of the two it is before you compare it with a full grade result. Our pencil hardness test guide explains pencil preparation, scratch and gouge endpoints, and the details that make a report useful.
Which cabinet finishes resist scratches best?
Textured HPL is a useful starting point for busy flat doors, with textured melamine as a practical budget alternative. A shaped door may favor thermofoil or another compatible film, while finished wood offers a different repair route through refinishing.
HPL is a separate facing sheet bonded to a supporting panel. Thermally fused laminate instead fuses resin-impregnated decorative paper directly onto a core such as MDF or particleboard. A textured or woodgrain appearance can make light surface lines less conspicuous in everyday viewing.
On lower doors within reach of pets, a textured or woodgrain face hides claw marks better than a dark smooth gloss. A super-matte look, fingerprint behavior and resistance to a sharp point each need their own evidence. Keep thermofoil doors away from direct oven heat. After choosing a finish family, compare its documented scratch and abrasion endpoints on the relevant specimen. The scratch-resistant kitchen cabinets guide compares the appearance, care and repair choices across the main finish families.
How should you read a cabinet finish abrasion result?
Look at the abradant, load, specimen support and endpoint before the cycle count. Wear from repeated rubbing is a different measurement from a single scratch.
D4060-25 covers Taber abrasion of organic coatings on a flat, rigid surface, and notes that wheel condition and coating composition affect comparisons. So wear debris and wheel resurfacing belong in the method record, along with the finish identity.
Taber’s equipment guidance separates mass loss, wear-through and appearance after a fixed number of cycles. They mean different things. A finish can lose sheen long before the decorative layer wears through, and a mass-loss result needs a mass unit, not just “completed the run.”
The same maker’s Model 1700/1750 example also clears up load reporting: the arm supplies 250 g, and auxiliary weights bring the total wheel load to 500 g or 1000 g. The marking on the weight is the total load, not the added mass. Compare records using the load per wheel.
If appearance is your endpoint, define the allowed change and compare against the untested reference. If wear-through is the endpoint, name the layer whose exposure ends the test. Compare two results only once wheels, loads, preparation and endpoints match. A cycle count is not a number of years in a kitchen.
Which kitchen exposures should the finished door withstand?
Spills, water at the edge and temperature swings, each tested on the finished part, with the contact conditions and recovery check read for each. A spill on the flat face and water creeping into a seam stress different parts of the door.
How do heat and cold sequences differ?
The KCMA A161.1-2022 standard tests finishes on production-representative doors, with new finishes aged at least 10 days. Section 9.2 holds a door at 49 ±3°C and 70 ±5% relative humidity for 24 hours after initial stabilization.
Section 9.3 is a different sequence: 1 hour at those hot conditions, 0.5 hour recovery, 1 hour at −21 ±3°C, then back to room conditions, repeated for five cycles. Inspectors look for discoloration, blistering and checking. Keep the steady heat result and the cycling result labeled separately.
What should a spill report record?
The substance and how it was prepared, the exposure time, whether it was covered, the cleanup and the change observed. D1308-20(2025) covers household chemicals on organic finishes, including color or gloss change, softening, swelling and loss of adhesion. A photo before cleanup shows something different from the mark left after.
Choose agents that belong in a kitchen: coffee by the machine, oil by the cooktop, cleaners under the sink. Compare them under the same conditions, and test your intended cleaning method on a specimen. For finishes already installed, our kitchen cabinet cleaning guide covers gentle care, which is a different thing from stressing a lab sample.
Why does the tested edge construction matter?
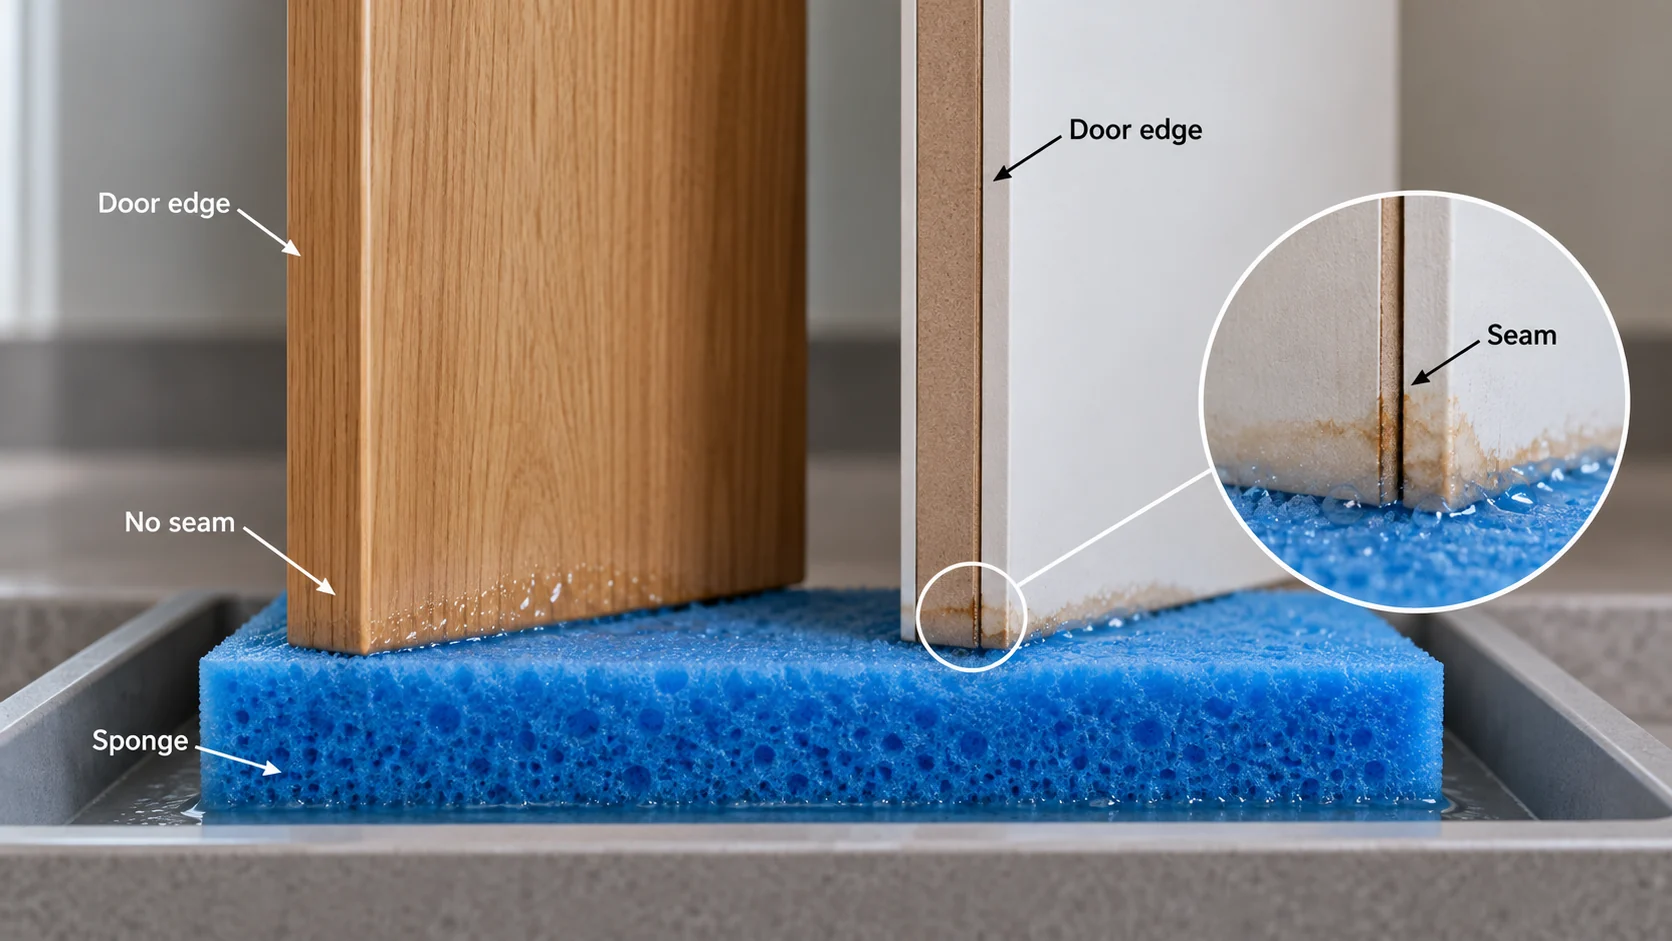
KCMA Section 9.5 stands a door edge on a sponge soaked in a 0.5% by-weight solution of unconcentrated liquid dishwashing detergent. A door without splices or seams touching the sponge stays there for 24 hours; a door with them stays for 4 hours. Inspectors look for delamination, swelling and finish change.
Because seams set the duration, don’t rank unlike doors by hours alone. On an MDF-based door, MDF moisture exposure concerns the board and MDF edge banding concerns the edge, so the tested edge should represent both. This is the test that matters for a sink-base door.
When does an adhesion test fit the cabinet surface?
When its scope fits the coating, the substrate and the bond you care about, and the report says where the system failed. Coating adhesion, facing-to-board adhesion and the board’s own internal strength are separate questions.
D3359-23 rates relatively ductile coatings on metal with tape pulled over cuts. Its scope assigns Method A mainly to systems above 125 μm and Method B to systems below 125 μm, with a wider-cut agreement for thicker films under Method B. Those limits pick the method; your purchase specification sets acceptance.
For wood and plastic, the standard has no corresponding precision and bias data, so agree with the lab how that use is run and reported. An unexplained tape rating on a wooden cabinet is not equivalent to the method’s documented use on metal.
Where pull-off testing fits, D4541-22 explains how fixture glue, loading, support and fracture location affect the result. If it broke inside the board or between coats, the report must say so; the force alone can hide which interface was tested.
For a laminated door, test the facing bond with an agreed method for that assembly, and inspect edges and formed areas as part of the assessment. An existing peeling cabinet face needs the damage located and the part underneath checked before you choose a repair.
What belongs in the test and acceptance specification?
The specimen, method edition, exposure settings, endpoint and acceptance rule, all agreed before samples go to the lab. That turns a test name into a result you can buy against.
| Item | What to specify | Why it affects acceptance |
|---|---|---|
| Tested part | Face coupon, finished door, edge or exposed cabinet component | Connects evidence to the relevant construction |
| Material identity | Finish, core, adhesive, edge treatment and preparation | Defines what the report represents |
| Method | Exact standard edition and any agreed deviation | Makes the procedure identifiable |
| Exposure | Contact material, load, duration, cycles and environment as applicable | Makes different results comparable |
| Endpoint | Scratch, wear-through, mass loss, appearance, swelling or bond failure | Defines the reported property |
| Evaluation | Reference sample, observation conditions and recovery stage | Controls how changes are judged |
| Acceptance | Required result, defect definition and report evidence | Prevents a pass label hiding an unspecified limit |
Check the report against the specification line by line. It should name the sample, lab, test date and method, then give conditions and observations. Ask for missing pages or specimen photos when they affect the conclusion. A supplier summary helps you find a report, but it should keep the original units and tested object.
For incoming parts, inspect the approved appearance and edges before installation, and keep both lab testing and delivery inspection in the purchase scope. When the finish or construction changes, decide which results still apply and which need repeating on the new part.
How should you read an antimicrobial claim on a cabinet surface?
Read an antimicrobial claim as a separate performance and labeling question alongside the durability specification. Routine cleaning remains part of using the surface.
ISO 22196 measures antibacterial activity on plastics and other nonporous surfaces under its defined laboratory conditions. The result concerns the tested material and organisms. Field evidence answers another question: a 2021 hospital study followed objects treated with a silver-, copper- and zinc-containing coating over 12 weeks and found no statistically significant contamination difference from untreated controls.
In the US, the treated-article exemption only covers claims that a treatment protects the item itself; claims to control germs that affect public health need EPA registration (guidance updated May 5, 2026). Put the actual claim wording, its registration or exemption basis, and the test method and organisms beside the other acceptance documents. The antimicrobial surfaces guide explains the mechanisms, research evidence and US claim boundaries in more detail.
Emissions and fire documents answer different questions from these surface durability tests, so file them separately. The furniture off-gassing guide covers odor and chemical emissions from new furniture; TSCA Title VI compliance covers formaldehyde emission certification and labels for composite-wood panels; and ASTM E84 Class A is a surface-burning classification for the interior finish construction that was tested. Use the supplier evaluation checklist to keep each document tied to the material it actually covers.
What evidence accompanies a silicone-faced furniture film?
Puremorfilm supplies decorative film with a silicone functional surface for flat furniture panels. Our paint-free material uses this functional face, distinct from PVC, melamine, PP and PETG decorative faces. Our silicone surface is inherently flame-retardant; higher grades are available on request up to UL 94 V-0. Our film uses a No DOP formulation.
In the manufacturer’s laboratory tests, coffee, red wine and lipstick rested on the surface at 25°C for 24 hours, then wiped off with no obvious change. SGS recorded no obvious scratches on the submitted sample with a Mitsubishi Uni 2H pencil, 500 gf, 45° and three lines at least 20 mm long. Its separate abrasion report recorded slight matting after 2000 cycles under ASTM D4060-25, CS-10 wheels, 1000 g per wheel and 60 rpm.
We mainly supply film rolls, offer film-faced panels on request, and use PUR adhesive for flat lamination onto board. Floors, stovetop worktops and shower floors are excluded applications. These are specimen and formulation records for reviewing the furniture film; assess the completed cabinet construction against its own specification.
Which evidence should guide the cabinet finish decision?
Evidence for the failure you expect, judged against a defined specimen and acceptance rule. Comparable reports beat the biggest isolated number in a product guide.
- For a frequently touched face, evaluate the relevant scratch and abrasion endpoints, then compare the approved appearance.
- Compare spill tests using the specified agents, exposure and residual change after cleaning.
- For vulnerable door edges, obtain evidence for the actual seam and edge construction under the required moisture exposure.
- Assess a coating or facing bond with a suitable method and record the failure location.
- For certification, verify the exact product’s covered status and the performance program involved.
Keep gaps in the evidence visible. A report on an unidentified sample or a different core is a reason to request the right test before you accept the new construction. For a flat furniture-panel project, bring the intended use, core, edge construction and required test endpoints when you contact us.
All articles in this cabinet surface testing guide
- Scratch and hardness: Pencil hardness test; Scratch-resistant kitchen cabinets.
- Hygiene claims: Antimicrobial surfaces.
Frequently Asked Questions
How do you test durability?
Expose an identified specimen to the relevant damage mechanism, then measure or grade a defined change. For cabinet surfaces, that means scratch, abrasion, spill, moisture or adhesion tests on the proposed finish and construction.
How do you tell if your cabinets are solid wood?
Look at an unfinished edge: solid wood shows lumber all the way through, while plywood, particleboard and MDF show layers, particles or fibers. A woodgrain face can be veneer or a printed facing.
Is a steel cabinet durable?
Yes, if its construction and finish pass the applicable tests. The cabinet standard includes a rust-resistance test for metal cabinets.
How can you tell if kitchen cabinets are waterproof?
Ask for finished-part test evidence that names the construction, exposure and result, including edges and seams. A damp-cloth check tells you little.
What are the signs of water damage in kitchen cabinets?
Swelling, lifted edges, bubbling and finish changes near the wet area. Check the material underneath and fix the leak before any cosmetic repair.