
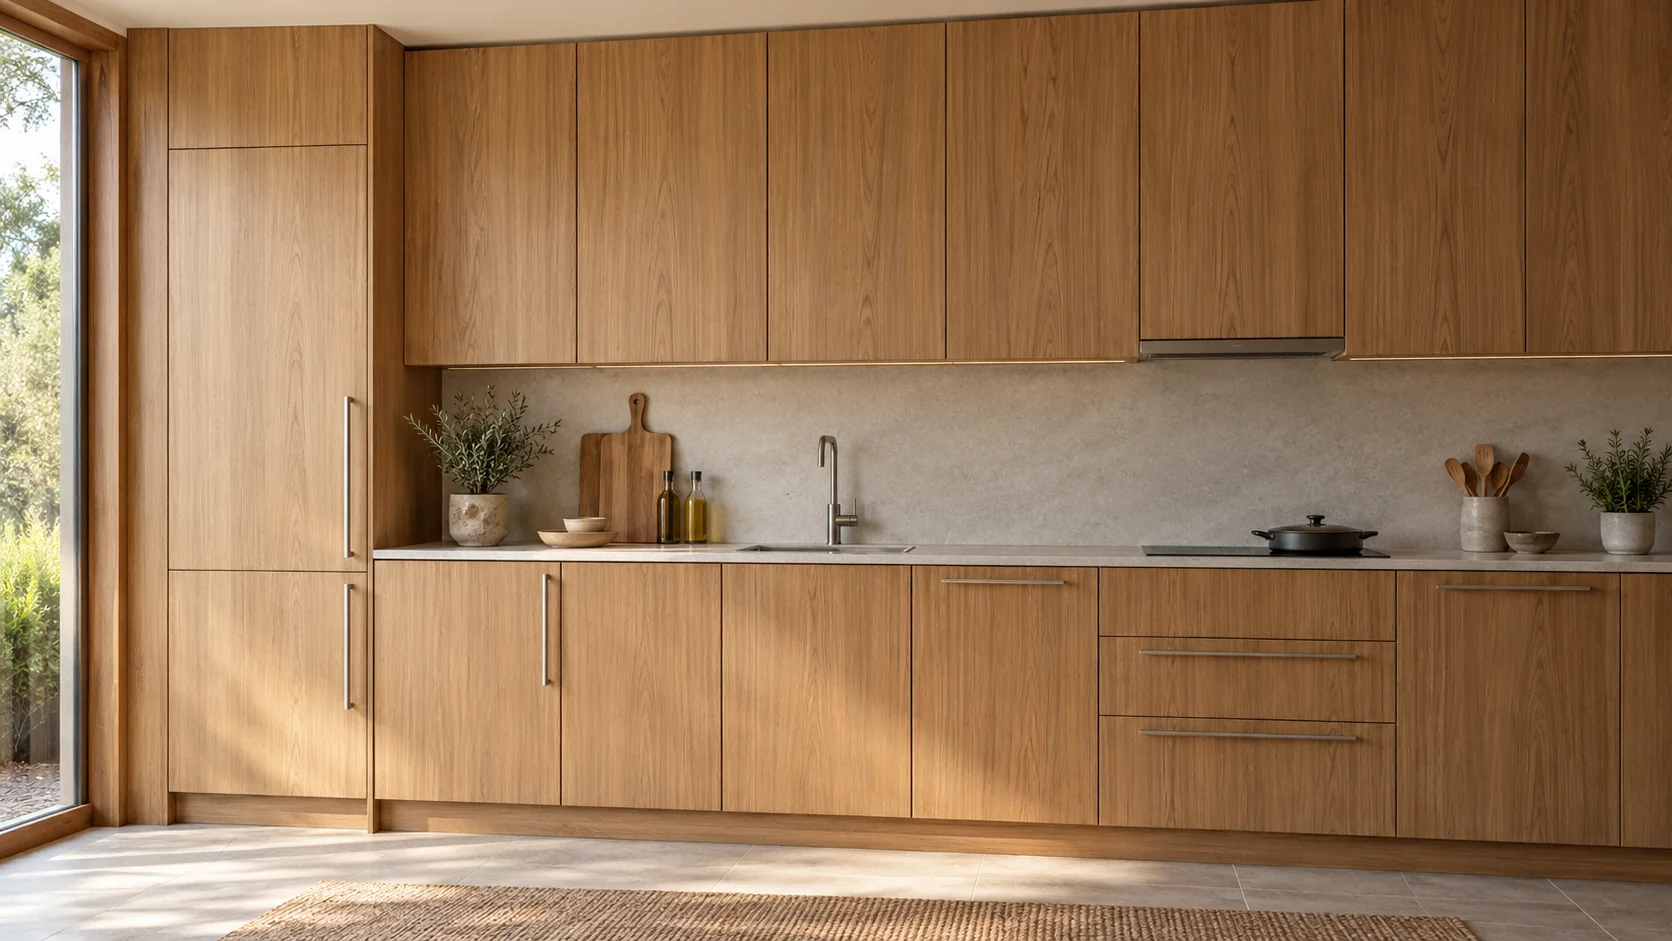
Textured kitchen cabinets get their character through a visual pattern, an embossed surface you can feel or grooves shaped into the door itself. Choose the type for the appearance and touch you want, then check grain direction, pattern scale and finished edges across the whole run. A full-size sample gives a clearer answer than a texture name.
Start with the distinction between a surface that looks textured and one that has physical relief. Both can work in a kitchen, but they produce different experiences up close. A design that looks calm from across the room can also feel strongly textured when you reach for the door.
What makes a kitchen cabinet “textured”?
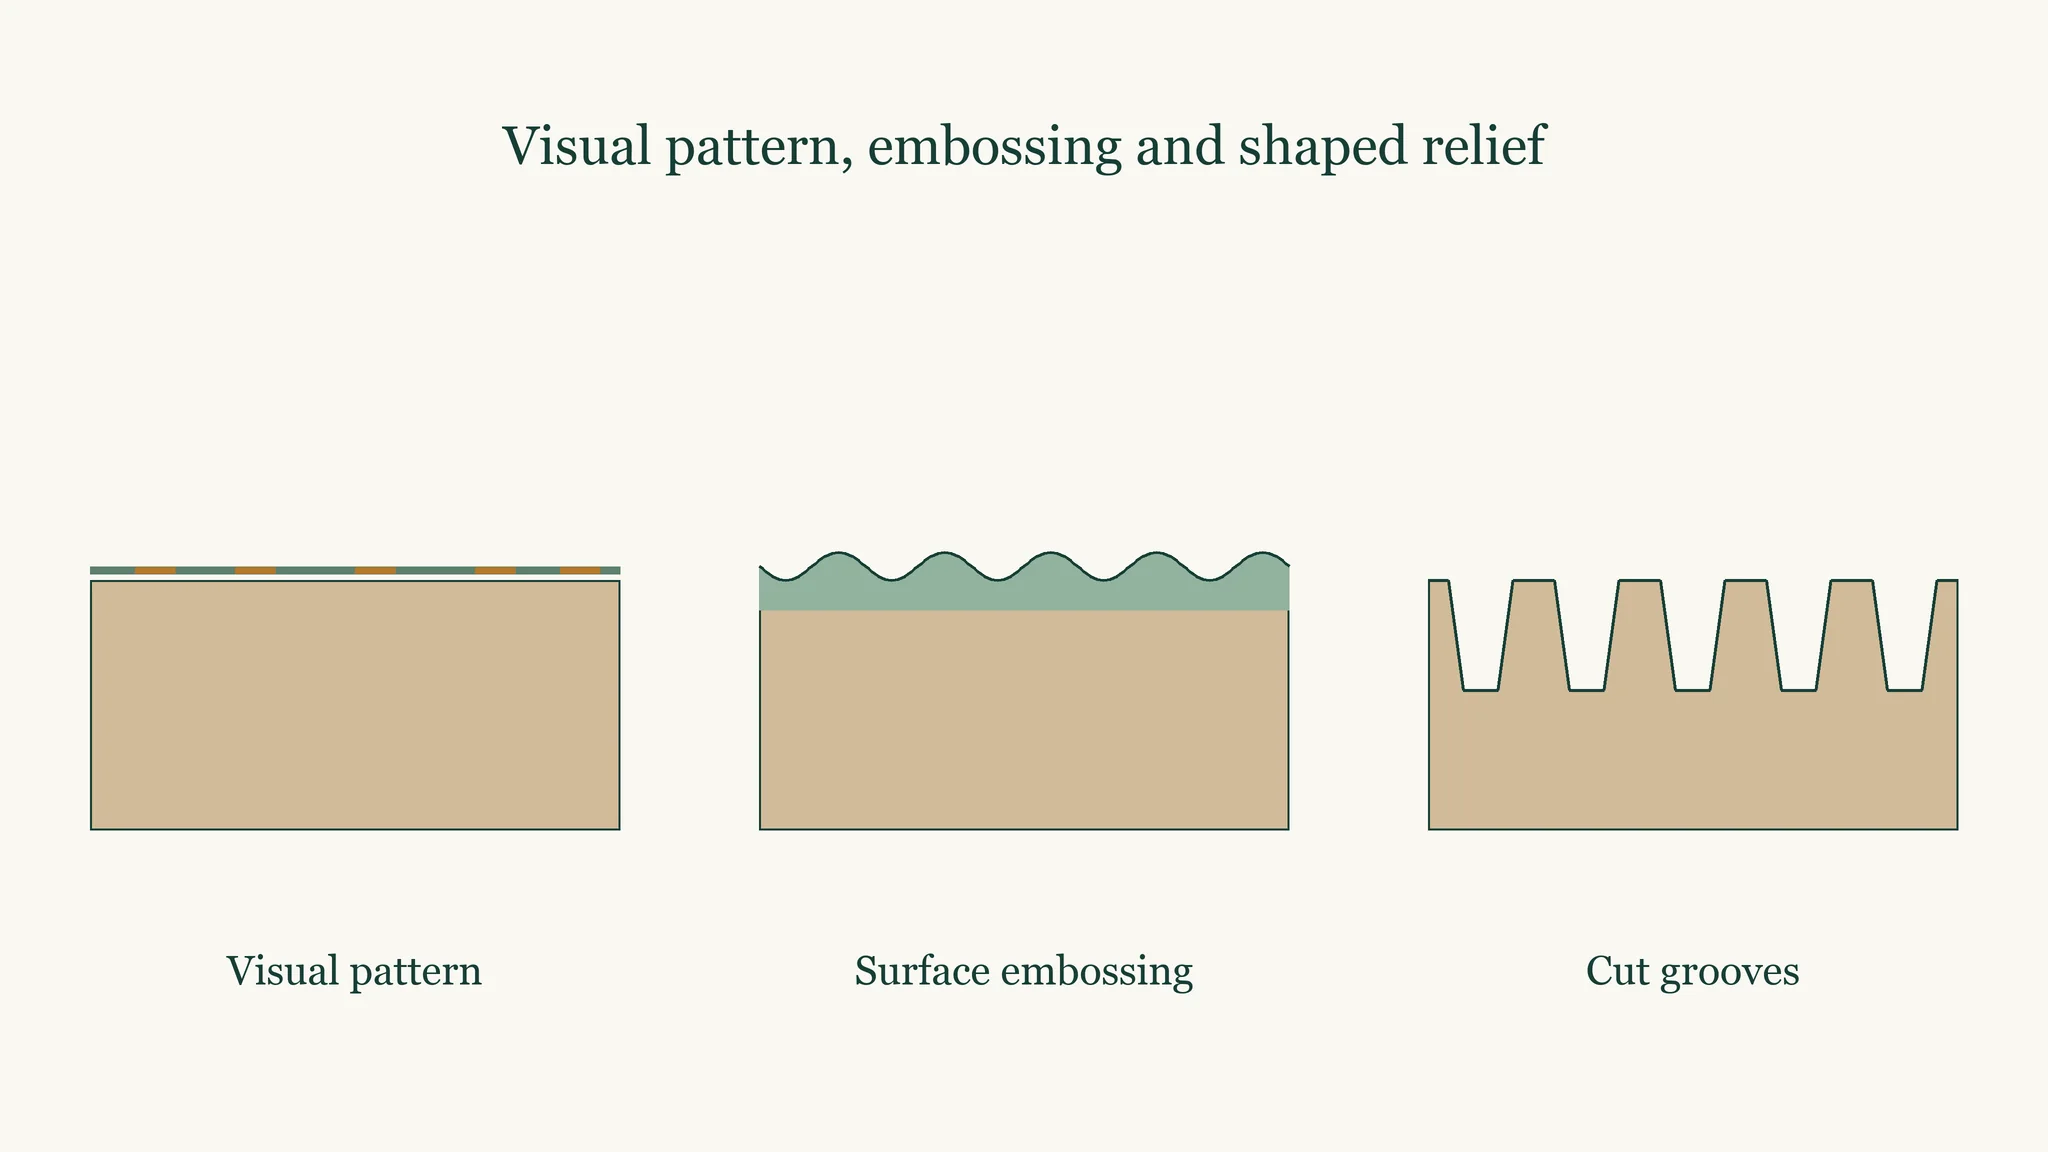
A cabinet can look textured through a printed wood or stone image, feel textured through an embossed surface, or have visible relief cut into the front. Embossed-in-register describes relief aligned with the printed pattern. Identify which effect you want before choosing a material or approving the appearance of a sample.
| Type | How the effect is made | What you see | What you feel |
|---|---|---|---|
| Visual pattern | An image suggests grain, stone or another material | Lines, color and apparent depth | The actual surface may remain flat |
| Embossed surface | A process gives the face physical texture | Relief visible in reflected or side light | Raised and recessed surface detail |
| Cut or grooved front | Tooling shapes the front itself | A repeating shaped profile | A contour in the door face |
| Embossed in register | Embossing follows the visual pattern | Relief positioned with the image | Texture corresponding to visible features |
The Getty formal-analysis resource distinguishes physical texture from texture conveyed visually in two dimensions. That distinction is useful at the sample stage: the printed image and the actual surface can be assessed independently.
For a specific manufacturing example, the Composite Panel Association’s TFL explanation describes steel press plates embossing the decorative overlay. This is a TFL process example, so it should stay attached to that material.
Look at the sample face-on, turn it toward the light and feel it. Those simple observations tell you more about the intended effect than a catalog category that groups several different constructions under “textured.”
How do a printed grain and an embossed grain differ?
A printed grain creates a visual image; an embossed grain adds physical relief to the surface. Embossed-in-register goes further by aligning the relief with features in that image. View the sample under side light and touch it to decide how much physical texture you want alongside the visible pattern.
The association’s 3D and 2D laminate resource defines registration through that alignment. A surface can be embossed without its raised and recessed areas following every visible grain feature. Ask to see the actual finish when that relationship matters to the design.
A large photograph can exaggerate the visual effect of grain while giving little evidence about its depth. The reverse can also happen: a restrained image may have relief that is obvious under a hand or in grazing light. Judge those properties on the physical sample.
The tactile interior design guide discusses how touch changes a material experience. Here, the immediate choice is whether the kitchen needs visual pattern alone or a surface with a corresponding feel.
Use the same light direction when comparing candidates. Turning each sample differently can make the comparison misleading because reflections reveal relief differently. Once you have selected the physical effect, compare it with the cabinet color and the surrounding surfaces as a separate design decision.
Which textures suit which kitchen style?
Woodgrain can support a warm, natural-looking kitchen; quieter stone or fabric-like patterns can keep broad elevations restrained; grooves can give an island or selected fronts a stronger sculptural presence. Use a strong cabinet texture with calmer neighboring surfaces, then check the complete combination using the actual material samples.
These are design starting points, not performance rankings. Begin with the surface that will carry the strongest pattern. If the countertop already has large, contrasting movement, a more restrained cabinet face may make the room easier to read. If the worktop and walls are quiet, the doors can carry more of the visual character.
Compare the pattern’s contrast as well as its subject. Subtle woodgrain and highly contrasting woodgrain can make the same door layout feel different. A stone image can likewise be quiet or dominant depending on the scale and contrast of its markings.
For a smaller accent, consider the island, a pantry front or a selected group of doors. Repeating the texture throughout the entire elevation is another legitimate choice when the surrounding materials support it. Look at the proposal from the room entrance and from the working positions, where the surfaces appear at different distances.
Keep gloss in the comparison as its own property. The matte versus gloss cabinet guide covers that choice. A wood image, a physical texture and a gloss level can vary independently, so select the combination you intend to order.
How do fluted and grooved fronts differ from surface embossing?
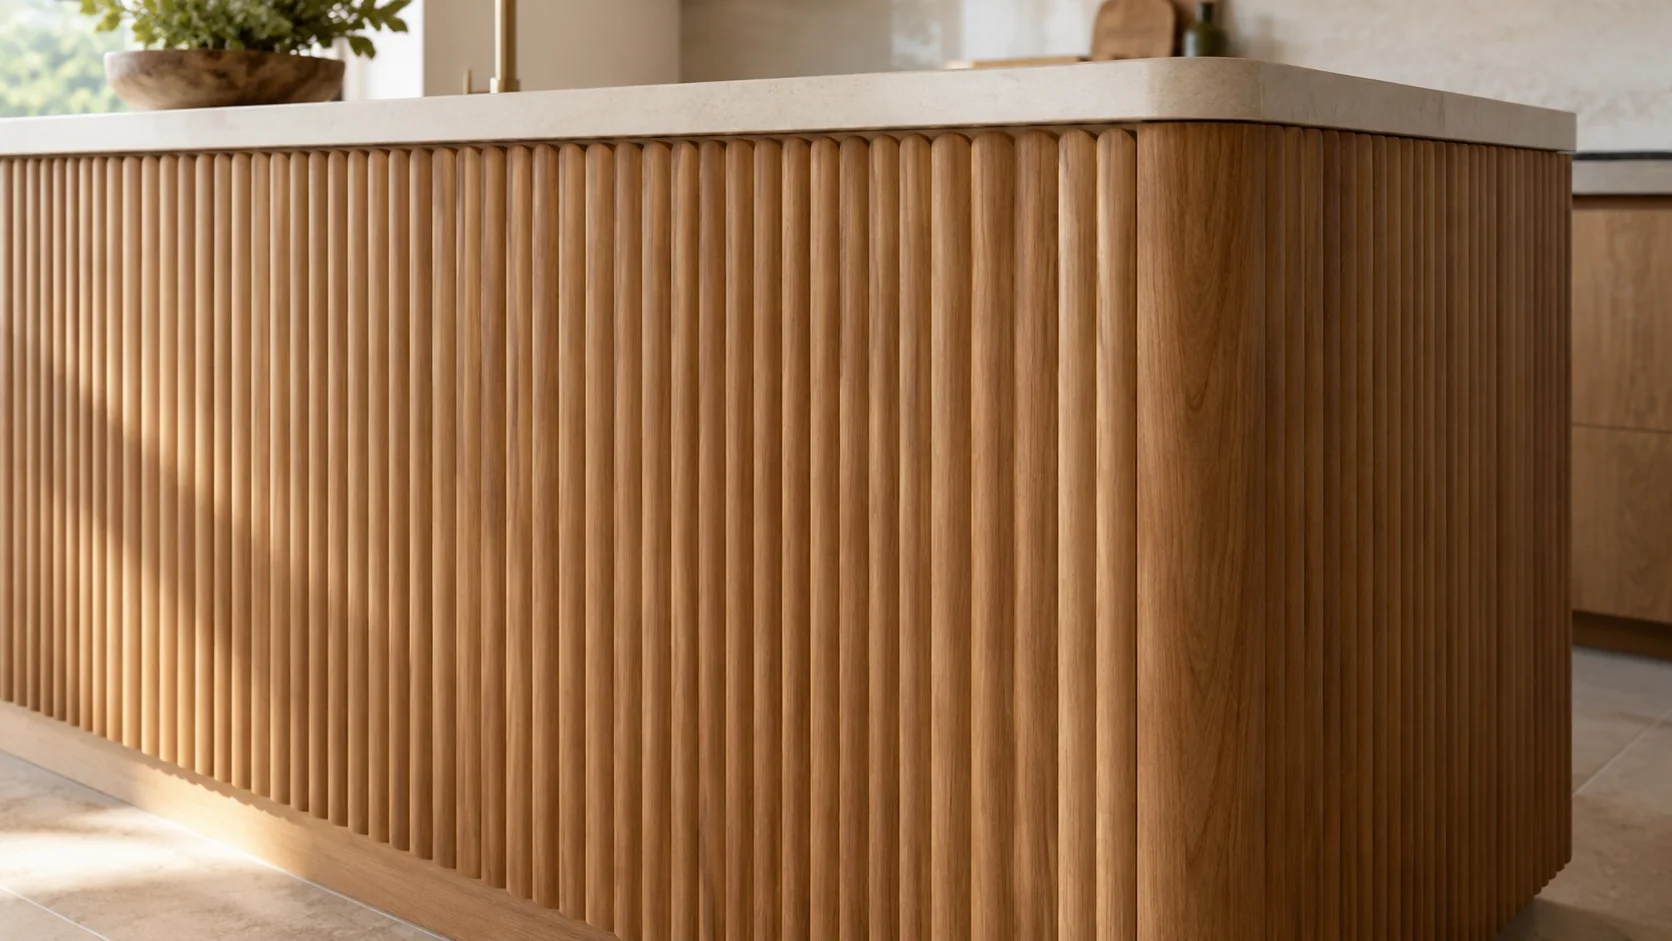
Fluted or grooved fronts have a shaped contour in the door face, while embossing creates texture in a surface layer. The shaped front needs a finishing route that follows its contour or a coating applied after shaping. Choose that construction before assuming a flat decorative film can cover the proposed groove pattern.
A tool-maker’s engraving description gives a concrete example of tooling cutting decorative relief into wood or wood products for doors, drawer fronts and panels. The geometry is created in the component itself.
Formed decorative laminates are another generic route for covering contoured components. A flat face with a lightly embossed surface is a different construction from a door with a shaped profile.
For a fluted island, ask to see the finished groove and its edge or end transition. A front view can hide how the finish behaves around the contours and how the pattern stops at a drawer boundary. Inspect a complete finished sample with the same profile as the proposed front.
Terms such as fluted, reeded and grooved do not provide a dimensioned section by themselves. Use the actual drawing and sample to identify the intended shape.
How should grain direction and scale work across a run of doors?
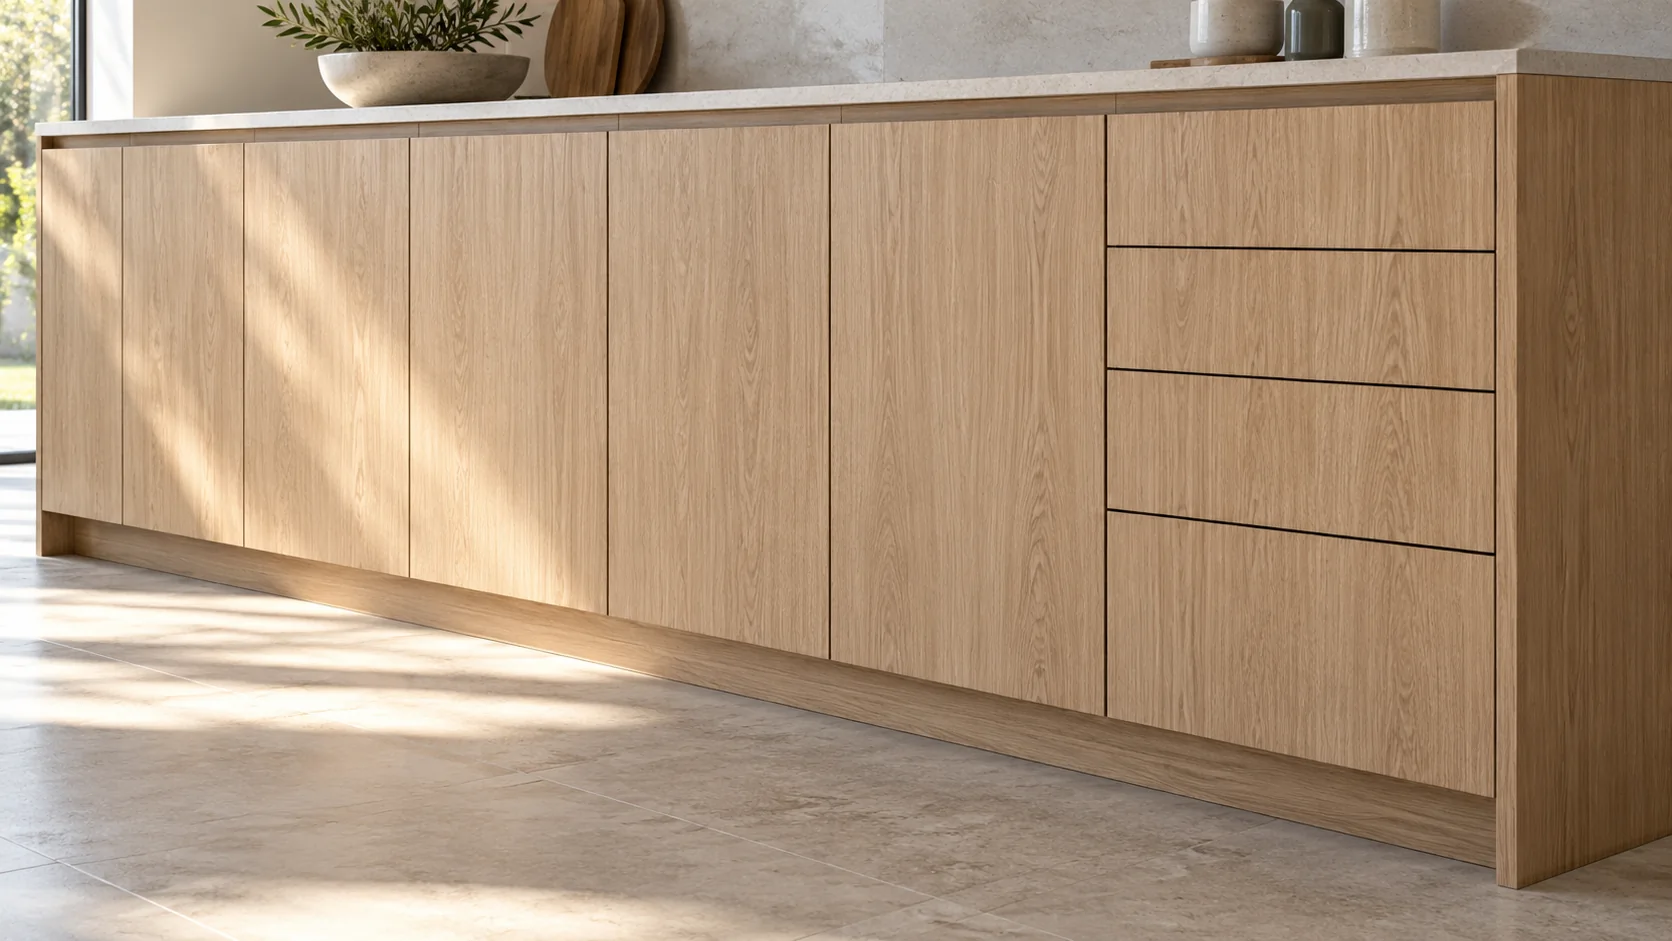
Set the grain direction on the complete elevation, then check neighboring doors, drawer fronts and end panels together. A large pattern can be interrupted by narrow pieces or repeated openings. Use adjacent full-size samples to see the joins and scale before approving a texture from a small isolated swatch.
Mark direction arrows on the elevation so every visible component has an intended orientation. Decide where the pattern should read as continuous and where a deliberate change of direction belongs. This is a design instruction, so show it directly on the drawing that accompanies the finish selection.
A drawer stack introduces several horizontal breaks, while a tall door gives the pattern a larger uninterrupted area. Examine both if they share the same finish. A grain image that looks balanced on the tall door may appear as disconnected fragments across the drawers.
Include exposed end panels in the review. They are seen from another direction and can carry a larger pattern area than a door. Their relationship to the front elevation can affect whether the cabinetry appears coherent from the side of the room.
Pattern continuity also depends on what the actual supplied material and fabrication allow. Approve the proposed arrangement on the finished components and record it, without treating a small swatch as a guarantee of continuous grain across an entire installation. Keep a photograph of the accepted arrangement with the marked elevation.
What should a finished sample show before you choose?
A finished sample should show the visible pattern, relief under touch and side light, intended grain direction, complete edges and corners, and the care instructions for that exact finish. View it with the other kitchen materials under the planned lighting. The sample should represent the object you will actually see and handle.
| Item | What to check | Why it helps the decision |
|---|---|---|
| Texture type | Visual pattern, embossing or shaped relief | Confirms the intended effect |
| Physical relief | Touch and side-light appearance | Reveals what a photograph can miss |
| Pattern arrangement | Direction, scale and adjacent pieces | Checks the complete elevation |
| Edges and corners | The finished transition around the component | Connects the face choice with its construction |
| Care instructions | Guidance for the exact surface | Connects appearance with its maintenance requirements |
Place the cabinet sample beside the countertop, backsplash and other room materials. Turn the group toward the planned light and look from normal viewing positions. The objective is a combination that works together, not a collection of individually attractive samples.
For maintenance, use the easy-clean decorative surfaces guide to frame the questions and obtain instructions for the actual finish. Relief and pattern alone provide insufficient evidence for a cleanability ranking.
Likewise, use relevant cabinet surface durability evidence when damage resistance matters. Keep that performance assessment tied to the particular face and construction.
Save the accepted sample identity and elevation together. If the pattern, direction or edge treatment changes during ordering, revisit the whole grouping before treating the replacement sample as equivalent.
Where does a custom silicone decorative surface fit?
Puremorfilm makes decorative film with a silicone functional surface for flat cabinet fronts, with texture and gloss customized to the project. We mainly supply rolls for PUR flat lamination, with laminated panels available on request. Select the face through a sample and plan shaped or grooved fronts using their own finishing route.
We use a No DOP formulation. The silicone surface is inherently flame-retardant, with higher grades up to UL 94 V-0 available on request. In the manufacturer’s laboratory tests, coffee, red wine and soy sauce left at 25°C for 24 hours wiped off with no obvious change.
The material has a leather-like feel and some elasticity and is unsuitable for floors, stovetop counters, shower floors or walked-on areas. Our furniture decorative film is a paint-free material with a silicone functional face, distinct from PVC, melamine, PP and PETG decorative faces. Free samples are available.
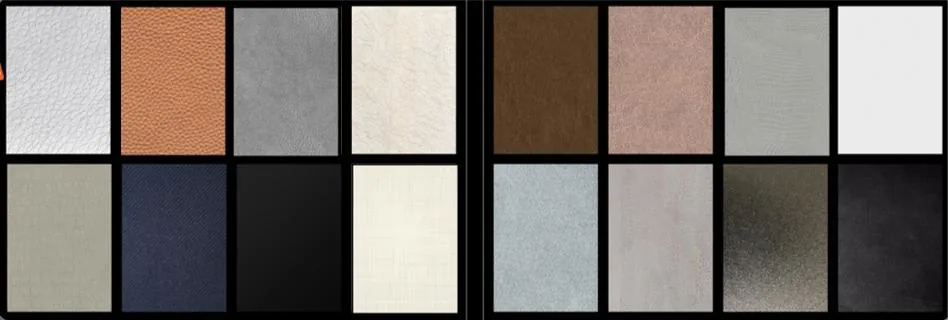
Which texture should you choose for your cabinet fronts?
Choose a visual pattern for a textured appearance with a flat face, embossing when physical relief matters, or shaped fronts for a stronger sculptural accent. Then settle grain direction across the elevation and approve finished samples under the room lighting. Check edges and care guidance before committing to the complete set.
| Desired effect | Texture to examine | Confirm on the sample |
|---|---|---|
| A patterned face with a flat feel | Printed grain or another visual image | Pattern scale and gloss |
| Visible pattern with tactile relief | Embossed texture, including registered examples where offered | Actual relief and its relationship to the image |
| A sculptural accent | Grooved or shaped fronts | The finished contour and its application route |
| A coherent cabinet run | The selected face across adjacent components | Direction, joins, drawer breaks and end panels |
Select the texture type, mark the elevation, approve the full-size samples and confirm the finished edges and care instructions. Keep those choices together when ordering so the material name does not have to carry the entire design brief.
For a flat decorative-face discussion, contact us with the desired texture and gloss, application area, elevation drawing and sample photographs.
Frequently Asked Questions
Do textured surfaces make a kitchen harder to keep clean?
No, not in every case, although deeper relief or grooves can collect grime in recesses that are harder to wipe than a smooth face. A shallow texture presents a different surface to wipe. Follow the care guidance for that exact finish and inspect a finished sample before choosing it for a busy area.
Do textured kitchen cabinets date faster than smooth ones?
No, a texture label does not determine how quickly a kitchen will look dated. Pattern strength, color and the amount used all affect the design. A localized accent can also be changed more selectively than an appearance repeated across every front.
How should I mix textured cabinets with countertops, backsplashes, and flooring without overwhelming the room?
One strong pattern should lead, with calmer neighboring surfaces around it. Assemble the actual samples to check their contrast, color and scale together under the kitchen lighting. Judge the group from the viewing positions you will use in the room.
What’s the easiest way to test if textures will work together?
The easiest test is a shared sample board, with cabinet, countertop, wall and floor samples viewed together under the planned kitchen lighting. Include a physical cabinet sample so you can assess both its relief and its visual pattern.
Can texture be added without remodeling the entire kitchen?
Yes, replacement doors and drawer fronts or a selected group such as the island can introduce texture. Check the new fronts against the retained cabinetry and surrounding materials, then confirm that the chosen construction and edge details suit the proposed components.