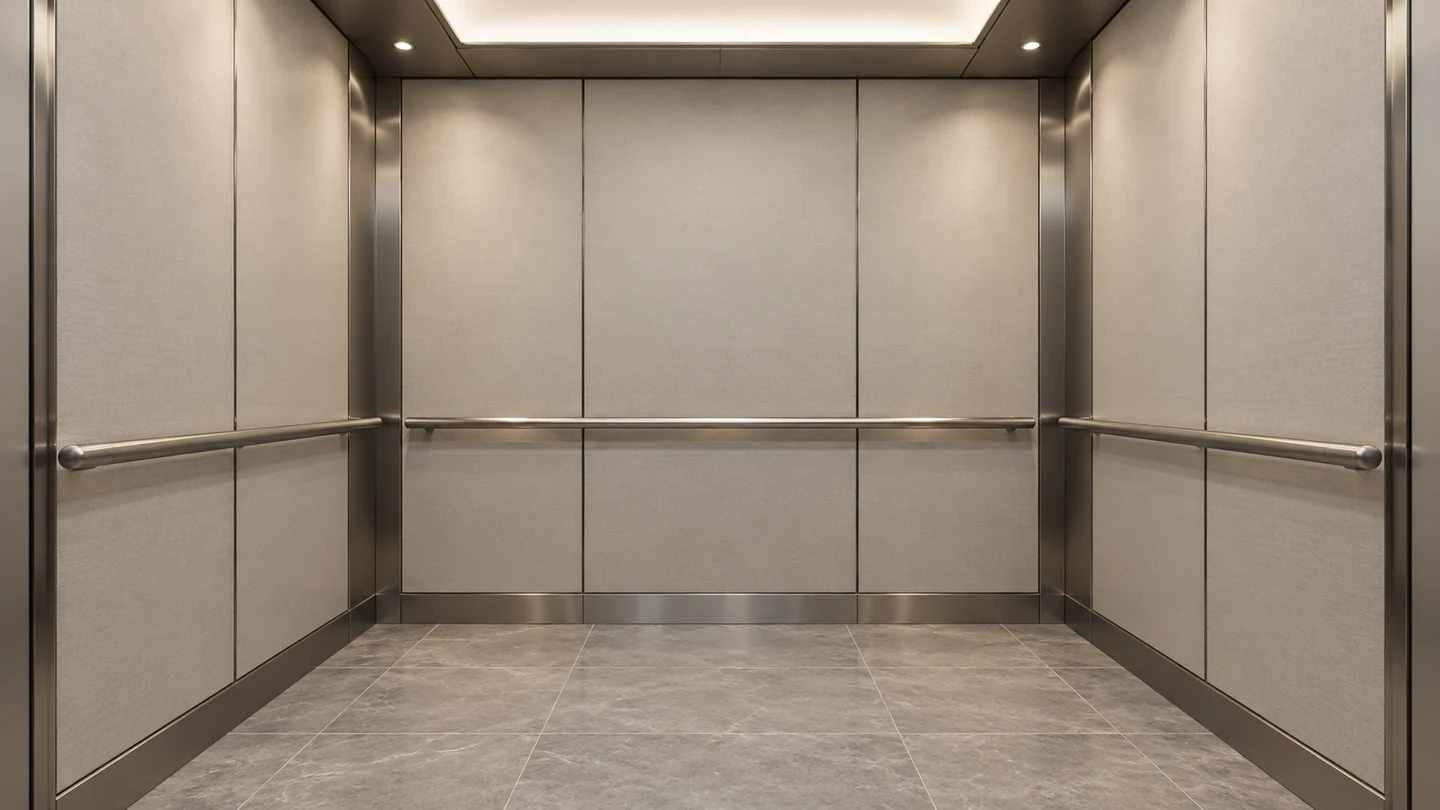
Elevator interior refurbishment replaces finishes inside an existing cab, including wall panels, ceiling, lighting, floor and handrails, while retaining its machinery. One contractor puts on-site work for most standard cabs at one or two days after the new panels are made; survey, design, fabrication, permits and inspection extend the overall project.
New finishes also change the cab’s deadweight and have to satisfy the locally adopted elevator rules. Start with an elevator contractor who can assess the existing car, proposed construction and approval route. Then decide how much of the interior is worth replacing.
What does an elevator interior refurbishment include?
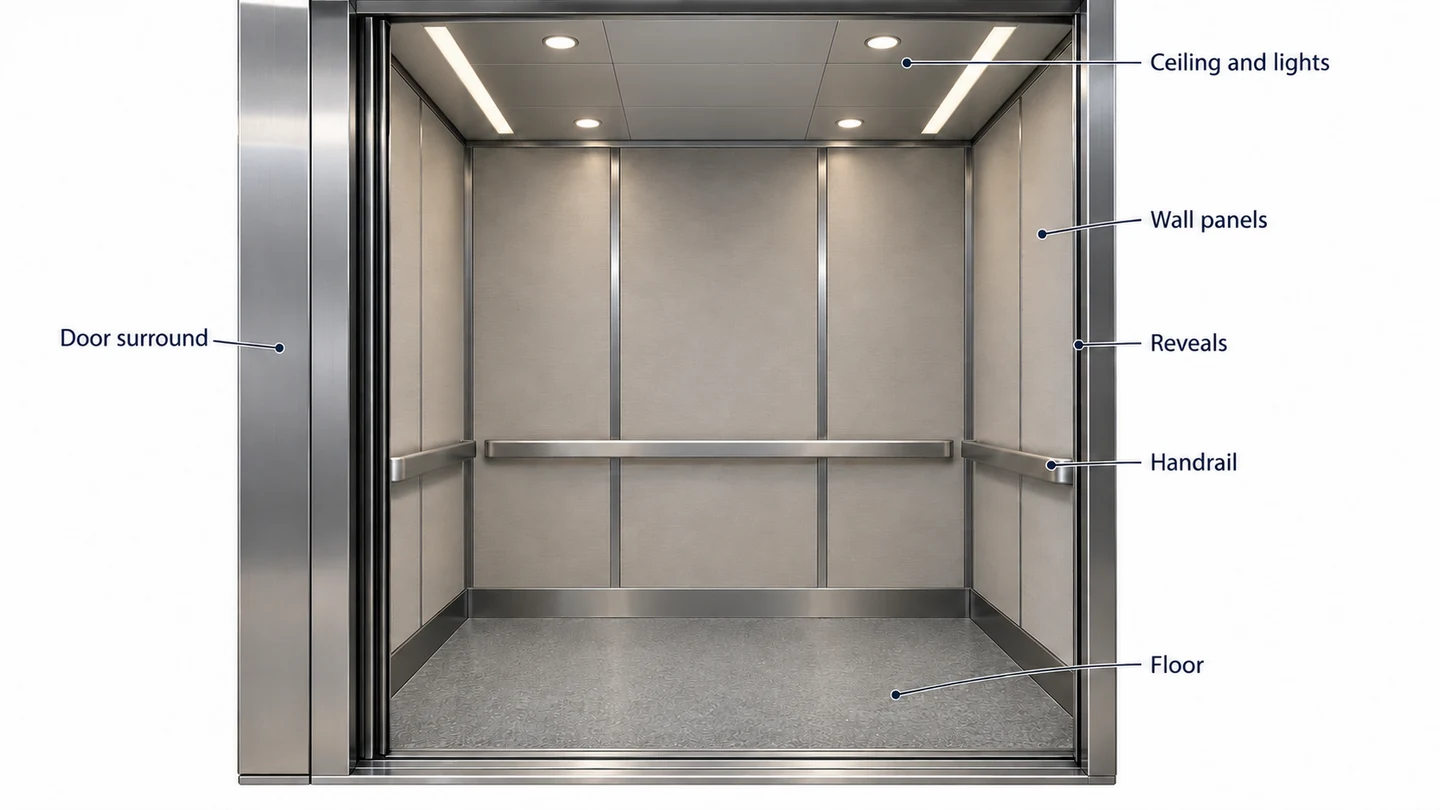
It includes the visible cab finishes: wall panels and the narrow reveals between them, ceiling and lights, flooring and handrails, sometimes with door-face or operating-panel finishes. A machinery modernization addresses equipment such as the controller, drive or door operator.
A tired-looking cab can therefore be a finishes project even when the elevator’s equipment remains in service. A new wall finish does nothing for that equipment, so keep any modernization as a separate scope for the elevator specialist. Describe those scopes independently when comparing proposals.
The interior remodeling overview, published in January 2022, describes both partial changes and a full interior remodel. That distinction is useful before choosing materials: replacing a damaged wall panel and commissioning an entirely new ceiling, lighting and floor are different jobs.
In an office building, a cab is part of the route from lobby to tenant floors. In a hotel, its finishes may need to work with luggage traffic and housekeeping. The commercial interior applications page places these panel finishes alongside the other surfaces a refurbishment may need to coordinate.
When is a partial refresh enough?
A partial refresh is useful when selected panels are scratched or dented, the lights look dated, or a few visible finishes need attention. A full remodel makes more sense when deterioration or an outdated design runs through the whole cab.
Shallow marks on stainless steel may be refinished, while a dent needs a different repair or covering approach. Examine the actual damage before treating every marked metal face as a replacement job. Likewise, a damaged decorative panel may be replaceable while serviceable handrails and ceiling components remain.
For an office passenger elevator, consistent appearance across the front, side panels and ceiling may justify a coordinated change. In a car that also carries deliveries, protecting the most exposed surfaces may matter more than replacing an undamaged ceiling for appearance alone.
Make a retain, repair and replace list before asking for a design. It prevents an attractive rendering from quietly adding work that was absent from the original budget. If the cab is part of a wider hospitality project, compare its color and maintenance needs with the hotel wall panel choices, while keeping the elevator’s material requirements specific to the car.
Which materials work for the different cab components?
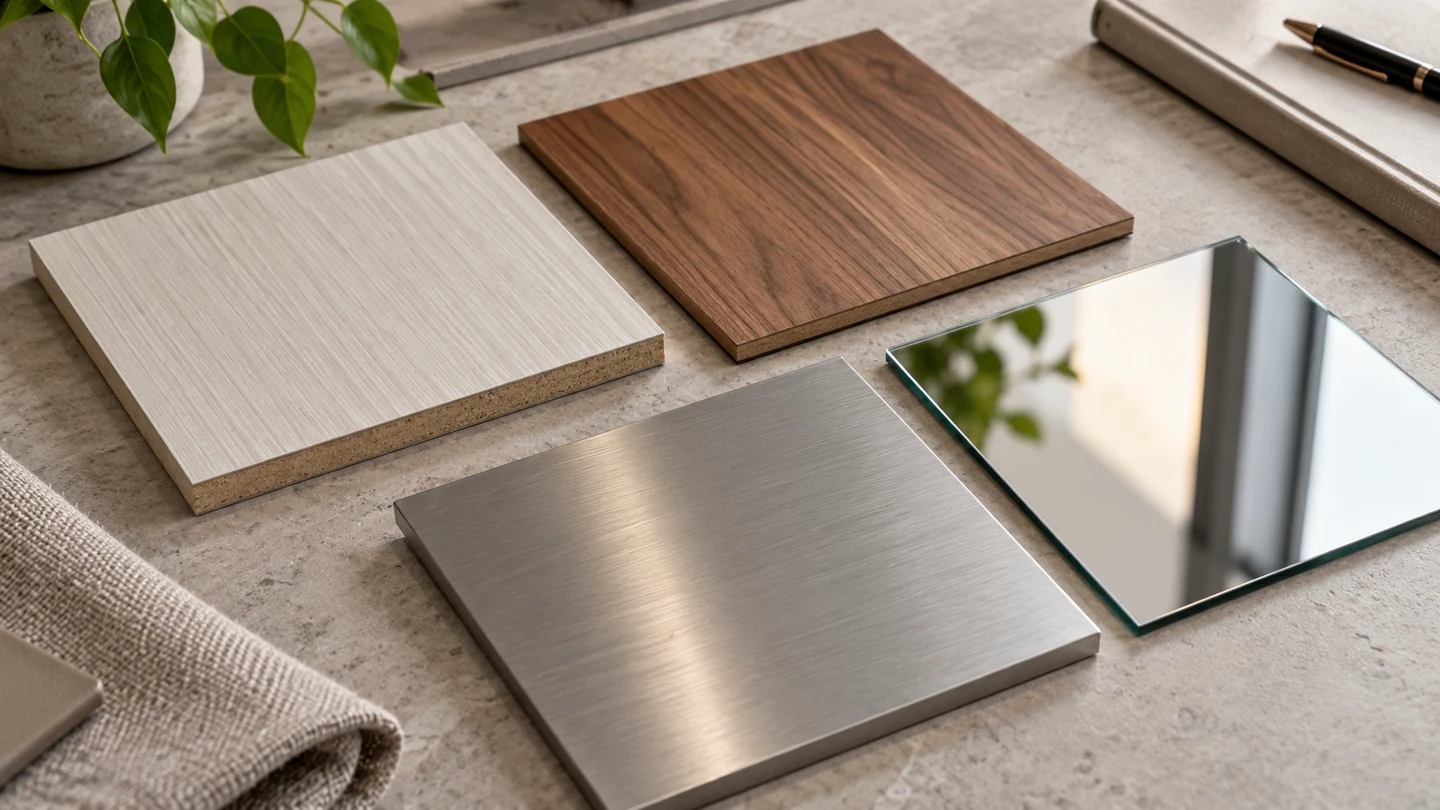
Laminate-faced panels, wood or veneer, stainless steel, mirror and stone are common wall choices; metal or laminate ceilings often incorporate lighting, and the floor is selected as its own construction. Compare the finished assembly’s weight, damage resistance, cleaning and local fire-test evidence.
| Component | Common finish directions | What to compare |
|---|---|---|
| Wall panels | Laminate-faced board, wood or veneer, metal, mirror or stone | Weight, impact and scratch exposure, repair route and tested construction |
| Reveals between panels | Painted or metal details | Cleanability, appearance and junction detail |
| Ceiling and lighting surround | Metal or laminate construction with integrated lights | Available space, access and coordinated professional design |
| Floor | A separately specified floor finish and supporting layers | Weight, slip/use suitability and the applicable floor-assembly evidence |
| Handrails and door faces | Metal and other approved details | Touch wear, cleaning and fit with the retained components |
The Washington Elevator cab-upgrade article, dated July 2025, describes these common panel and ceiling arrangements. Some small older cars have little space to lose to added interior panels. Measure the car before assuming a standard panel construction will fit.
For daily delivery traffic, prioritize replaceable or repairable exposed finishes and protected edges. For a lightly used passenger car, appearance may carry more weight once the required performance is met. The wall panel materials comparison explains face/core choices, and the surface durability test guide helps distinguish abrasion evidence from a claim about knocks or dents.
Which fire, code and permit rules apply?
The rules adopted where the elevator is installed govern the interior work. Use the local authority’s requirements for the actual cab and have the elevator contractor establish permits, material documentation and inspection before fabrication.
Seattle provides a concrete local example. Its 2021 Building Code elevator excerpt adopts ASME A17.1-2019/CSA B44:19 with local amendments. That adopted edition and the following existing-passenger-cab provisions are the context for these numbers.
Section 3011.6.3.2 addresses exposed materials inside the cab and on its hoistway side. It permits metal or materials meeting the stated tests in their end-use configuration: flame spread of 0–75 and smoke development of 0–450 under the listed ASTM E84, ANSI/UL 723 or NFPA 252 routes. The official text includes NFPA 252. Napped, tufted, woven, looped and similar wall coverings have a narrower flame-spread range of 0–25 under the stated provision.
For flooring, its underlayment and adhesive, the same section specifies ASTM E648 critical radiant flux of at least 0.45 W/cm². It lists exceptions for handrails, operating devices, ventilation and signal or communication devices and their enclosures. These branches matter because the wall face, floor assembly and exempt components occupy different parts of the provision.
The city’s inspection guidance describes inspection after an existing elevator is altered, with the elevator contractor scheduling the relevant inspection after completion. It also identifies the Washington contractor-license requirement for installation work. For background on one wall-test concept, see the ASTM E84 Class A explanation; the local elevator clause remains the source for the cab decision.
How much weight can new finishes add?
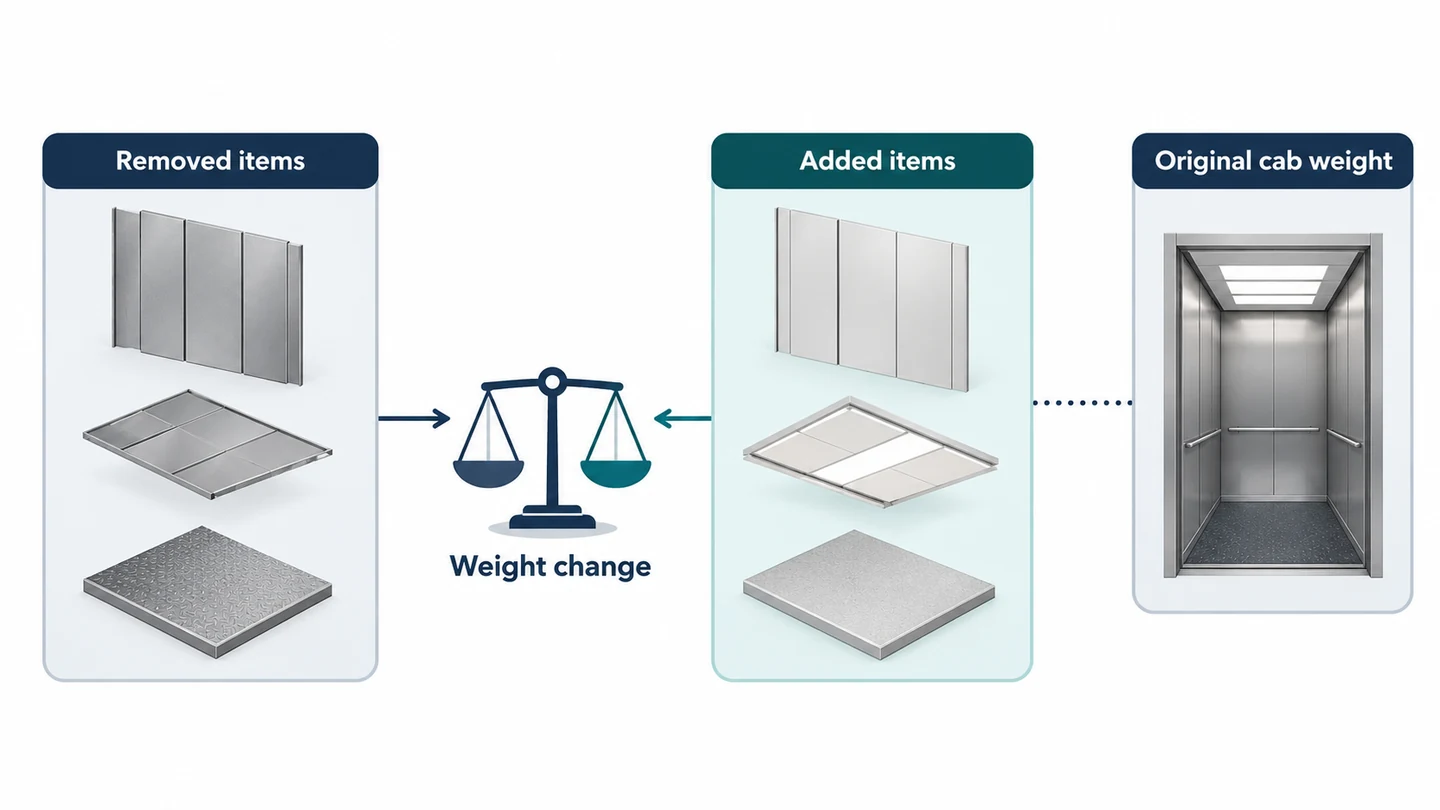
The allowed change needs assessment against the original elevator design and locally applicable alteration rules. Calculate removed and added materials before selecting a heavier finish such as stone, glass or thick metal.
In the Seattle example, section 3007.1.1(10) calls for a weight-differential letter for an aesthetic-only alteration permit. It records the total weight removed, total added and the difference as a percentage of the originally designed cab weight. Section 3011.6.3.3 also refers interior alterations to ASME A17.1/CSA B44 clause 8.7.2.15.2 for changes in car deadweight.
That gives the owner a useful planning task: list every finish and support being removed and every proposed replacement. Include the floor and ceiling alongside the wall panels so a light wall choice does not hide a heavier change elsewhere. The professional calculation then uses the car’s actual design information.
For an older small elevator, both mass and occupied space can constrain an ambitious design. Assess those constraints before commissioning custom panels. A percentage quoted in a contractor article should be checked against the applicable local provision and original design, not carried from another project as a universal allowance.
What is the refurbishment schedule?
On-site installation can be brief after fabrication: the cited cab-upgrade contractor gives one to two days for most standard cabs. The full schedule also includes measuring, design approval, material procurement, fabrication, permit coordination and final inspection.
Accurate measurements are important because custom panels need to fit on arrival. A late change to a mirror size, reveal layout or lighting arrangement can affect fabrication before the car is taken out of service. Settle those choices while drawings can still be revised.
Ask the contractor’s programme to show fabrication separately from shutdown and inspection. The building manager needs to know when the elevator is unavailable, while the designer needs time for sample and drawing approval. Those are different dates even within a straightforward project.
In a building with several cars, discuss staged work so the management team can plan continued access. A single-car building needs a more careful access plan around the proposed shutdown. Treat the contractor’s short standard-cab example as an on-site reference, then build the actual programme around the building and approved scope.
How much does elevator interior refurbishment cost?
Two dated public project records show the scale of complete-project planning: an estimated $60,000 for three existing elevator interiors in Texas, and a $139,000–$169,000 reserve allowance for eleven passenger-cab interiors in Florida. Neither is a national unit-price guide.
| Public record | Date and scope | Stated project amount | Basis |
|---|---|---|---|
| Irving, Texas, TDLR TABS2025025430 | Registered 8 August 2025; three existing cab interiors | $60,000 | Registered project estimate |
| Lauderhill, Florida, condominium reserve study | Report dated 3 March 2025; eleven passenger-cab interiors, component 2517, PDF page 96 | $139,000–$169,000 | Planning allowance based on a similar existing standard and local consultation |
The Florida study notes that a design upgrade can cost more. The two records cover different properties and project scopes, so use them to understand budget scale while keeping each total attached to its own project.
For your building, price the retain/repair/replace list. Check whether doors, lighting, operating-panel finishes, removal, professional installation and approval work are included. A wall-panel repair, a full cab interior and a machinery modernization can appear under similar headings while purchasing quite different work.
Before comparing proposals, align those inclusions and the chosen materials. That makes a larger total easier to read: it may simply buy more components or a more elaborate design.
How does the project run from survey to inspection?
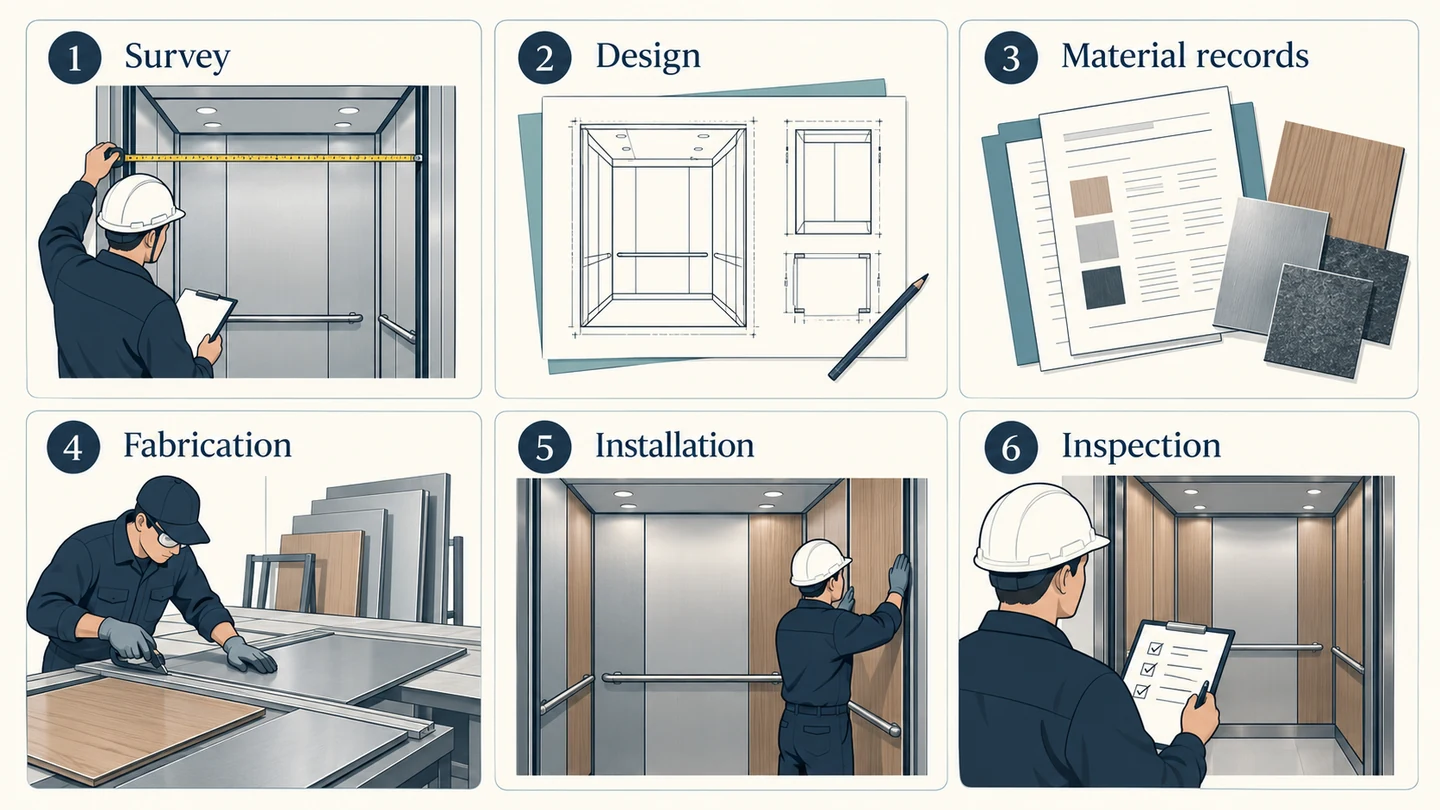
Survey the cab, agree the scope, coordinate material and weight evidence, fabricate the components, arrange professional installation and complete the required inspection. Establish the approval route before releasing materials for manufacture.
The local contractor guidance recommends fire-rating data sheets for all proposed materials, including adhesive, in a Seattle submission. Match those documents to the component-specific local rules and end-use construction, because a wall and a floor can need different evidence.
| Stage | Owner’s useful decision or record |
|---|---|
| Survey | Cab dimensions, existing condition and retained equipment |
| Scope and design | Agreed retained, repaired and replaced components |
| Material coordination | Actual grades, assembly details, fire data and removed/added weights |
| Fabrication | Approved drawings and samples before custom work |
| Installation | Agreed shutdown and building-access arrangements |
| Inspection and handover | Required local inspection and maintenance information |
The supplier evaluation checklist helps keep material records tied to the grade actually offered. For the building manager, the key handover is a cab that has completed its required approval process, with a clear cleaning and repair route for its new finishes.
Where can a silicone-faced panel film fit?
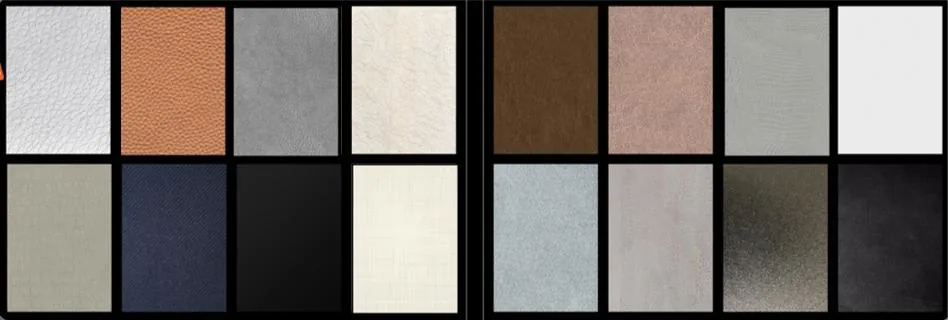
Puremorfilm makes decorative film with a silicone functional face for flat furniture and wall panels, a candidate facing for professionally assessed cab wall panels. We supply mainly rolls for PUR flat lamination, with film-faced panels available on request. The silicone surface is inherently flame-retardant, with higher grades up to UL 94 V-0 on request.
SGS tested a submitted film sample with a Mitsubishi Uni 2H pencil at 500 gf and 45°, making three strokes longer than 20 mm with no obvious scratches. In the manufacturer’s laboratory tests, stated stains held at 25°C for 24 hours wiped off with no obvious change. We use a No DOP formulation. Our newer paint-free face uses silicone functionality, distinct from PVC, melamine, PP and PETG facings.
The commercial millwork film route concerns the facing. A film grade is not cab-material approval: the finished panel needs the applicable local assessment in its use construction. Our film is not suitable for floors.
Which refurbishment path fits your building?
Repair isolated damage where it can be restored, replace selected worn components for a partial refresh, and coordinate a full design where the whole interior needs work. Resolve weight and approval constraints before choosing heavy or custom finishes.
| Building need | Planning route |
|---|---|
| A few marked panels or metal faces | Assess local repair or selected replacement |
| Dated lights with serviceable finishes | Coordinate a targeted lighting and ceiling change |
| Widespread damage or an outdated interior | Scope a full cab remodel |
| Stone, glass or other heavier replacements | Complete weight and assembly assessment before fabrication |
| Several cars to update | Discuss staged shutdowns with the elevator contractor |
For a flat-panel decorative facing, contact us with the cab dimensions, intended finish and locally required material fire-test information.
Frequently Asked Questions
Can you refurbish an elevator cab without replacing the elevator?
Yes. An interior project can retain the elevator equipment while renewing visible finishes, after the elevator professional assesses the existing car and scope.
What materials are used for elevator cab interiors?
Laminate-faced panels, wood, veneer, stainless steel, mirror and stone are common wall choices. Ceilings and floors have their own construction and evidence requirements.
How long does an elevator interior update take?
The on-site installation is the short part for a standard cab once the panels are made; survey, design, procurement, approval and inspection take most of the schedule. The building-specific programme determines the actual shutdown.
What is the difference between a partial and full cab remodel?
A partial remodel replaces or repairs selected finishes; a full remodel coordinates the wall panels, floor, ceiling, lighting and other included interior components. Either scope needs review against the actual cab and local rules.
Does elevator interior refurbishment require a permit or inspection?
Yes, usually. Seattle, for example, requires a permit and an inspection for elevator alterations. The elevator contractor should establish the applicable route for the building before work starts.