

Greasy fingerprints around a handle and a swollen door edge need different responses. To decide how to clean laminate cabinets safely, start with a soft damp cloth and a mild soap your cabinet’s care instructions allow, then wipe off the soap residue and dry the surface straight away.
Which surface and cleaning tools should you identify first?
Find out what the face is, then gather clean, soft, nonabrasive cloths. A cabinet sold as laminate can have an HPL face, a TFL face or a decorative film, and a glossy acrylic front can look the same while needing different care.
HPL is a separate resin-paper sheet glued onto the door (HPL guidance); TFL is decorative paper fused onto the panel (TFL guidance). The category tells you how the face was built. The care sheet tells you how to clean it.
| Item | Suitable starting use | What to keep out of the routine |
|---|---|---|
| Clean soft cloth | Lift loose soil without grinding it across the face | A gritty cloth or rough scouring pad |
| Mild soap permitted for the cabinet | Remove ordinary soil with a damp cloth | An unidentified heavy-duty degreaser |
| Clean water cloth | Remove soap residue without flooding joints | Pouring or spraying liquid into gaps |
| Separate drying cloth | Finish a surface whose care method calls for drying | Leaving water at a bottom edge or hardware opening |
| Finish and care records | Identify the actual cabinet system | Assuming a countertop instruction covers the door |
Look for the order paperwork, a label inside a door or the care leaflet that came with the kitchen. The face name, gloss and edge type tell you more than a store’s general description. Our TFL and HPL comparison explains those face types, and the thermofoil comparison covers wrapped-film doors.
AWI 200, section 3.2.7 calls for a soft, lint-free, lightly dampened cloth for routine care of architectural woodwork. The soap or stain treatment still has to suit your particular finish.
Keep the care sheet with any replacement-door details. A new door with a different gloss can need different handling even if it fits the same opening.
For the wider choice of cabinet cores and door faces, compare kitchen cabinet materials.
What is the routine sequence for an intact cabinet?
Brush off loose crumbs, wipe with a wrung-out soft cloth and mild soap, take off the residue with a clean damp cloth, then dry. Do one door, or one small patch, at a time so the liquid stays under control.
One cabinet manufacturer’s routine-care guidance calls for slightly damp soft cloths, mild soap for spills and a soft cloth for drying, and rules out abrasive cleaners and steel wool.
Start with a fresh cloth; the one you just used on the stove carries grease. Put the liquid on the cloth, not the door, and wring it out. Wipe gently, paying attention to the area around handles, and don’t let liquid sit in a screw hole. Follow with a second clean damp cloth to lift the soap.
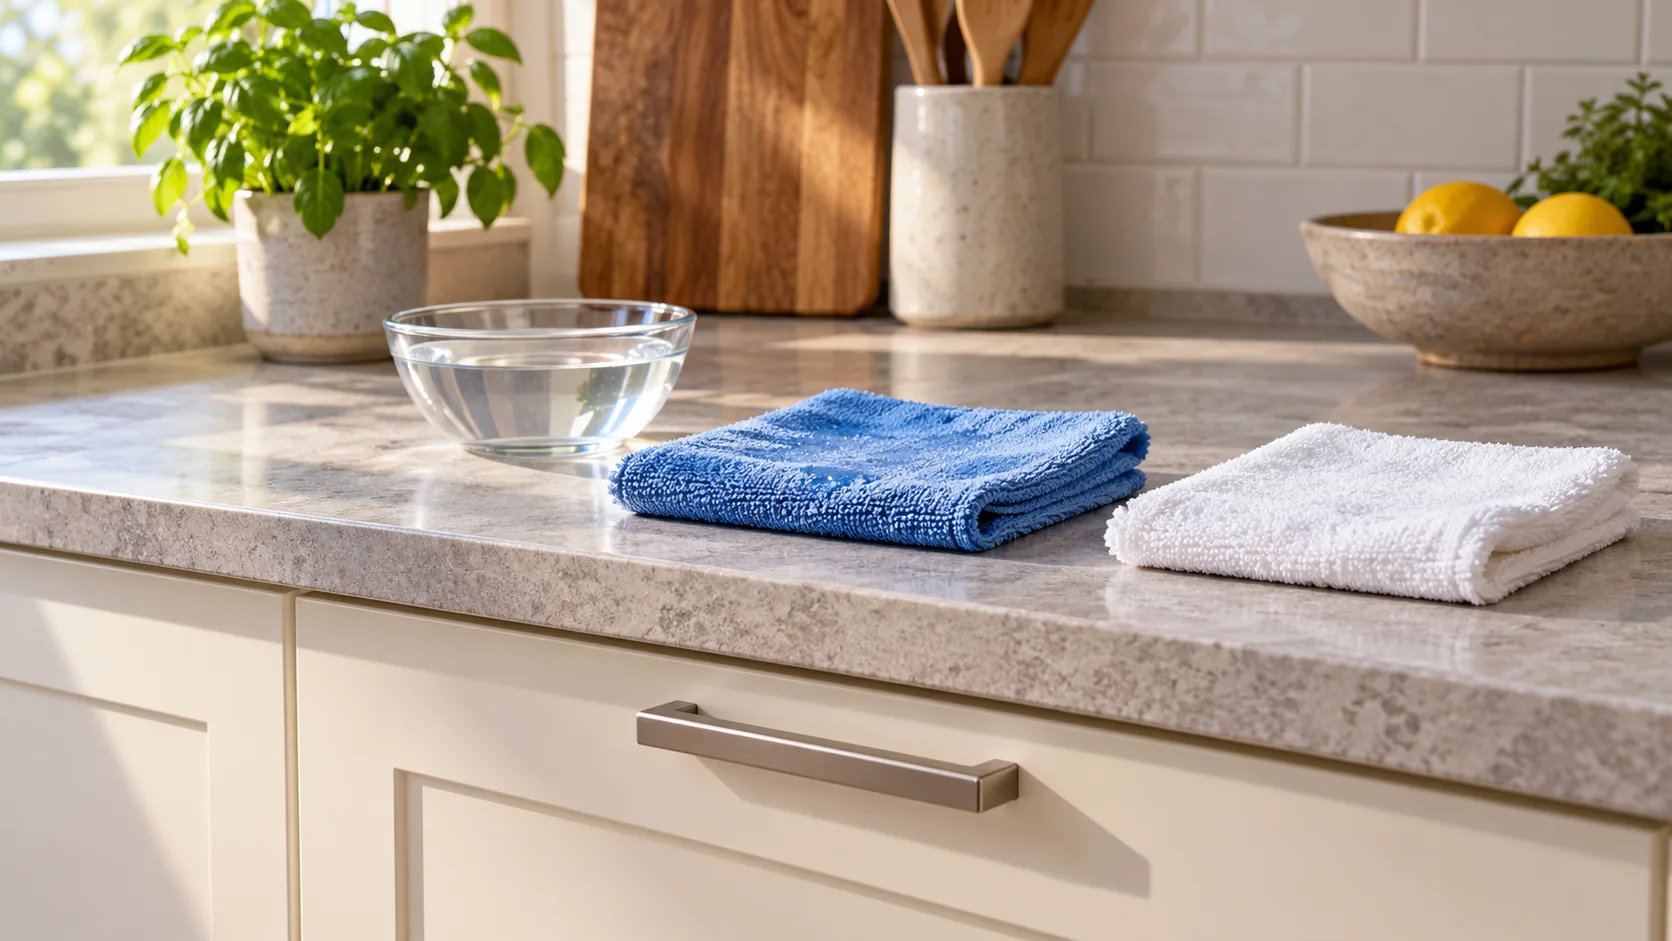
Dry each door before moving on, with a cloth clean enough not to leave streaks. If a mark is still there, look at it again once it is dry and in the same light, because a wet shine hides both residue and damage.
There is no single dilution that works for every detergent. A concentrated cleaner and a mild-soap instruction describe different products, so check the label before swapping one for the other.
How do you remove cooking grease and sticky fingerprints?
With mild soap on a soft damp cloth, turning to a clean part of the cloth as it loads up, and repeating gently before you try anything stronger. Pressing harder or grabbing a scouring pad turns a dirty door into a damaged one.
Treat the area around a handle or the door beside the cooktop as its own small patch. Wipe and check what comes off on the cloth. If you are just smearing the same grease around, switch to a clean section or a new cloth. Rinse off the soap and dry the patch.
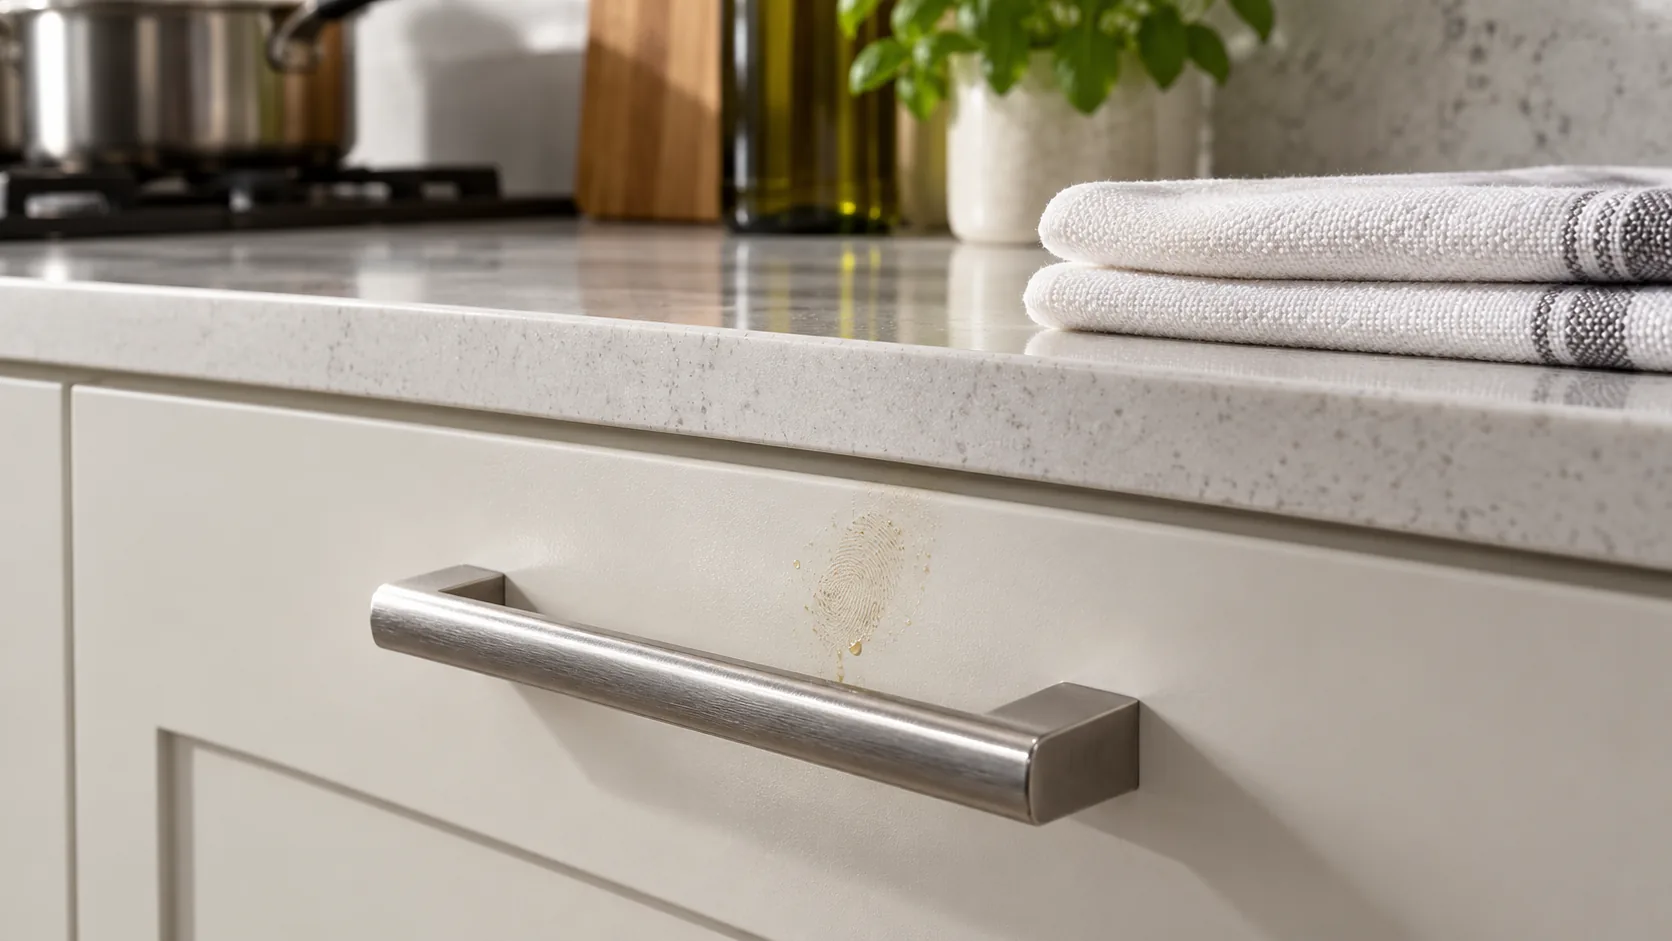
A second cabinet maker’s cleaning guidance uses a soft damp cloth, mild soap and warm water, then drying of surfaces and joints. It rules out petroleum-based, ammonia, alcohol and abrasive cleaners, which matters when you are tempted to reach for something stronger.
If gentle cleaning doesn’t shift a deposit, find a stain remover approved for your finish and test it inside a door or on a hidden edge first. Let it dry and check color, gloss, texture and the edge bond. Write down the product you used, not just “degreaser”.
A sticky patch that keeps coming back in one spot has a cause. Notice whether it follows cooking splashes, hands or a polish someone applied. A note of where and with what makes the next decision easier than trying one chemical after another.
How do you remove stains from matte furniture surfaces?
Remove stains from matte furniture surfaces by identifying the finish, lifting loose dirt and using its approved mild cleaner with a soft cloth. Rinse and dry as directed before judging the mark. Avoid abrasive pads, scouring powders and polishing: a shiny patch or lost texture may be permanent surface damage.
| Stage | Action | Stop condition |
|---|---|---|
| Identify and test | Check whether the matte face is laminate, paint or film; test the permitted cleaner out of sight. | No care instructions: ask the supplier before using a stronger chemical. |
| Lift deposits | Use a clean soft cloth and the approved mild cleaner; change the cloth when dirty. | Do not scrub with a scourer, abrasive sponge or powder. |
| Remove cleaner residue | Follow the rinse and drying instructions, keeping water out of joints. | A haze that disappears when residue is removed needs no polishing. |
| Inspect the dry face | Compare sheen and texture under the same light. | A shiny worn patch, scratch or missing texture needs a repair assessment. |
The cabinet care guide supports gentle cleaning and avoiding abrasive methods; permissions still depend on the actual finish. For damage beyond a removable stain, see the preparation and limits of painting laminate cabinets.
Can vinegar, baking soda, bleach or solvents be used?
Keep bleach, solvents and scrubbing powders out of the routine entirely. A mild vinegar solution is fine on most laminate unless the care guide rules out acidic cleaners, but on a cabinet you can’t identify, start with soap. A natural ingredient isn’t automatically a safe one.
The October 2022 cabinet care guide rules out bleach and highly chlorinated products on its melamine surfaces and acetone on its acrylic ones, and warns against dry wiping gloss/acrylic. A chemical allowed on one surface in that guide is not allowed on the others.
The HPL face, its edge band, the glue line and the hardware around it are different materials that all meet the same liquid. Our laminated MDF guide explains that build. A product approved for the bare face sheet still needs checking on the assembled door.
Skip oven cleaner, steel wool and powdered scourers on cabinet fronts, and never mix cleaners. A scratch from scrubbing or a dull patch from a chemical is damage to assess. More of the same treatment won’t fix it.
Disinfecting is a separate job from cleaning. A disinfectant needs its own label for the surface and contact time, plus a check that it suits the cabinet. Soap cleaning removes grime; it is not a disinfectant method.
What do yellowing, haze, bubbles and swollen edges mean?
If the yellow or haze wipes off with gentle cleaning, it was residue, so keep going. If the dry finish stays discolored, or the face lifts, bubbles or sits on a swollen core, stop cleaning and assess the damage.
| Observation after drying | What to check | Practical next action |
|---|---|---|
| Soil transfers onto the cloth and the patch clears | Surface grease or removable residue | Complete gentle cleaning of the affected area |
| Streaks remain where liquid dried | Residue and the product used | Review residue removal without adding polish |
| Color stays changed after the deposit is gone | Finish identity, exposure history and appearance | Seek a finish assessment before stain treatment |
| Face bubbles or an edge lifts | Bond, core condition and nearby exposure | Stop wet cleaning at the damaged part |
| Core is swollen, softened or out of shape | Water entry and component geometry | Resolve the exposure source and assess replacement |
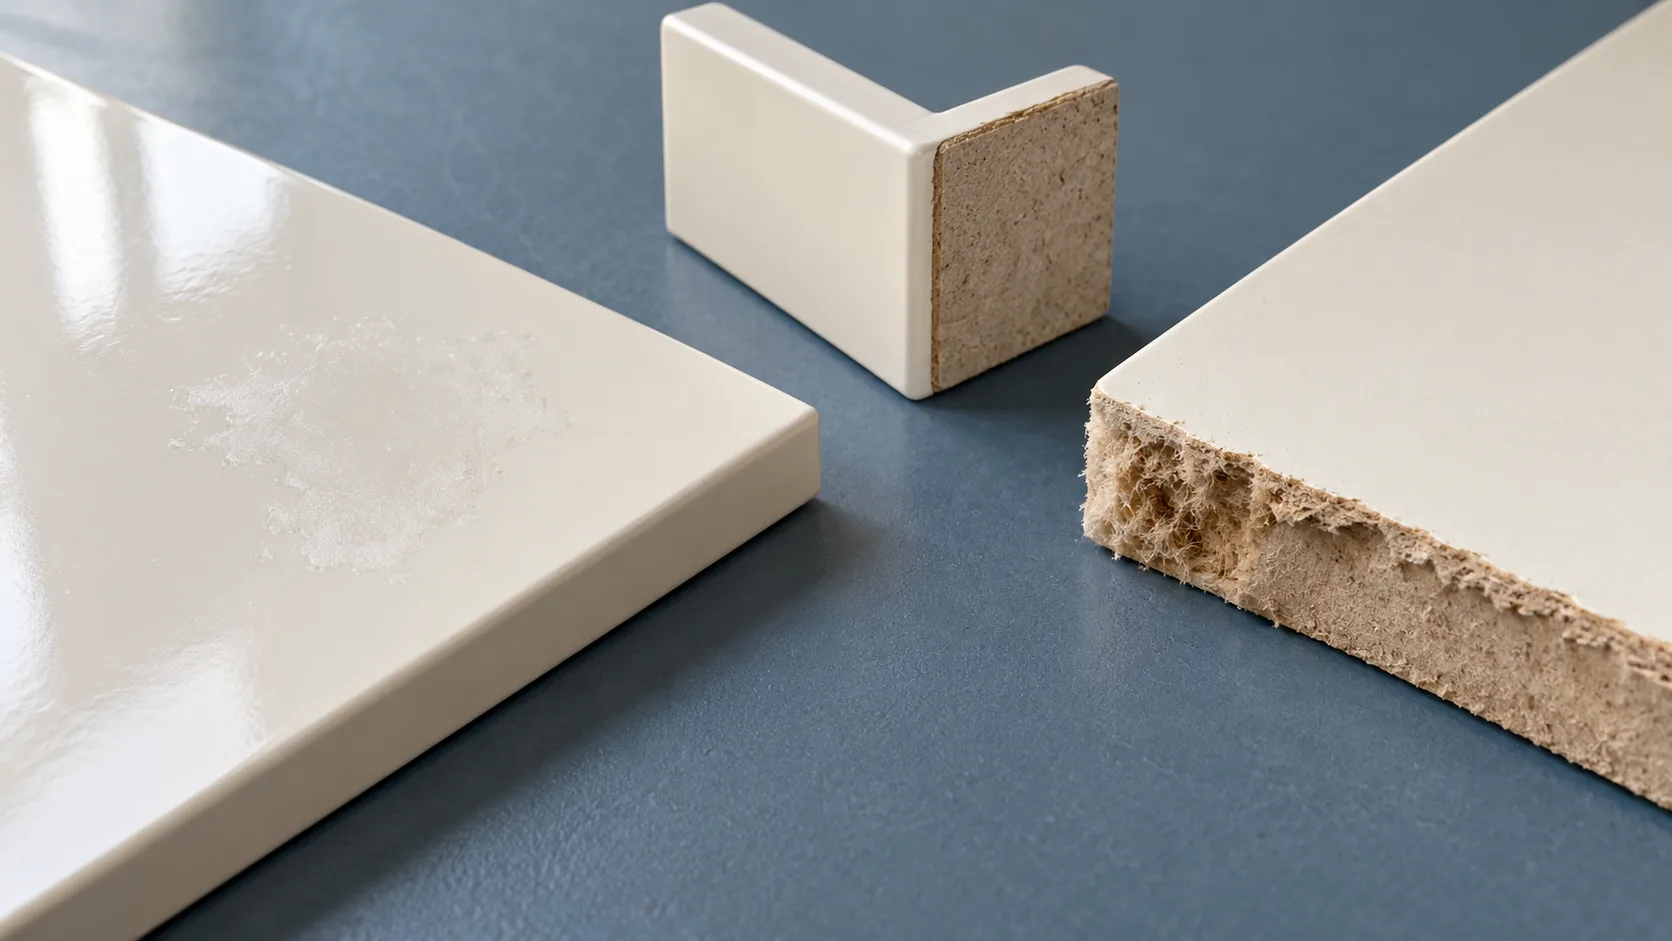
A cabinet booklet’s moisture and appliance guidance covers water damage and steam near cabinets. Check whether a wet bottom edge sits under a leaking sink, or whether a changed patch sits in the dishwasher’s or kettle’s steam path.
Water reaches a wood-based core through a bare edge, a hole or a broken joint. The MDF moisture guide covers core grades and direct wetting. Our peeling thermofoil guide treats lifted film as a face failure, not as dirt.
When you report a fault, photograph the dry front, the edge and the nearby appliance or sink, and note the cleaner used and when the change appeared. A yellow patch alone can’t tell anyone whether it is residue, old chemical damage or an aged finish.
What should a factory cleaning and aftercare record specify?
The exact finish, the cleaner and method allowed, what an acceptable result looks like and when to stop. Another shift or an installer should be able to repeat the cleaning without guessing which doors the instruction covers.
| Item | What to specify | Why it belongs in the record |
|---|---|---|
| Supplied finish | Face identity, decor, gloss and revision | Links the permission to the delivered product |
| Cleaner | Product identity, current label and permitted use | Avoids an unnamed chemical substitution |
| Method | Cloth, application, residue removal and drying | Makes the cleaning operation repeatable |
| Construction | Edges, holes, back and relevant hardware | Covers exposed assembled details |
| Appearance | Viewing conditions and accepted color/gloss | Makes the release decision inspectable |
| Escalation | Unexpected marks, lifting or altered texture | Prevents continued cleaning of a changed part |
If the fronts, interiors and hardware have different care rules, the aftercare sheet should say which parts each rule covers. A replacement front with a new face or gloss needs its own care information, even if the color looks the same.
Before release, record whether cleaning leaves streaks, changes gloss, snags fibers at an edge or shows up a damaged part, and note the lot and instruction revision.
When a complaint comes in, the installer or receiving team can use that record to identify the finish quickly. Tie any change of cleaner or method to the parts it affects. Our cabinet material guide helps identify the parts and faces behind a full order.
When is a new furniture face part of a repair order?
When cleaning can’t save the door. Decide which cores and hinges can stay first, then choose the new face, and organosilicon decorative film is one flat-front option.
Puremorfilm makes decorative film with a silicone functional surface for flat cabinet fronts. In the manufacturer’s laboratory tests, coffee, red wine, ice cream, soy sauce, Worcestershire sauce and lipstick left for 24 hours at 25°C wiped off with no obvious change; ballpoint, water-based and oil-based pen marks showed no obvious change or only slight staining. The film uses a No DOP formulation, and its silicone surface is inherently flame-retardant, with higher grades up to UL 94 V-0 available on request.
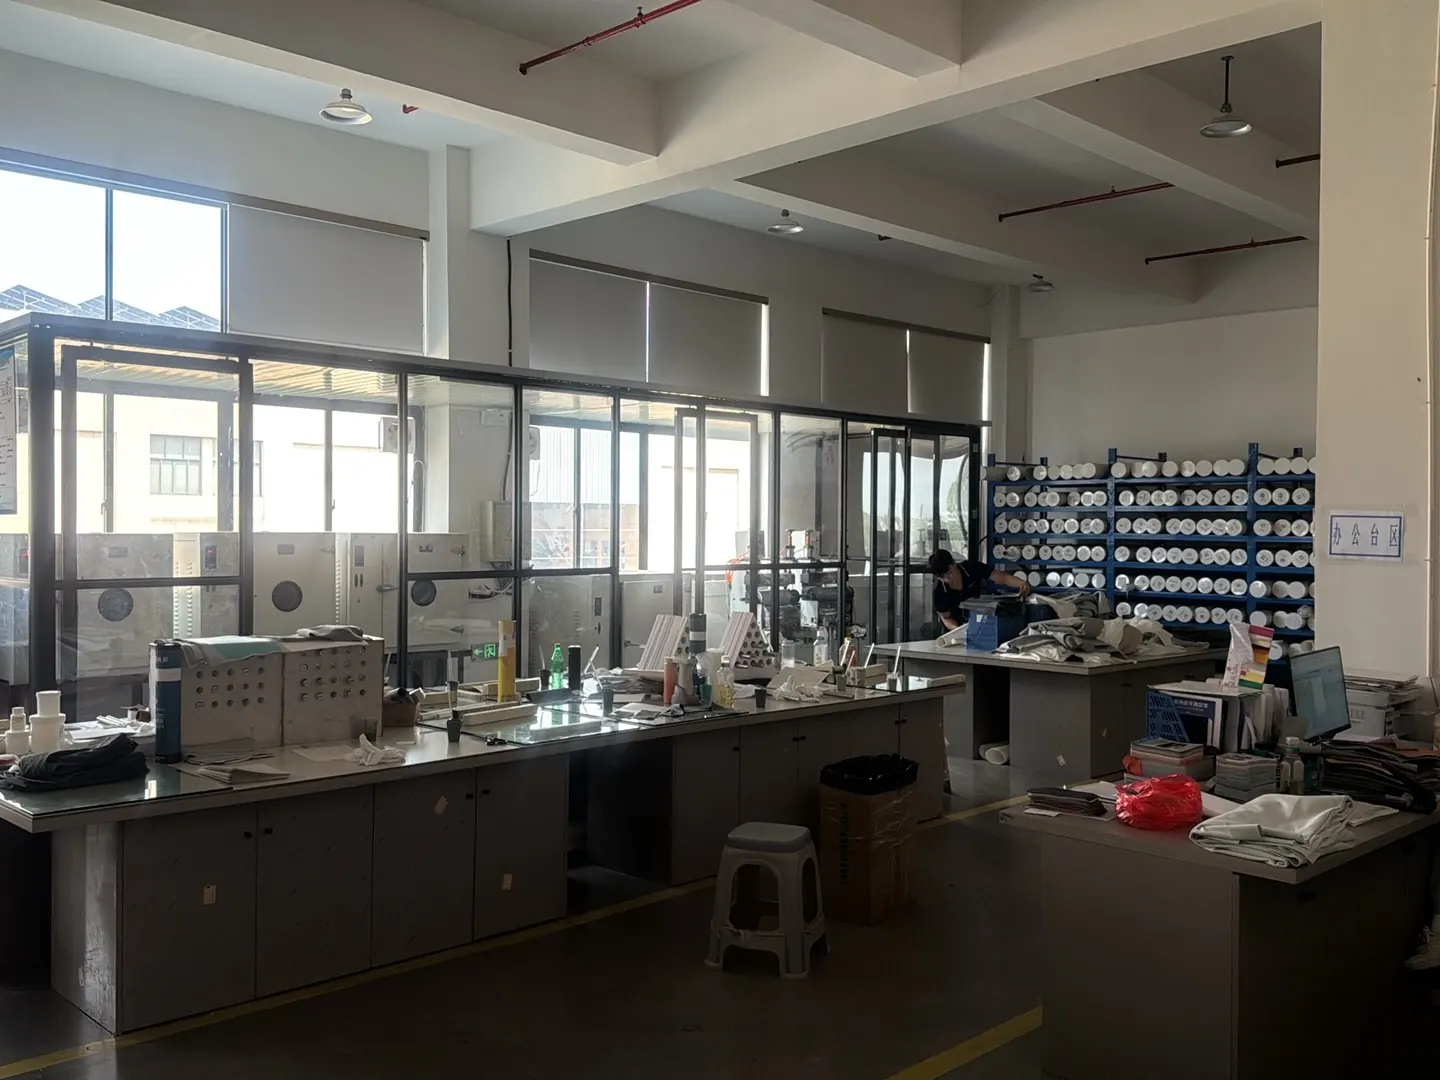
Rolls put the facing step on your own line; film-faced panels arrive already bonded for cutting and drilling. Send the supply form you want with the part drawing and where the door will go. The cabinet-care sources above cover their own finishes, not this film.
Our furniture decorative-film page introduces the supply route. It is not for floors, cooktop countertops, shower floors or other walked-on areas.
Should you keep cleaning or move to a repair decision?
Keep cleaning gently while the dirt comes off and the cabinet is intact. Move to repair once the finish or the core has changed. Decide by what is left after the door has dried.
- Removable deposits on an intact door: finish the routine clean.
- A mark that stays on a sound face: find an approved stain treatment before trying anything stronger.
- A damaged door: work out what can be kept and what needs replacing.
When a damaged front has to be replaced anyway, our paint-free silicone face is one option for the new flat door, and a different surface from PVC, melamine, PP and PETG. Contact us with the door construction and how it will be cleaned.
Frequently Asked Questions
Can mild dish soap clean laminate cabinets?
Yes, as long as your cabinet’s care instructions allow it. Check the soap label; a concentrated degreaser is a different product.
Why do white cabinet fronts look yellow?
Usually a film of grease, smoke or cooking residue. If the yellow comes off on a damp cloth, it was residue; if it stays, the finish itself has discolored and needs repair, not bleach.
Can a steam cleaner replace cloth cleaning?
No. Steam drives heat and moisture into edges and joints. Stick to wiping.
Can you use vinegar on laminate cabinets?
Yes, a mild white vinegar and water solution works on most laminate. Rinse, dry, keep it off damaged edges, and skip it if your care guide rules out acidic cleaners.
How do you get sticky grease off laminate cabinets?
Wipe with warm water and a few drops of dish soap, let it sit for a minute on heavy spots, then wipe again and rinse. Avoid scouring pads and abrasive powders.