
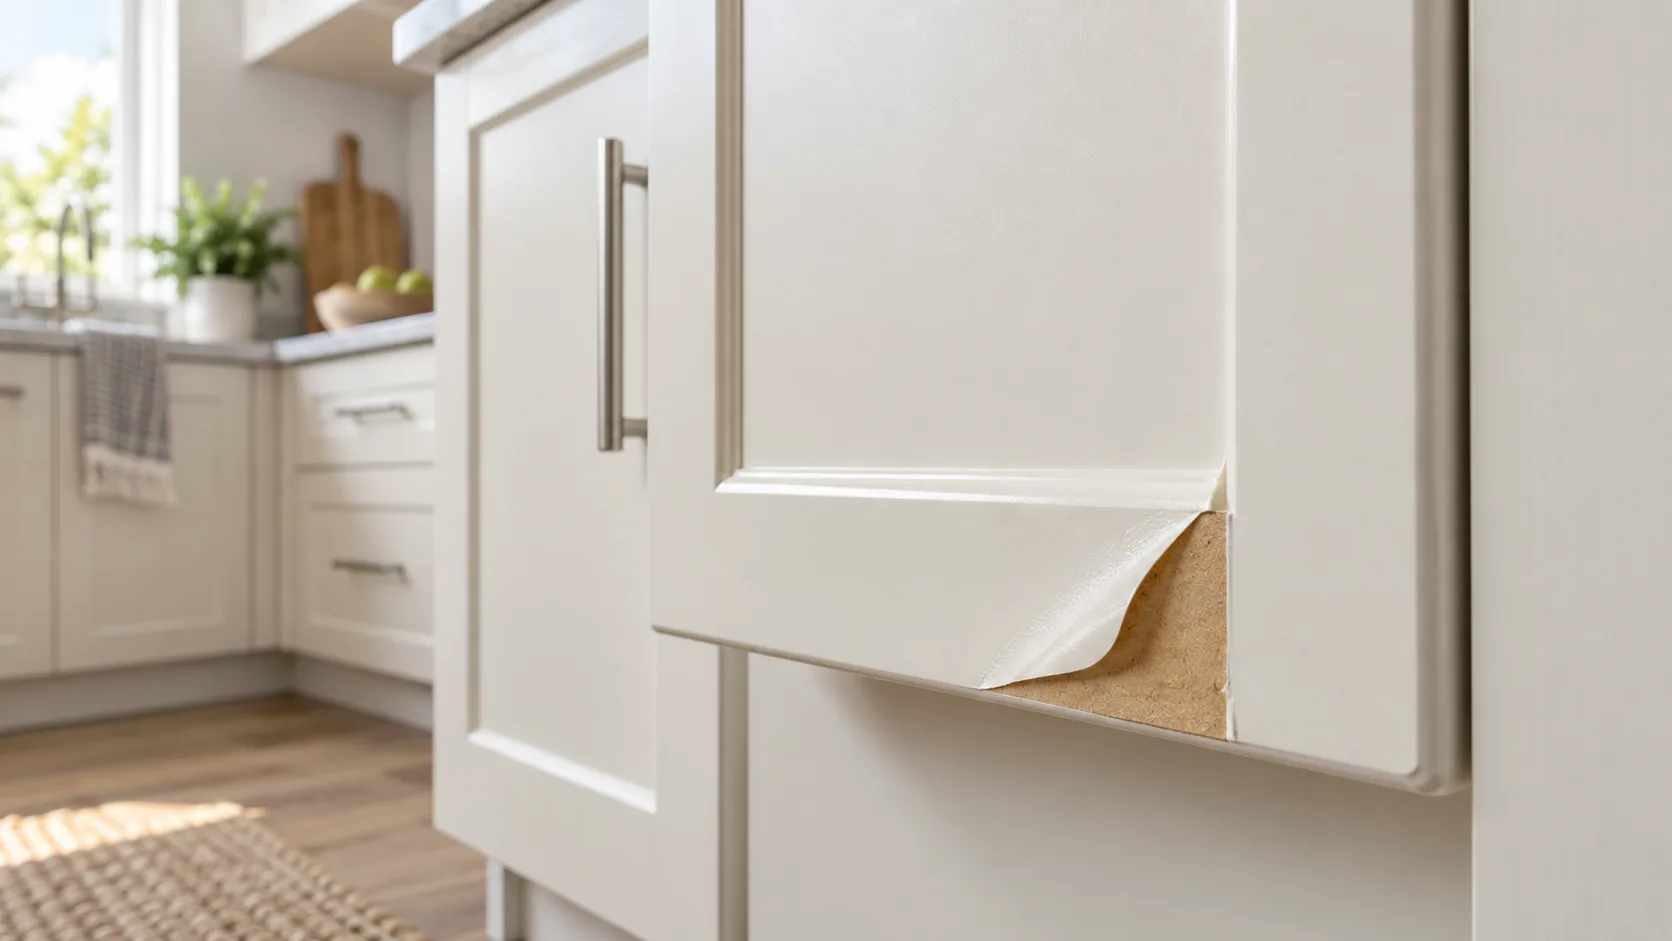
A lifted plastic skin can make a perfectly usable cabinet look worn out. With thermofoil cabinets peeling, glue a small intact flap only when it still fits over a firm, dry core and the adhesive suits both materials; paint a sound, prepared front; replace a door whose core is damaged. Check each door before pricing a whole kitchen.
What is peeling off your cabinet door?
Usually the thermofoil itself: a thin plastic skin lifting off the board underneath. Make sure the loose layer is film, not paint or wood veneer, before you choose a fix.
Thermofoil belongs to what the Composite Panel Association calls 3D laminate: thermoplastic film, such as PVC or PETG, formed over MDF or particleboard in a vacuum or membrane press.
Look at the lifted edge without pulling more loose. A flexible skin that bends back on itself is film. Thin real-wood veneer, chipped paint and a stiff HPL sheet each look and behave differently. Our thermofoil and laminate comparison explains those faces.
Dig out the original order, a door label or the finish description if you have them. Note which doors are affected and where. A patch beside the oven, a wet bottom edge under the sink and several doors failing at once each point to a different cause. Our guide to what MDF is explains the fiberboard under most wrapped doors.
For the wider choice of cabinet cores and door faces, compare kitchen cabinet materials.
Why do thermofoil cabinets peel?
Heat and steam, mostly. Repeated warmth from ovens, ranges, dishwashers and steaming countertop appliances weakens the bond between the film and the core, and edges, inside corners and routed profiles go first (Cabinet IQ’s thermofoil guide).
For white doors that have changed color as well as lifted, compare why white thermofoil cabinets turn yellow before deciding whether cleaning or replacement will help.
Water is the other cause. It gets in at an open edge, swells the MDF and pushes more film loose. The dimensional-stability bulletin, revised May 25, 2023, explains that board swollen past its original thickness may not fully shrink back after drying.
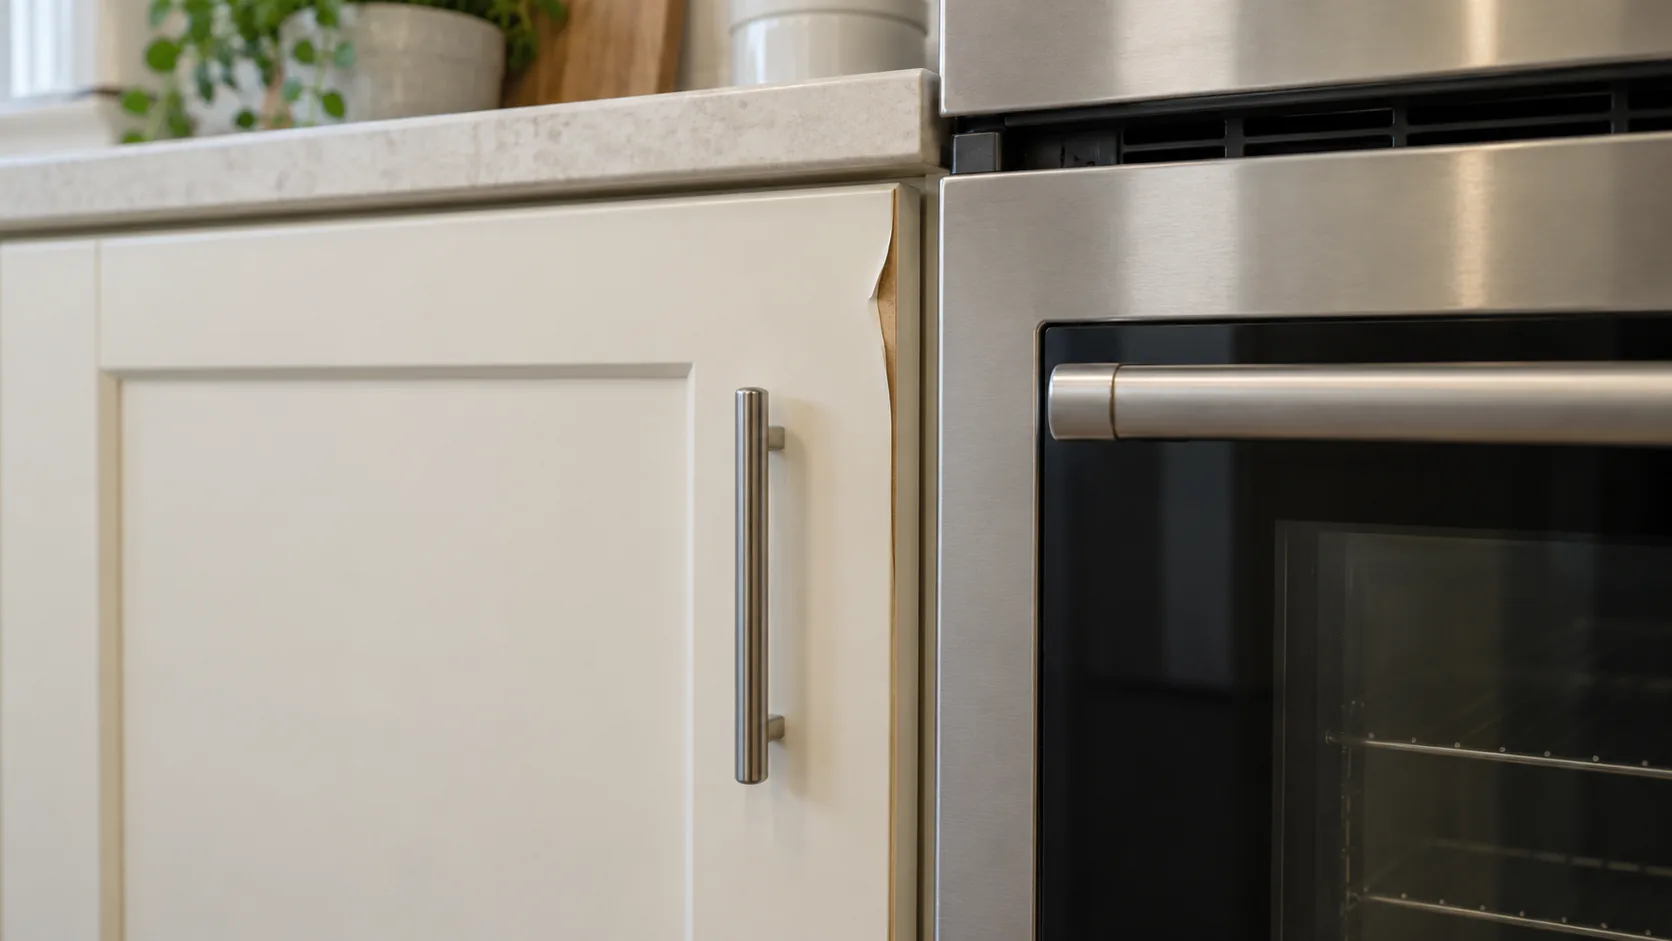
Fit a heat shield or heat deflector beside the oven. At the dishwasher, follow the installation clearances and steam-protection instructions so the vent doesn’t blow onto a cabinet side. KraftMaid’s heat-shield guidance recommends protection beside or above ovens and ranges for its thermofoil and laminate fronts. Move the kettle and coffee machine so their steam misses the doors, keep vents clear and wipe wet edges straight away. The Architectural Woodwork Institute’s care standard, section 3.2.8 also calls for avoiding concentrated heat and drying spills and condensation at once.
Hampton Bay’s 2021 cabinet-system product guide, printed page 14, warns of permanent damage from extended exposure above 160°F and recommends a thermofoil heat deflector. If you repair or replace a door beside the oven without one, expect it to peel again.
How do you judge the peeling before choosing a repair?
Check whether the skin still fits and whether the board and hinge areas are dry and firm, and stop any ongoing leak or heat source. The door has to keep its shape and hold its hinges.
| Observed condition | What it means for the work | Next route to assess |
|---|---|---|
| Small intact flap naturally closes over a firm dry core | A local bond attempt may be practical if the materials are compatible | Compatible adhesive repair |
| Shrunken, torn or missing skin | A gap remains even if the flap is pressed down | A complete replacement facing or front |
| Broad or recurring separation | A corner patch leaves other failing areas untreated | Whole-front refinishing or replacement |
| Swollen, crumbly or distorted board | The component may no longer hold its geometry or fixings | Replacement of the damaged component |
| Damaged box joints or mounting points | The defect extends beyond the removable front | A structural repair assessment |
For cleaning, the cabinet care guide’s thermofoil section uses mild dish soap and a nonabrasive cloth, with its own list of cleaners to avoid. Don’t turn one of its stain treatments into a solvent for scraping off old glue.
If the bottom of a sink-base door feels soft, read our MDF moisture guide on board grades and direct wetting.
When can you glue a small peeling corner?
Only when an intact flap closes by itself over a dry, firm board, and the adhesive is made for both the film and the board. Try it first on a hidden spot of the old skin and its residue.
A current vinyl adhesive technical sheet, revised February 27, 2026, gives one worked example: Loctite Vinyl, Fabric & Leather Flexible Adhesive, items 3120570/3120594. It lists wood and vinyl and names PVC upholstery.
Its contact-bonding method and precautions:
- Use it at 41–86°F (5–30°C) on surfaces prepared as its directions require.
- Spread it evenly on both surfaces and let it dry 10–30 minutes, or until dry to the touch.
- Give a porous surface a second coat and let it dry. Join the surfaces within the printed 30-minute assembly window.
- Press the surfaces together firmly.
- Allow the stated 24-hour full cure before the door gets wet. Temperature, humidity and how much glue you use change the timing.
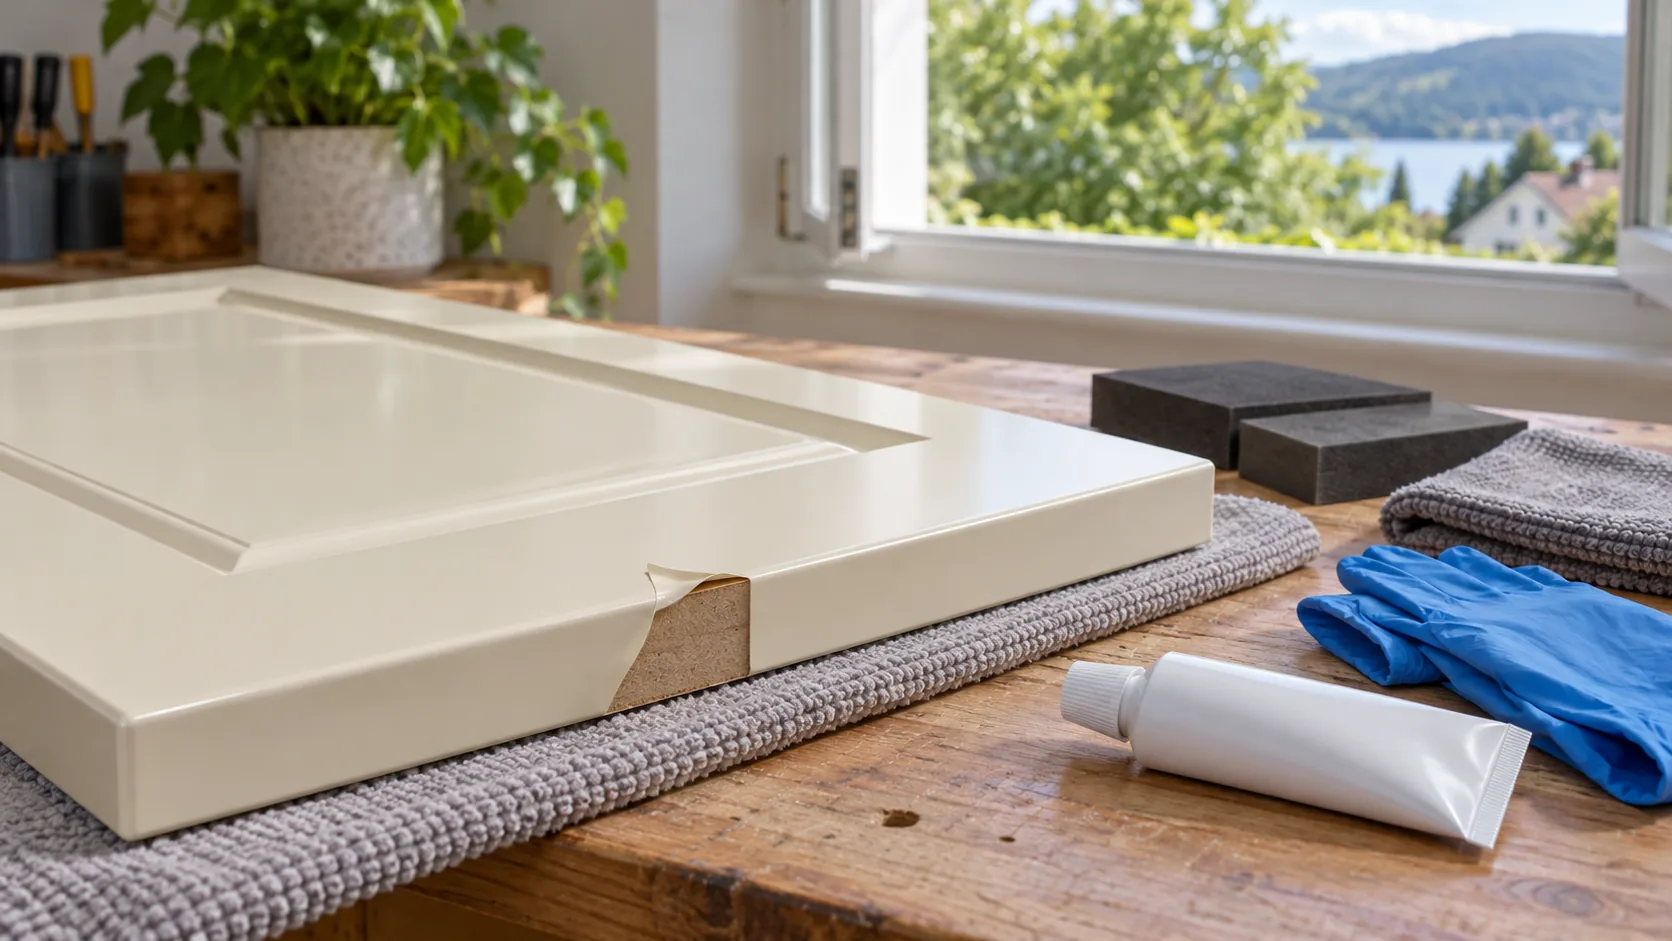
Open a window and keep this solvent glue away from heat, sparks, flames and smoking. The sheet warns of extremely flammable vapors and recommends nitrile gloves; keep it off your skin and out of your eyes.
Check that the item number on your tube matches this sheet. It excludes PET, PE and PP, and an unknown skin is not automatically PVC. It also excludes use above 140°F (60°C), which is the glue’s own limit, separate from the cabinet heat warning above.
If the test spot softens, discolors or stays tacky, drop this glue. If the flap has shrunk and no longer reaches the edge, go to refinishing or replacement.
Can you paint thermofoil or the exposed MDF?
Yes, if the skin is firmly stuck and properly prepared, or the bare MDF is sound. Deal with loose film and dirt first, because paint won’t hold a failing film-to-core bond together.
How do you remove failing thermofoil before repainting?
Strip the whole skin when the peeling is widespread and the MDF underneath is still dry, firm and straight. Replace a swollen or crumbling front instead. A small flap that still fits can take the glue repair above. Rethunk Junk’s removal tutorial uses a heat gun or hair dryer to loosen the film bit by bit and peel it off door and drawer fronts. Leave the cabinet boxes and door backs alone; they may be built differently.
Take the door off, remove the hardware and lay it on steady supports. Work outdoors or with good airflow, following Wagner’s heat-gun precautions. Start on a small area at the lowest setting, keep the air moving and peel slowly as the film lets go. Stop if the board scorches or fibers tear away. Wear work gloves and eye protection, and keep your hands out of the airflow.
Keep flammable liquids and gas cans away from the heat. Let the door and the heat gun cool fully before any solvent glue or cleaner comes near. Then remove leftover glue and loose fibers and move on to priming.
How do you prime and paint the prepared front?
The US Satin 792 technical sheet gives one complete system for MDF, thermofoil and laminate: Fresh Start 046 primer, then ADVANCE Satin 792. For cabinets, it says to scuff with 220-grit or coarser paper before priming, remove the dust and sand lightly between coats.
Lay the door flat on supports with the hardware off. The 046 primer sheet needs a clean, dry base with no contamination. Clear loose fibers and leftover glue from bare MDF; if you can’t get a sound base, order a new front. Ventilate, and wear a NIOSH-approved respirator while applying, sanding and cleaning up, as the coating sheets and respirator instructions direct. Keep dust control running the whole time.
How long should the paint dry before you refit the door?
At least 24 hours before rehanging, and 2–3 days is better, according to Benjamin Moore’s cabinet painting guide. Each coat has its own wait: at 77°F (25°C) and 50% RH, 046 needs 1 hour before recoating and 792 needs 16 hours. Apply 792 only between 50–90°F; a cold garage or a humid day stretches every one of those times.
Wait at least 5–7 days before scrubbing or heavy use. The 792 sheet says full hardness and final sheen can take up to 30 days.
Our MDF finishing guide explains how to finish bare board.
Can you replace fronts and keep the cabinet boxes?
Yes, when the damage stops at the doors and drawer fronts. Check the boxes and mounting points separately. New fronts let you keep the layout and any hardware that still works.
Take the damaged door off where you can do it safely, and check the hinges, screw areas, box joints and wall fixings. A peeling skin doesn’t mean the box is bad, and a good-looking door can hide a loose hinge plate.
| Quotation scope | Include in the work | Confirm before comparing quotes |
|---|---|---|
| Local repair | Identified materials, preparation and bond attempt | Which defect the work actually addresses |
| Surface refinishing | Complete preparation and a named coating system | A sound base, hardware handling and service timing |
| Replacement fronts | Finished doors/drawer fronts and specified hardware operations | Fit, visible-group appearance and installation |
| Box or mounting repair | Affected structural parts and installation work | The actual damaged area and what can remain |
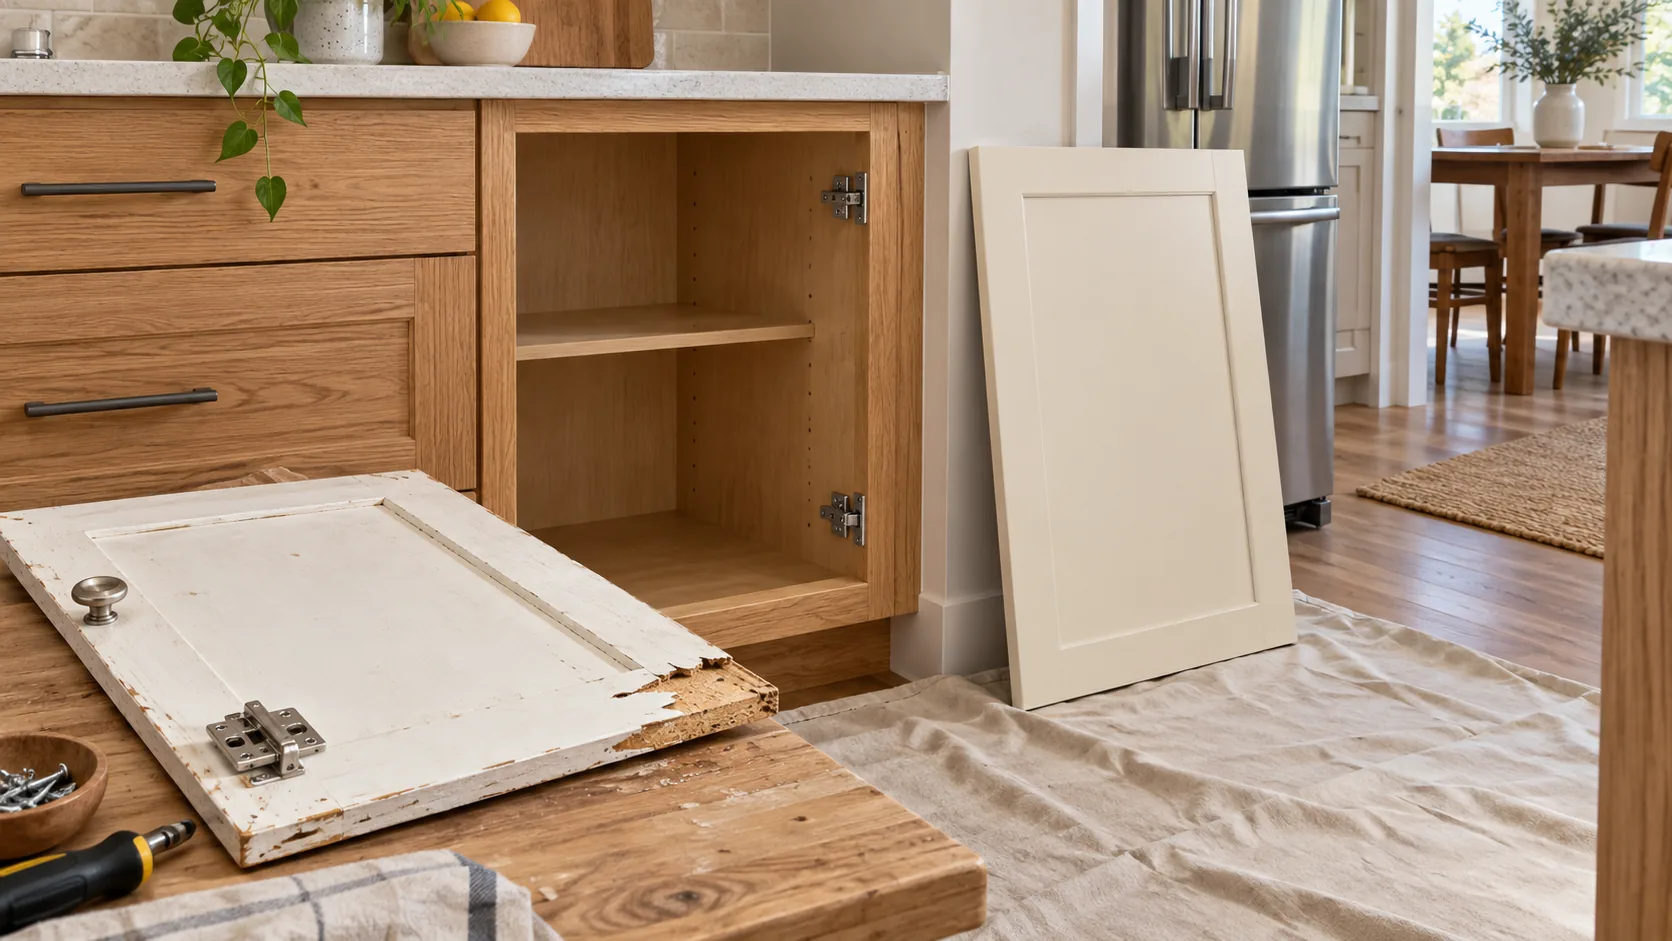
Our cabinet material guide explains box, shelf, core and face, so you can tell which parts belong in the quote.
Look at the whole run of doors, not just the damaged one. A new cream door can look whiter than older neighbors with the same decor name. Note whether the order covers one door, a run of fronts, end panels or everything you can see.
For a US budget, Inch Calculator’s guide, updated September 7, 2023, lists unfinished stock hardwood doors at $50–$100 each, for the door alone before finishing, hardware and installation. Homewyse’s May 2026 calculator example, for one door at ZIP 47474, totals about $416–$602 for basic wood-door replacement, including the door, adjustable hinges, labor and finishing materials. Full painting and handles need their own quote. Door style, material, quantity and local labor all move these numbers, so match each estimate to its scope.
How do you measure a replacement door and its hinge holes?
Measure width, height and thickness of an old door that fits well, then record each hinge-hole position. Label every door by its cabinet so two similar sizes don’t get swapped.
If you are keeping the same overlay and hinges, Eagle Woodworking’s measuring guide measures the old door edge to edge from the back, to the nearest 1/16 inch. If the door is missing or you are changing hinges, measure the cabinet opening and work out the door size from the overlay or inset clearance you want.
| Item | What to record | Why it matters |
|---|---|---|
| Door size | Finished width, height and thickness; cabinet location | Matches the replacement to its opening |
| Hinge holes | Upper cup center from the top; lower cup center from the bottom; cup diameter and side-edge offset | Positions the replacement on the existing hinges |
| Hardware | Hinge model, screw-hole pattern and handle-hole spacing | Shows which holes the maker needs to drill |
| Finish and quantity | Front style, color, edge finish and number of each size | Keeps the visible doors and drawer fronts consistent |
The Xpress hinge measurement guide takes the lower hinge-cup center from the bottom and the upper one from the top. Measure both separately, photograph the hinge and the back of the door, and send the photo with the numbers. If you are keeping the hinges, ask the door maker to match the existing cup and screw pattern.
Is a silicone-faced replacement front an option?
Yes, for a new flat door or furniture front. It starts from a new panel; it won’t patch the shaped skin on an old thermofoil door.
Puremorfilm’s furniture film has a silicone functional face, uses a No DOP formulation and is formaldehyde-free. The silicone surface is inherently flame-retardant, with higher grades up to UL 94 V-0 available on request. We supply mainly rolls, with film-faced panels available on request. The current process is flat lamination with PUR adhesive, not profile wrapping or vacuum forming.
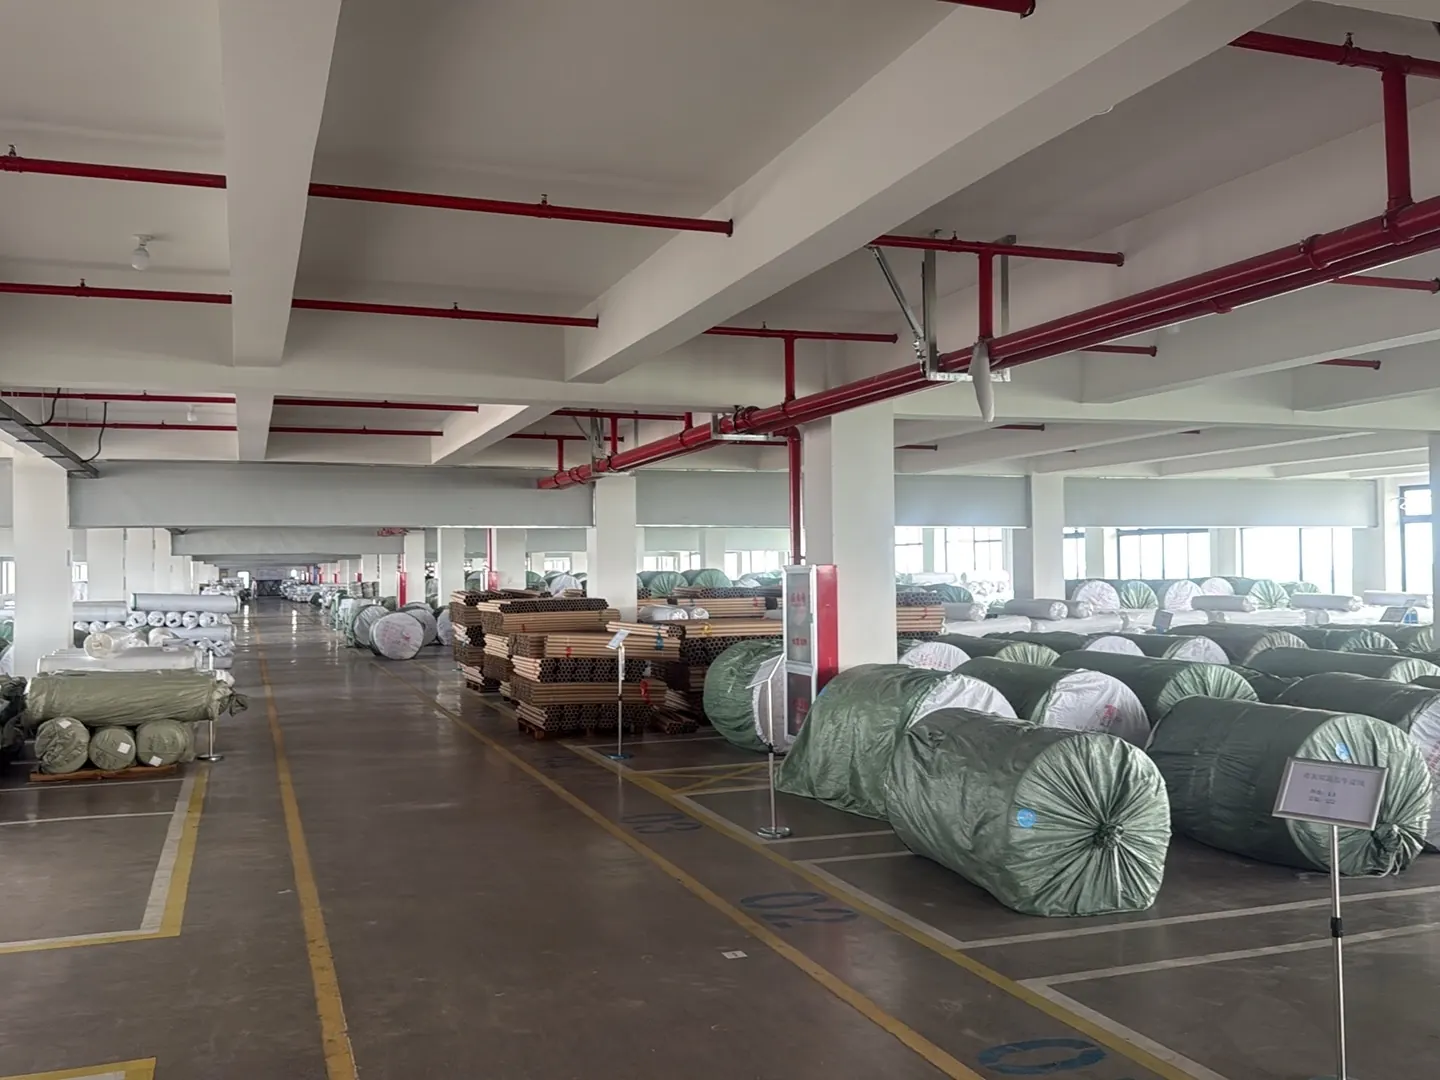
For a door near the oven, the heat data matters most. An SGS test of the supplied film sample measured 0.06% length change and 0.10% width change after 600 minutes at 100°C followed by 14 hours of recovery at room temperature (report SZIN2608002405PL01, August 26, 2026). That is the film on its own, so trial-laminate the actual door build and check its bond, core and edges before approving it for that spot.
Our furniture decorative-film page explains this use, and wood grain decorative film shows another finish option for the new front. Choose the supply form together with the door drawing so the quote covers the remaining panel and hardware work. It is not for floors, cooktop countertops, shower floors or other walked-on areas.
Which route leaves you with a usable cabinet?
The one that fixes the damaged part and keeps everything that still works. A good quote spells out the finished result, the installation and when you can use the kitchen again.
- Front-only damage: keep the boxes and working hardware.
- A finish change: look at every visible door before deciding how many to replace.
- Structural damage: put the box or mounting repair in the quote.
- Repeat failure near an appliance or leak: fix the heat or water source as part of the job.
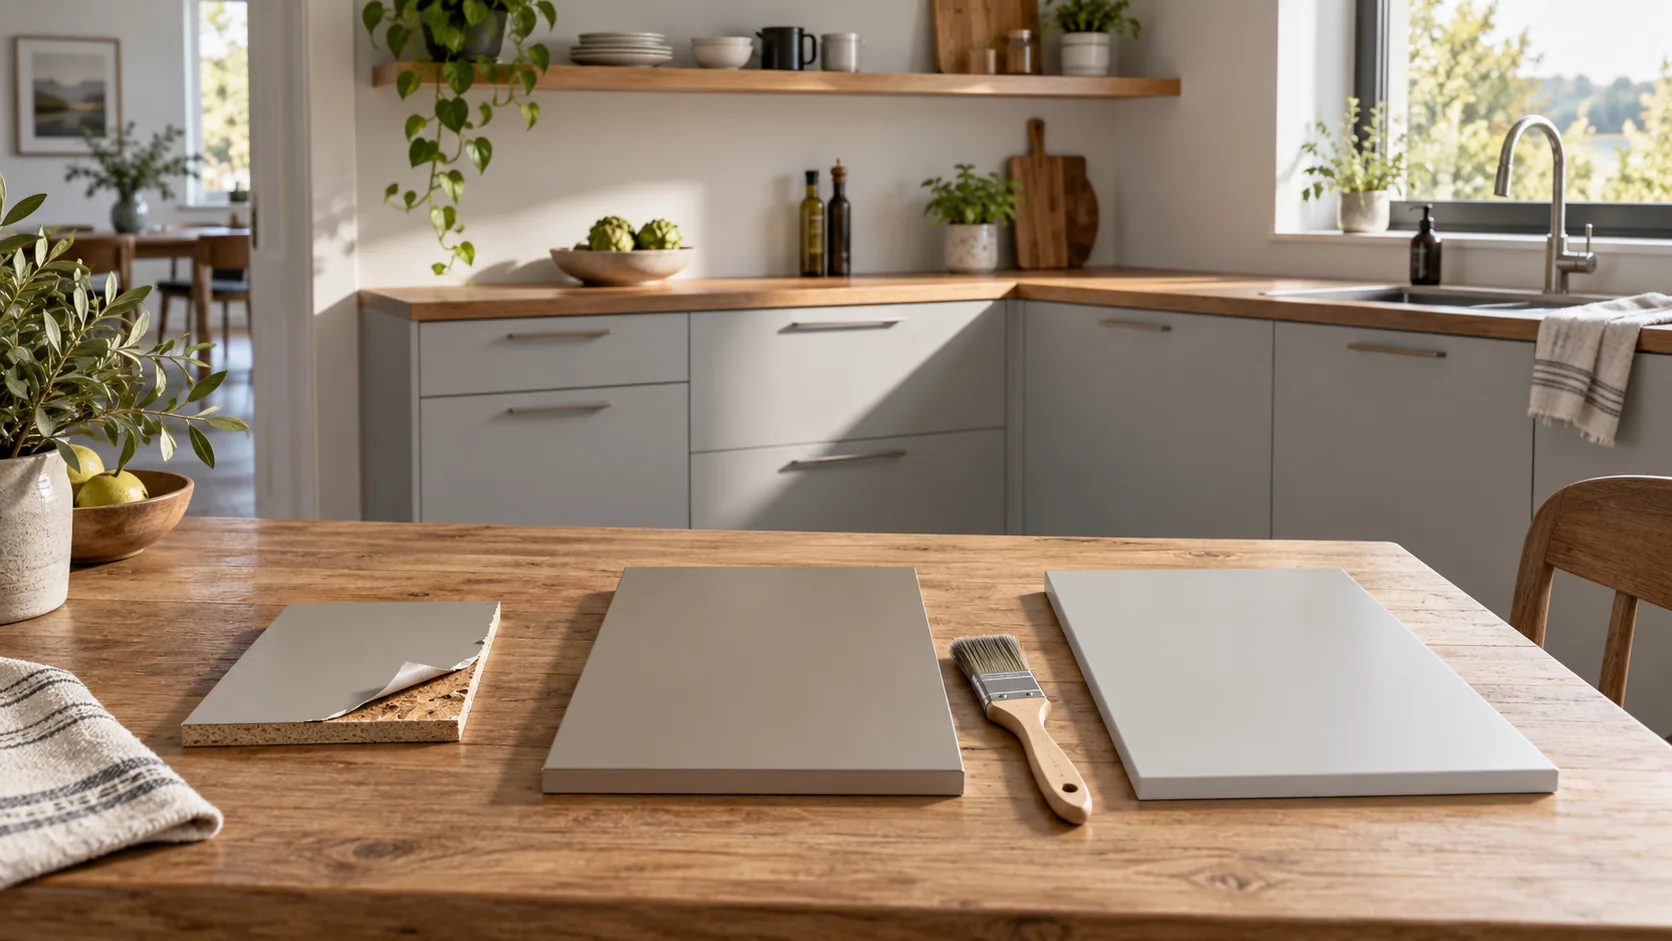
Our new paint-free material uses a silicone functional face, distinct from PVC, melamine, PP and PETG decorative faces. For a proposed flat furniture component, contact us with its construction, location and intended supply form.
Frequently Asked Questions
What are thermofoil cupboards?
Cupboards with a thermoplastic skin, usually formed PVC, over a board-based front. The skin is different from real-wood veneer and HPL.
Should you heat the door while the repair glue dries?
No. Keep heat guns and any other ignition source away while a solvent adhesive dries, and keep the room ventilated.
Can you peel and paint thermofoil cabinets?
Yes. Loosen the failing film with controlled hot air, peel it, then prime and paint the bare MDF once it is sound, clean and dry.
What is the average cost of replacing kitchen cabinet doors?
Budget $50–$100 per unfinished stock hardwood door for the door alone, or about $416–$602 per door in Homewyse’s replacement example with basic labor and hinges. Compare quotes with the same door count and scope.
Can you use a hair dryer to remove peeling thermofoil?
Yes. Warm the film until it loosens, keep the dryer moving and peel gradually, then let the front cool before preparing the MDF for paint.