
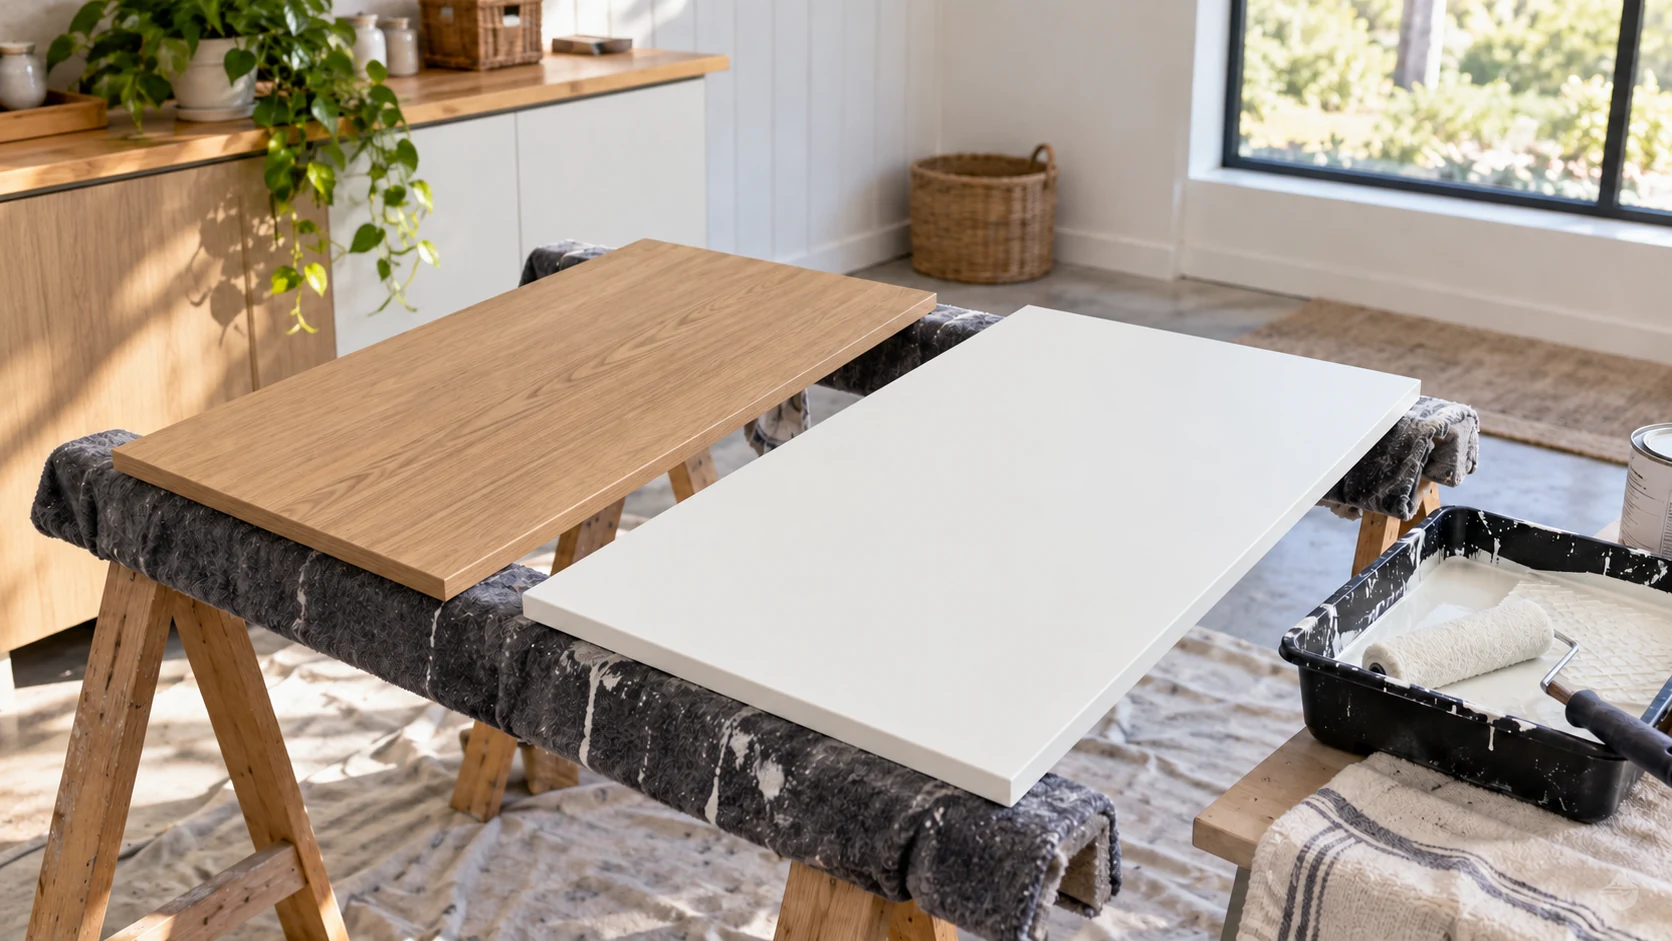
Here’s how to paint laminate cabinets: degrease the faces and dull the gloss with 220-grit sandpaper. Then apply a bonding primer and two thin coats of cabinet enamel. Finally, let the finish cure before heavy use. BEHR’s No. 7520 enamel lists a 7-day full cure at 77°F and 50% relative humidity.
First, check the face and the board behind it. A swollen door, loose facing or deep gouge needs repair or replacement before any paint goes on.
Can You Paint Laminate Cabinets, and When Should You Not?
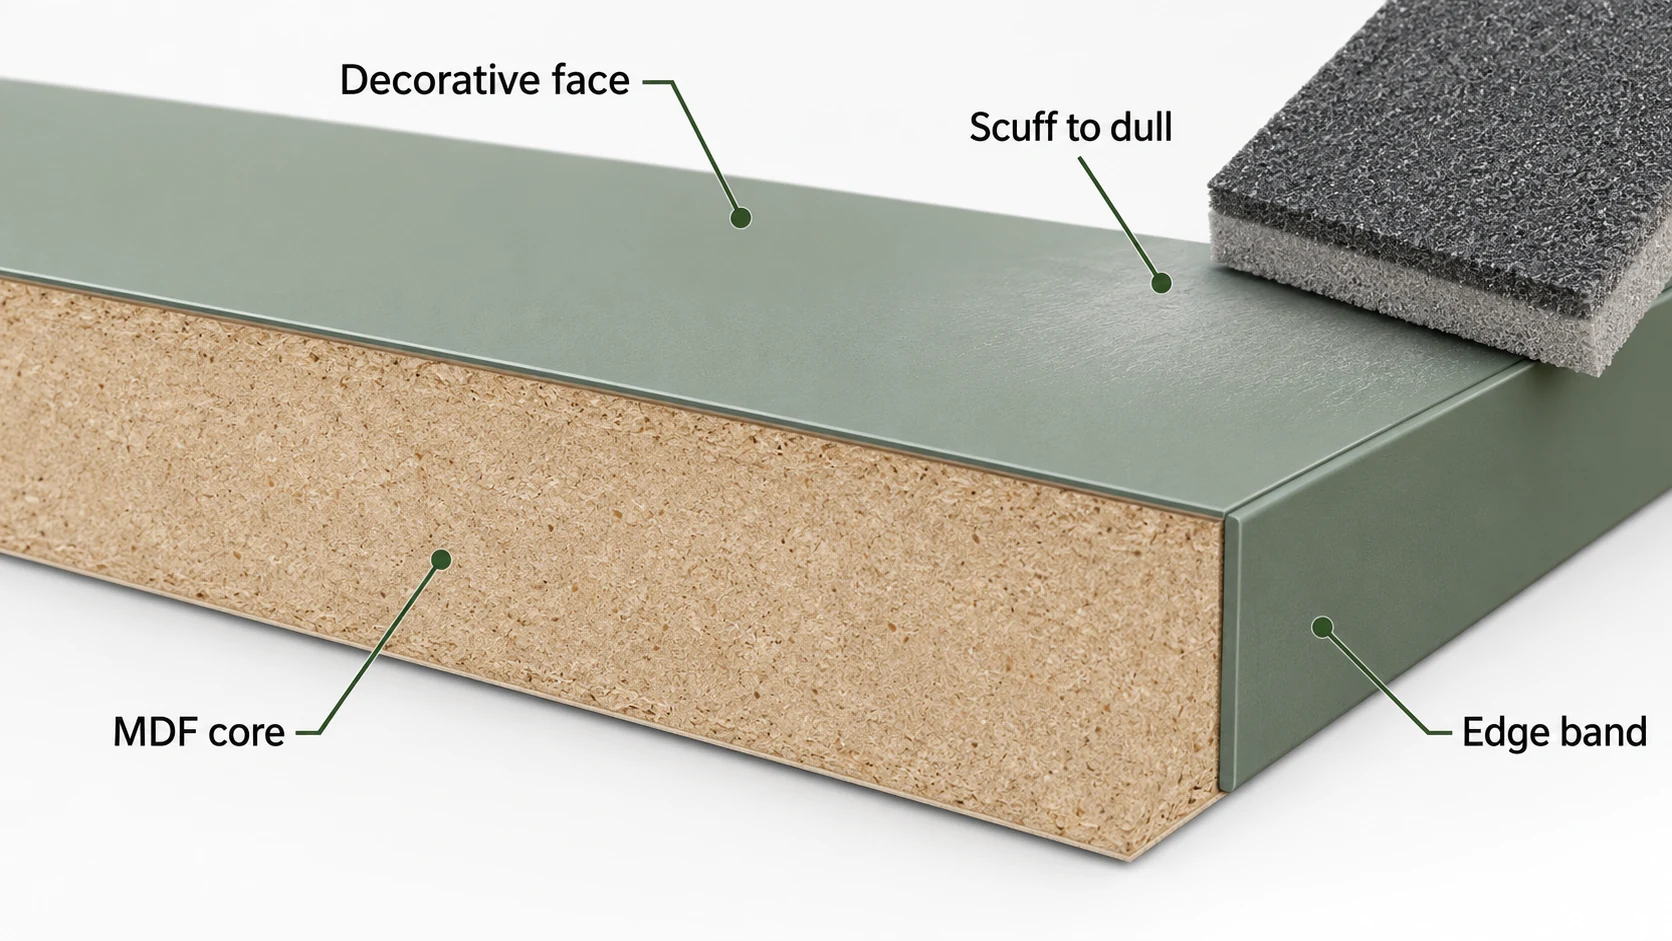
Yes, sound laminate faces take paint well. However, replace a water-swollen door or a deeply damaged facing instead. Laminate is a smooth decorative layer bonded to a board. So paint can’t soak in; it has to grip the surface.
The Martha Stewart painting tutorial, updated August 7, 2026, explains why cleaning, scuffing and bonding primer matter on a face that doesn’t absorb paint. Look closely at the bottom edges near the sink, around the hinges and anywhere the facing lifts.
Fast Cabinet Doors’ October 20, 2021 tutorial describes regluing a locally lifted facing and replacing laminate with deep gouges. A small lifted edge on a dry, solid board can usually be fixed. In contrast, a swollen, crumbly core means a new door. Our laminated MDF guide explains the difference between the decorative face and the board.
Before you sand, confirm the face is laminate, not wood veneer or thermofoil. The wood veneer and laminate comparison helps you tell them apart. Wood stain colors real wood but won’t soak into a resin or plastic laminate face.
For the wider choice of cabinet cores and door faces, compare kitchen cabinet materials.
What Primer, Paint and Tools Do You Need?
A bonding primer made for glossy surfaces, a cabinet enamel that works over it, and a few basic prep tools. The primer is what makes paint stick to laminate.
| Primer example | What its sheet says about suitable surfaces and preparation | Where to find its timings |
|---|---|---|
| BEHR Bonding Primer No. 432 | Lists paneling/laminates; requires a clean surface and an adhesion check | Drying and cure table below |
| Sherwin-Williams Extreme Bond Primer | Lists wall laminates and kitchen cabinets; a prepared test area checks adhesion | Drying and cure table below |
| INSL-X STIX | Intended for difficult glossy surfaces; deglossing improves adhesion | Drying and cure table below |
The details come from the BEHR sheet, the Extreme Bond sheet and the STIX technical sheet.
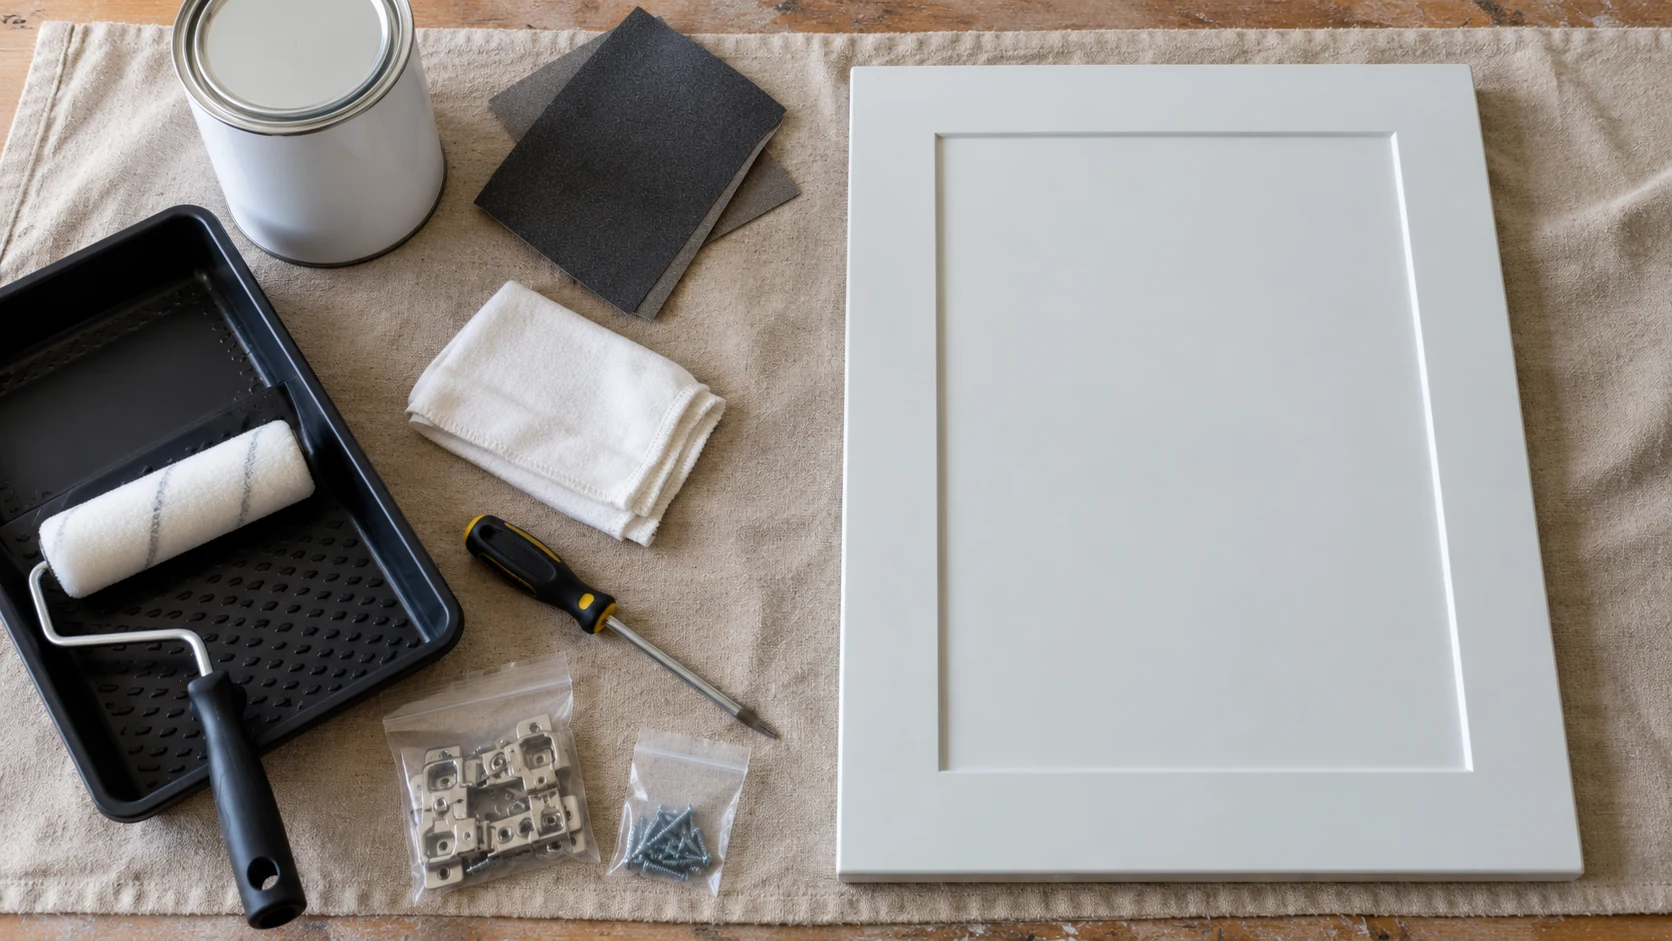
Gather a water-based degreaser or TSP substitute, fine sandpaper, a vacuum, lint-free cloths, masking materials and labeled bags for hardware. A fine-finish roller or sprayer covers the broad faces. Then a small nylon brush reaches edges and recesses. Pick applicators the coating’s label allows. Also choose your sheen before you order paint; the matte and gloss cabinet guide can help.
How Do You Prep Laminate Cabinet Doors for Paint?
Take the doors off, strip the grease and sand the face lightly until the shine is gone. You want a surface the primer can grip, with the thin decorative layer still intact.
- Remove doors, drawer fronts and hardware. Then label each location, and keep the matching screws and hinges together. Lay doors flat on protected supports.
- Clean handles, edges and broad faces with the selected degreaser. Next, rinse away cleaner residue and dry the door. Keep water away from exposed board edges.
- Repair a locally lifted facing on a sound core with a suitable glue, and let the bond dry before continuing. Replace swollen or deeply damaged doors.
- Scuff the intact facing gently with 220-grit sandpaper. Aim for an even dull surface, rather than exposed board.
- Vacuum the dust and wipe the face with a coating-compatible cloth. Keep the work area clean before opening the primer.
Grit choices vary a little. The painting tutorial linked above uses 220-grit, while the cabinet-door guide starts at 180-grit and then moves to 300-plus-grit paper.
Benjamin Moore’s laminate tutorial also uses a fine grit and warns that the laminate face is thin. So whichever you follow, scuff gently and never sand through the facing.
For the grime around handles and corners, the laminate cabinet cleaning guide covers routine cleaning. For painting, also strip off wax, furniture polish and cooking oil, because they stop primer bonding.
If the cabinets have been painted before, check the old coating first. In a home built before 1978, read the EPA’s lead-safe DIY guidance before you scrape or sand old paint.
How Do You Prime and Paint Laminate Cabinets Step by Step?
Prime thinly and evenly, smooth any dried bumps, then build up thin enamel coats with proper drying in between. A roller or sprayer leaves fewer brush marks on flat doors.
- Apply the bonding primer evenly to the prepared door, including edges that will be painted. Avoid heavy buildup in corners.
- Let the primer dry. Then lightly smooth dried nibs with fine abrasive and remove the dust. Add a second primer coat only when the selected system or coverage needs it.
- Apply the first thin enamel coat with a fine-finish roller or sprayer. Use a brush where the applicator cannot reach, and watch the lower edges for runs.
- Allow the coat to dry before lightly correcting imperfections and removing dust. Apply the second thin coat; add another only if needed for hiding and permitted by the coating system.
The Martha Stewart tutorial allows about 6 hours per primer coat. It then waits 24 hours between enamel coats, and Benjamin Moore also suggests a day between paint coats. Those are cautious schedules. However, the product sheets in the next section give each product’s own recoat times.
The cabinet-door guide prefers rollers, pads or sprayers because they avoid brush streaks. In contrast, the paint-company tutorial from the prep section also allows a quality brush or fine-finish roller. On a routed film-faced door, check the surface differently; our thermofoil and laminate comparison explains why.
How Long Should Each Coat Dry and Cure?
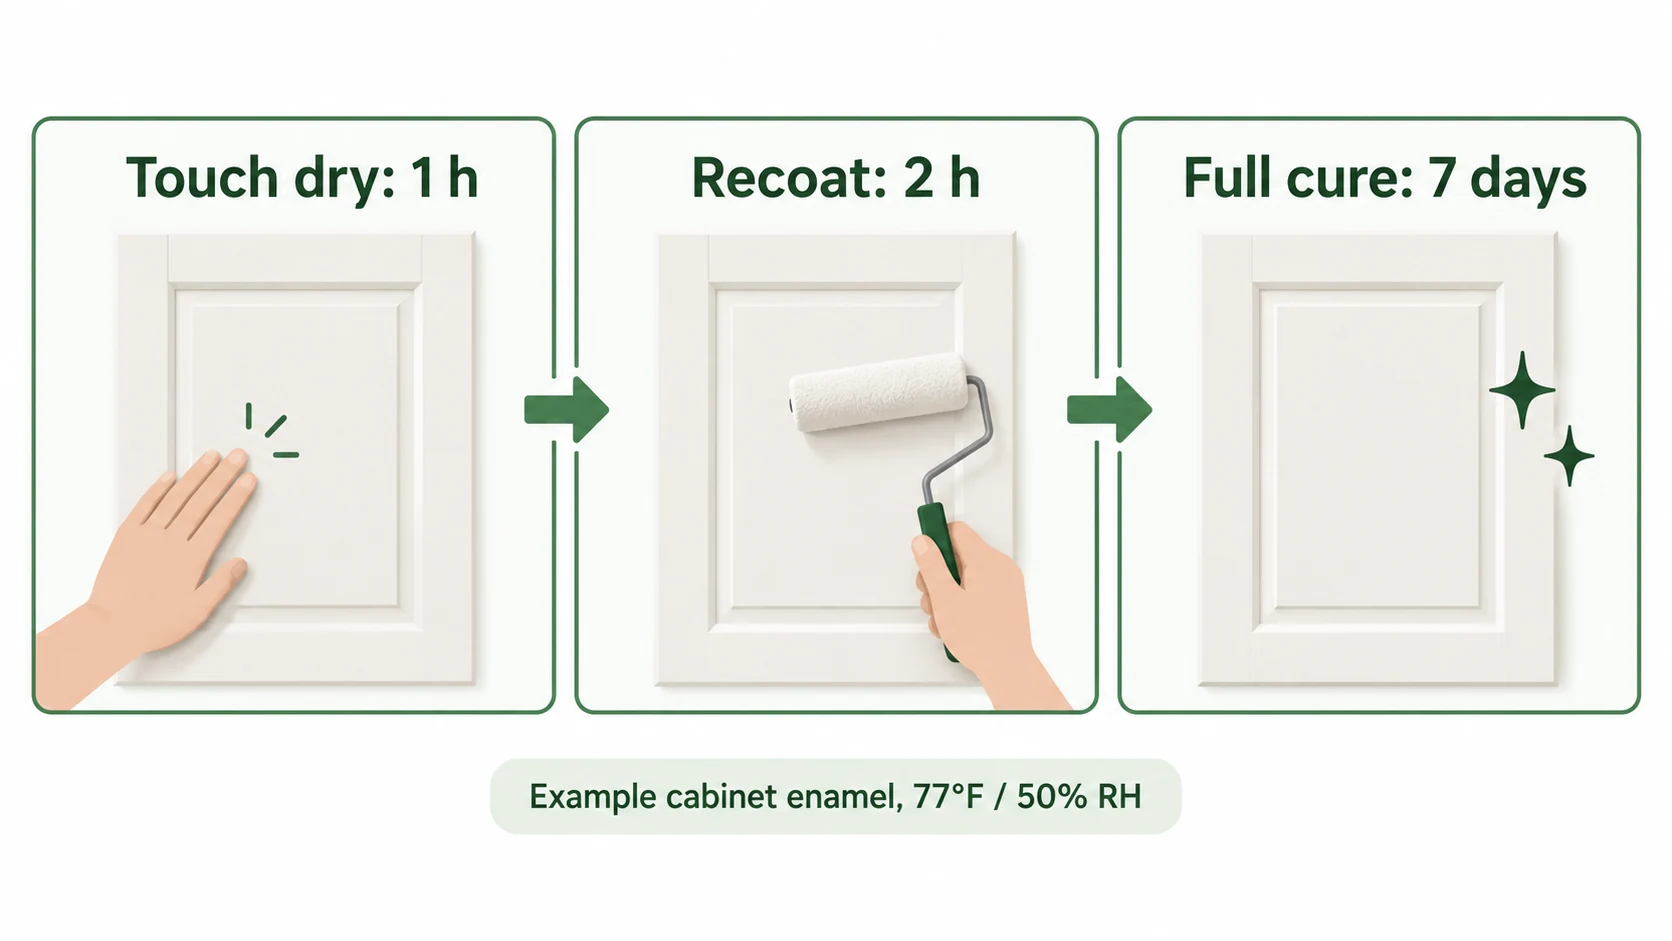
For the No. 7520 enamel at 77°F/50% RH: 1 hour to touch, 2 hours to recoat and 7 days to full cure. A primer’s recoat time only tells you when the next coat can go on, not when the door can take daily use.
| Product or guidance | Conditions | Recoat stage | Cure or later-use stage |
|---|---|---|---|
| BEHR Bonding Primer No. 432 | 77°F/50% RH; apply at 50–90°F | Touch-dry 30 minutes; recoat 1 hour | Topcoat within 14 days; check compatibility for the chosen finish |
| Extreme Bond Primer | 77°F/50% RH | 1 hour as primer; 4 hours as stain sealer; 24 hours for a high-performance finish | Complete-system adhesion and compatibility check required |
| INSL-X STIX | 77°F/50% RH | 3–4 hours | Approximately 3–4 days for maximum scrape resistance |
| BEHR Cabinet, Door & Trim Satin Enamel No. 7520 | 77°F/50% RH | 2 hours | Full cure 7 days |
| DIY painting tutorial | General DIY sequence, updated August 7, 2026 | About 6 hours for primer; 24 hours between paint coats | Additional curing before reassembly |
The primer timings come from the July 2024 No. 432 sheet, the October 2023 Extreme Bond sheet and the STIX sheet (code SXA-110 US 111225) linked in the primer section. The No. 7520 September 2025 sheet calls for two coats for best protection and notes that temperature, humidity and film thickness change drying times. Its cure time applies to that enamel only. Fast Cabinet Doors notes that many interior paints take up to 30 days to cure, but that refers to other paints.
Touch-dry means it can take light contact; recoat means the next coat can go on; cure means the film has finished hardening. Rehang doors once handling won’t mark them, then go easy on scrubbing and knocks until the cure period ends. In a cool or damp garage, expect every stage to take longer. However, the enamel’s product page says to wait two weeks before washing with a mild, nonabrasive liquid detergent. The technical sheet lists the one-week cure separately.
Why Does Paint Peel Off Laminate, and How Do You Fix It?
Usually grease, skipped prep, the wrong primer or coats applied too fast. Scrape off everything loose and rebuild the finish on a sound face, because a bonding primer only works on a stable surface.
Scrape off loose paint and feather the edges without cutting into the laminate. Then clean and reprime the bare spots. Add thin enamel coats with full drying time between them. If the decorative facing itself has come loose, reglue it or replace the door first.
The No. 432 primer sheet says to deal with loose, flaking and peeling paint before priming. The painting tutorial also lists greasy residue, skipped primer and rushed drying as the usual causes. If it is the decorative film lifting rather than the paint, the peeling thermofoil guide covers that repair.
When Is a Film-Faced Door a Better Fix Than Paint?
When the door has swollen or its facing is badly damaged, a replacement flat door with a factory-applied face is the better fix. For a sound door that just needs a new color, paint it as described above.
Puremorfilm makes decorative film with a silicone functional surface for cabinet and furniture panels. The silicone surface is inherently flame-retardant, with higher grades up to UL 94 V-0 available on request. Our film uses a No DOP, formaldehyde-free formulation.
In the manufacturer’s laboratory tests, coffee, red wine, soy sauce and lipstick left on the surface for 24 hours at 25°C wiped away with no obvious change. In SGS’s August 26, 2026 pencil test, the submitted film sample showed no obvious scratches from a 2H pencil under 500 gf at 45°, across three lines longer than 20 mm. These conditions describe the tested film sample.
We primarily supply rolls, with film-faced panels available on request, for flat lamination using PUR adhesive. This paint-free material uses a silicone functional face distinct from PVC, melamine, PP and PETG decorative surfaces. Explore our furniture decorative film for a flat-panel replacement route.
Should You Paint, Reface or Replace Your Laminate Cabinets?
Paint sound doors for a new color, replace failed doors on sound boxes, and replace cabinets that water has damaged structurally. Check the board and facing before you pick a finish.
| Existing condition | Practical next step |
|---|---|
| Sound board and firmly bonded, glossy face | Clean, scuff, prime and paint |
| Small lifted edge on a dry, intact board | Repair the facing bond before painting |
| Swollen door or widespread facing failure | Replace the door; consider a factory-faced flat panel |
| Distorted or water-damaged cabinet boxes | Address the leak and assess cabinet replacement |
The kitchen cabinet materials guide explains the boards behind different faces. To discuss a flat-panel film option, contact us with door sizes, quantity, profile and your preferred texture or sheen.
Frequently Asked Questions
Can I paint straight over laminate cabinets?
No. Clean the face and use a compatible bonding primer first, or the paint has nothing stable to grip.
Can I paint over laminate cabinets without sanding?
Yes, if your bonding primer allows it and a test patch shows good adhesion. The No. 432 primer and Extreme Bond allow reduced sanding on suitable clean surfaces; very glossy faces may still need deglossing.
What kind of paint will stick to laminate cabinets?
Cabinet enamel over a bonding primer, such as a waterborne acrylic cabinet enamel paired with a primer meant to go under it.
How do I know if my cabinets are laminate or veneer?
Look at an exposed edge. A printed face with an edge-banding seam points to laminate, while veneer is a thin layer of real wood. Realistic printed grain can fool you, so check the material description too.
Can you spray paint laminate cabinets?
Yes, after the same cleaning, scuffing and priming. Protect nearby surfaces, ventilate, and use the equipment the coating specifies; the No. 432 primer, for example, lists a 0.015–0.021-inch airless tip at 1,800–2,500 psi.