
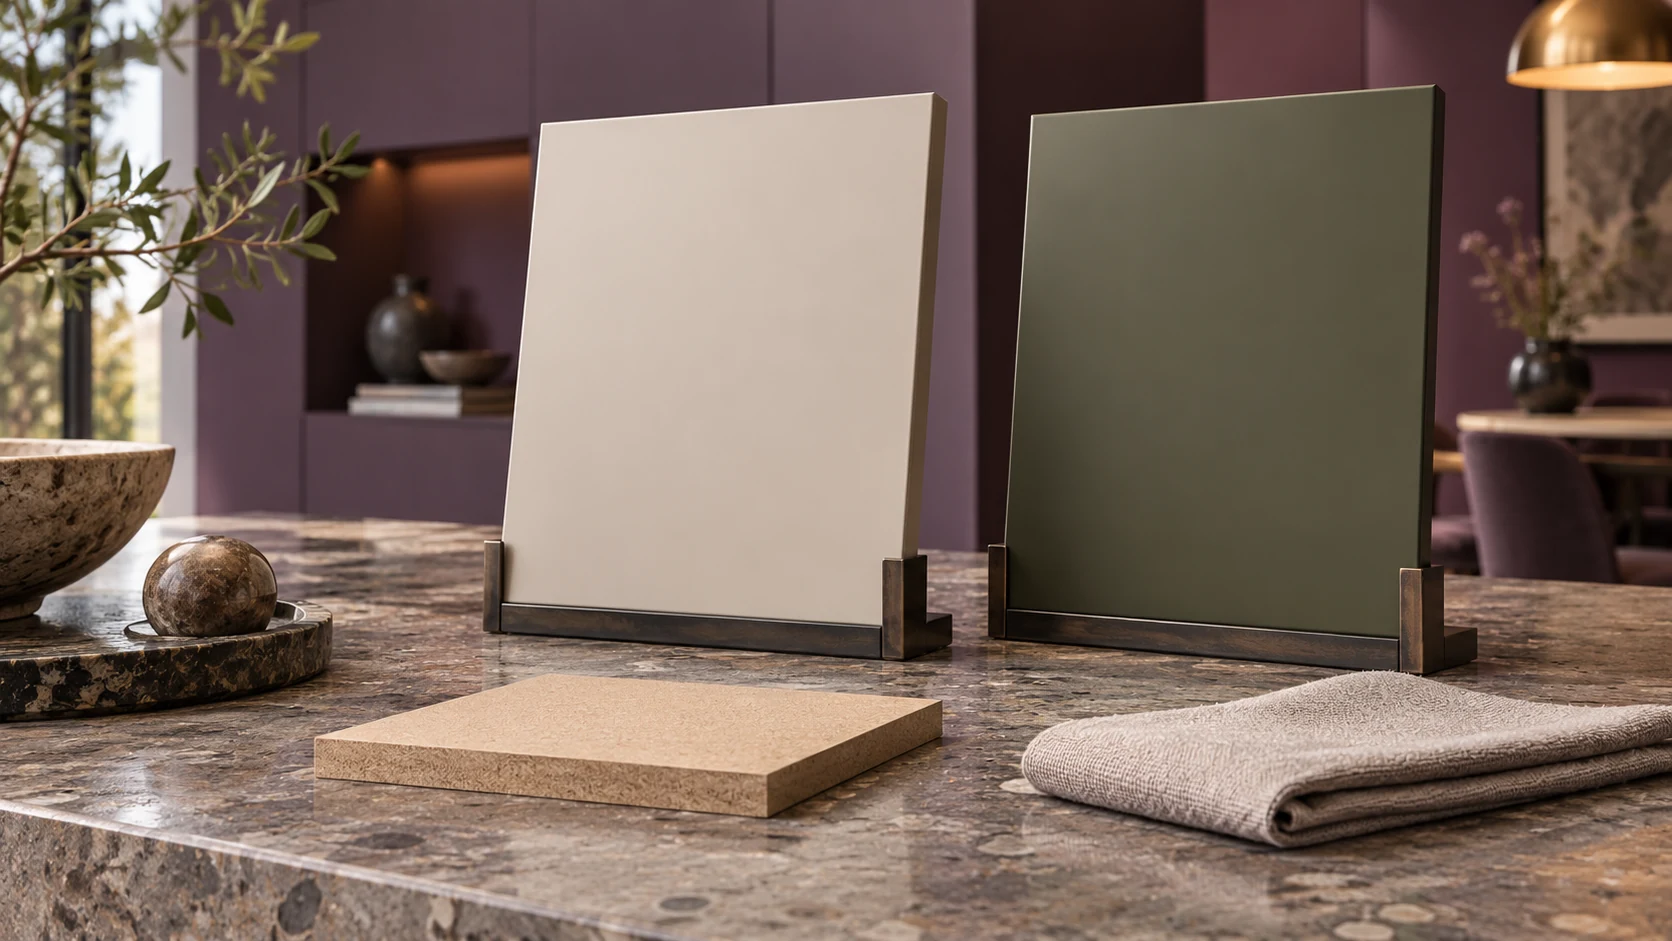
To finish MDF, sand the faces lightly, sand the cut edges with 150–240 grit and seal them because they soak up paint, apply a primer made for MDF, then add two coats of paint or clear coat, sanding lightly between coats. The edges are the hard part and usually need an extra sealer coat to come out as smooth as the face. Wait for each product’s recoat time before the next coat.
Which finish should you use on MDF?
Paint for a solid color, real wood veneer for natural grain, and decorative film for a continuous manufactured surface. A clear coat leaves MDF’s fibers on show; it can’t create timber grain.
Decide where the part will live before you buy a coating. Standard interior MDF belongs in dry rooms. Moisture-resistant MDF suits humid interiors, but long contact with water still calls for a different board and construction, as the board maker’s explanation of moisture-resistant MDF makes clear. Paint or a faced surface won’t make a whole cabinet waterproof.
| Finish | When to choose it | What the MDF still needs |
|---|---|---|
| Paint | An opaque color on flat or routed furniture parts | Sound board, treated edges, primer and compatible topcoat |
| Real wood veneer | Visible natural wood grain | Bond preparation, an appropriate back construction and a finished veneer surface |
| Decorative film | A continuous color or tactile surface on a suitable panel | A qualified bonding route, reverse construction and edge detail |
| Clear coating | The exposed fiber look is part of the design | An agreed appearance and a coating suited to the substrate |
Judge the whole part, including the back, fixing holes and cutouts; a sink-base door with a sealed face and a bare hinge recess still takes on water. The MDF moisture guide covers those assembly details.
For the board structure, grades and common furniture uses, start with what MDF is and where to use it.
How do you prepare MDF faces and cut edges?
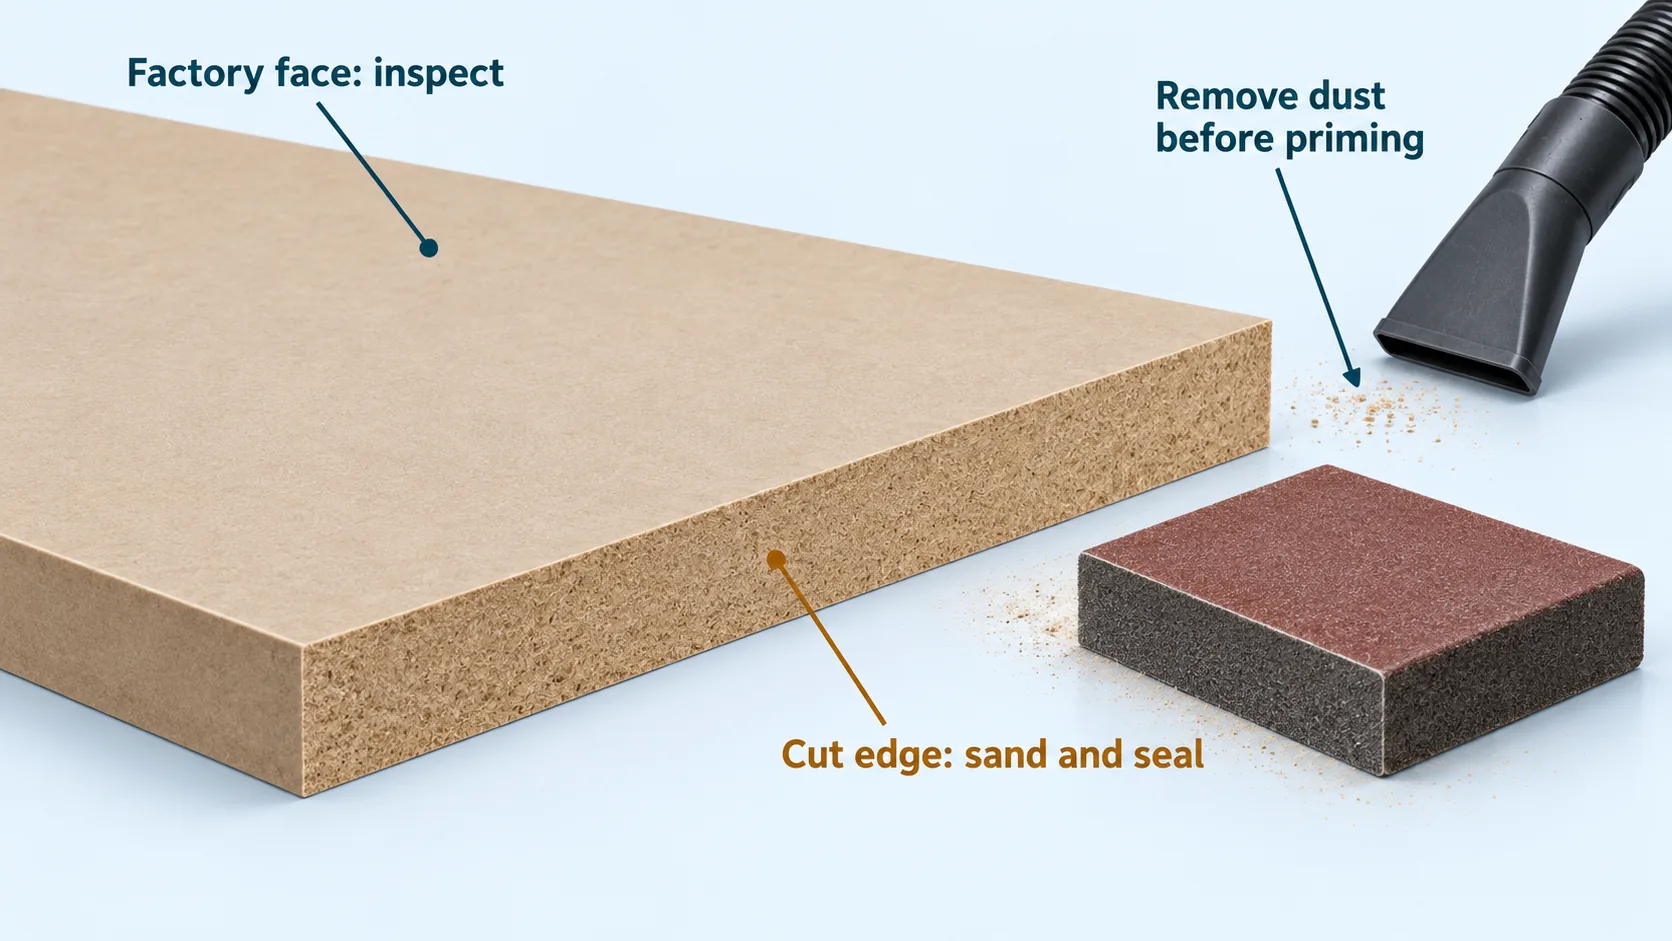
Leave a smooth factory face mostly alone, but sand and seal every cut edge before coating, without rounding off a profile the drawing needs.
For a shaped edge, the European Panel Federation’s profiled-edge guidance recommends hand sanding at 150–240 grit with a block shaped to the edge. That range is for edges; a factory face rarely needs the same sequence.
A pre-sanded face is ready for painting or lamination, according to one maker’s current datasheet. Your coating can still add its own prep: the cabinet-paint example below calls for 220 grit or coarser before priming. Do what the coating needs for adhesion and no more.
Fill dents, damaged corners and visible screw holes with a filler that suits the coating. Let it reach its sanding stage, level it flush and check it under a low side light. Paint shows a hollow or a sanding ridge; it won’t level them for you.
Sand with extraction on the tool and vacuum dust from faces, edges and recesses; local exhaust is the main control for wood dust. Don’t soak a bare edge when you clean up, because leftover water and dust both spoil the next coat. If the edge is chipped rather than fuzzy, fix the cut first with the MDF cutting guide.
Which primer seals MDF without a rough surface?
An MDF-rated primer on the faces and cut edges alike. One documented US pairing is acrylic Fresh Start High-Hiding All Purpose Primer 046 under waterborne alkyd ADVANCE Satin 792.
The ADVANCE system sheet gives the substrate recommendation, and the 046 primer sheet describes an acrylic, water-thinnable primer. Any other water-based primer needs its own check against MDF and the topcoat.
Work primer evenly into the edge without leaving a heavy ridge at the corner. When it is ready to sand, knock down raised fibers and dust nibs, clear the dust and look again. Add another coat where the edge still drinks primer; the 046 sheet allows 1–2 coats as needed.
Homemade glue-and-water edge sealers are a gamble. The edge-finishing guidance reports mixed results with shellac, sanding sealer and diluted PVAc next to formulated production sealers, and a home mix adds one more layer whose compatibility nobody has checked.
Look at the primed face and edge together. If the edge still shows fibers or sits visibly lower than the face, fix it before the color coat. For a different edge build, see the options in the MDF edge-finishing guide.
How do you apply paint and manage drying times?
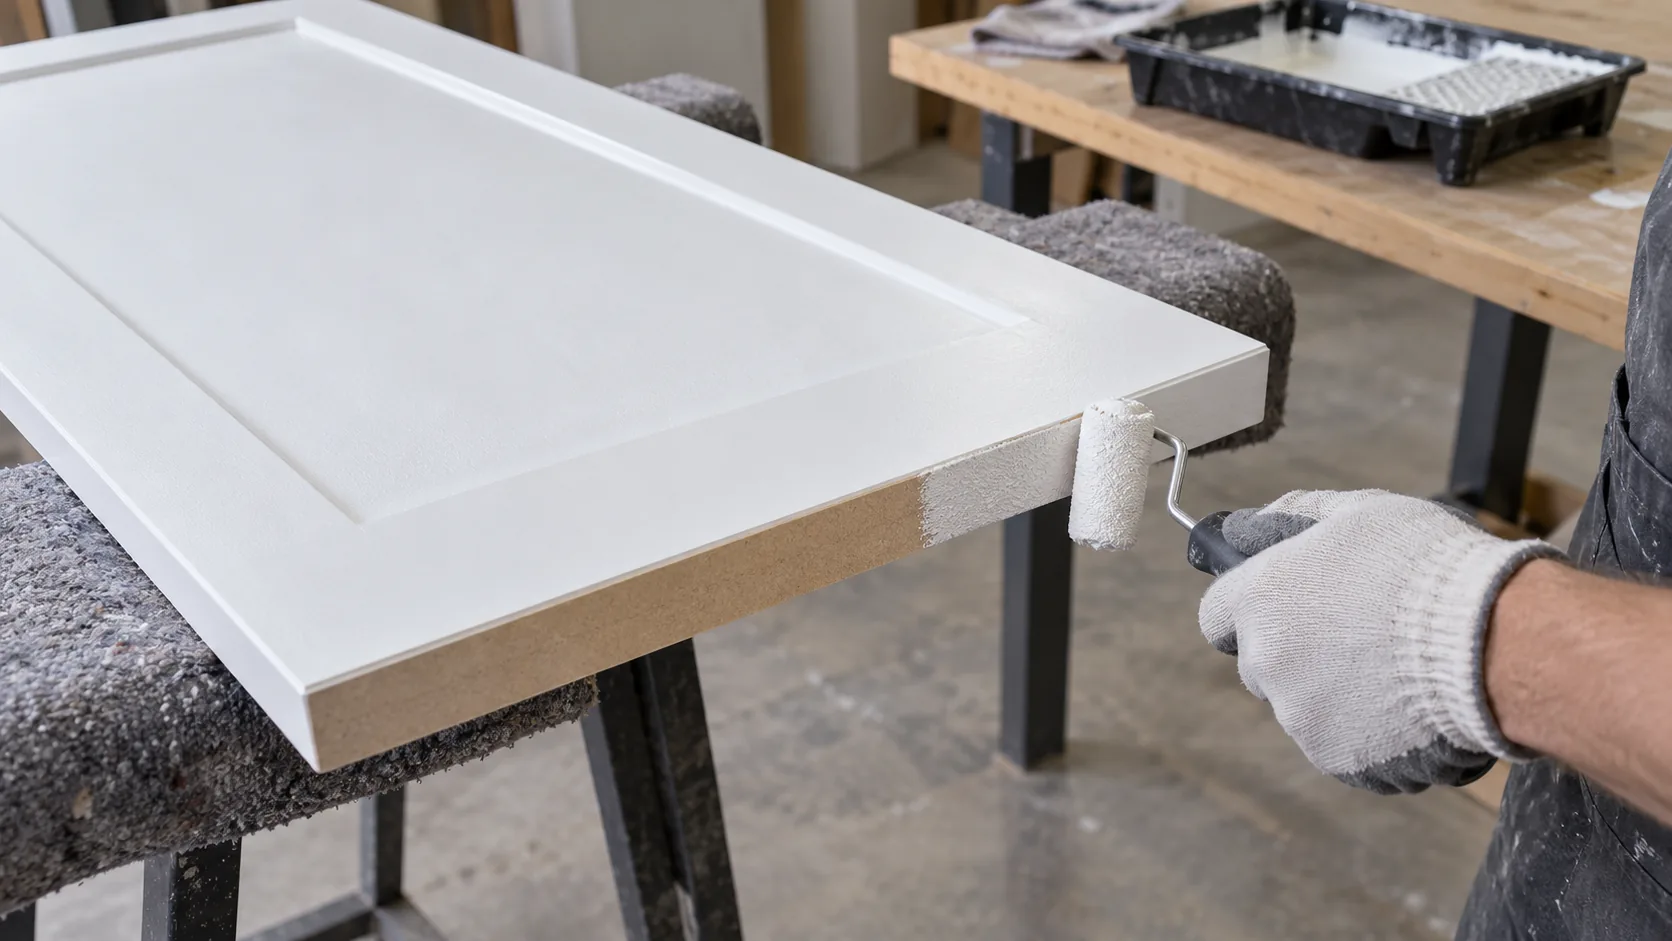
Brush or roll with a wet edge, wait for the recoat stage between coats, and treat handling, heavy use and full hardness as later milestones. For the cabinet-enamel example below, use a nylon/polyester brush or a suitable roller.
Keep the face wet enough to level without flooding the edge or pooling paint in a routed recess. Plan the order so you finish a face and its edges without going back over paint that has started to set. Stand parts on clean pads and keep coated faces apart. The MDF handling discussion covers the board itself.
These times come from the linked 046 and 792 US technical sheets, both at 77°F and 50% RH. A cool or humid shop stretches them, and the 792 topcoat needs an application surface of 50–90°F.
| Product or stage | Published time | What it permits |
|---|---|---|
| 046 primer, touch dry | 30 minutes | A touch-dry surface; further processing needs its own check |
| 046 primer, recoat | 1 hour | Recoating under the specified conditions |
| 792 topcoat, touch dry | 4–6 hours | Touch dry, with later milestones still ahead |
| 792 topcoat, recoat | 16 hours | The next coat under the specified conditions |
| 792 shelves or tabletops | At least 5–7 days | Avoid heavy abrasion or return to service during this period |
| 792 optimum hardness and final sheen | May take up to 30 days | A condition-dependent development period |
Sand lightly between coats where the system calls for it, and clear the dust. A coat that is ready for recoating may still be weeks from carrying a kitchen shelf of plates, and neither sheet gives a packing deadline for a batch.
How do you fix fuzz, dents, runs and uneven sheen?
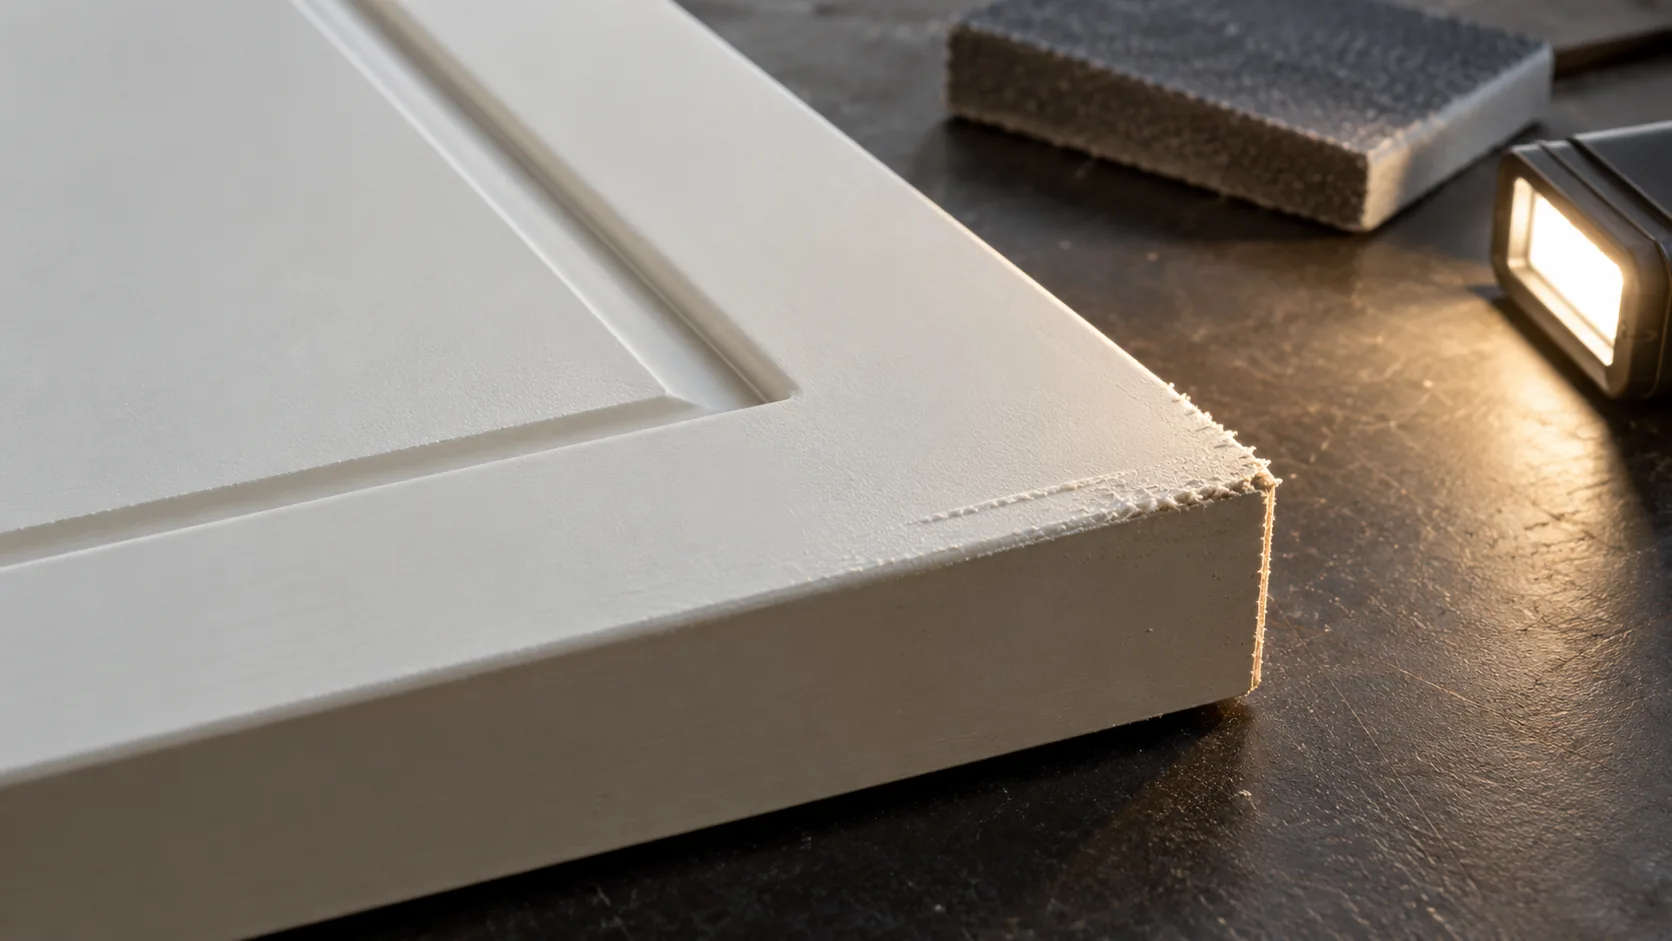
Reseal a fuzzy edge, repair a dent in the board itself, and let a run harden until it sands cleanly before you level it. Judge uneven sheen only after the coating reaches its stated stage, not under another rushed coat.
Find the stage where the defect began. A rough edge already visible under primer is a prep problem. A ridge on a face that was smooth points to application or contamination. A soft film may just need more time or better drying conditions. Mark the area so the rework fixes the cause instead of repainting the whole door.
Check the repair and its blend into the face under side light. If sanding breaks through to raw fiber, go back to primer there. Keep corners and routed detail crisp; an overworked edge can match the color and still lose its shape.
The primer’s recoat time in the table above is a coating interval; sanding waits until the film sands cleanly. Before the next coat, the surface should be clean, dry, dull and sound. If swollen MDF has lost its shape or strength, replace it instead of hiding it under more coating.
What should a factory specify before batch finishing?
The board, the face-and-edge build, the coating products and the release conditions, plus inspection limits you can measure for the part’s real use.
| Item | What to specify | Why |
|---|---|---|
| MDF | Grade, thickness, supplier and intended environment | A finish cannot correct an unsuitable core |
| Geometry | Routed profile, exposed edges, holes and reverse-face construction | The visible face is only part of the component |
| Coating system | Primer, topcoat, color, sheen and preparation route | Prevents uncontrolled substitution between batches |
| Process record | Application method, shop conditions and times at each stage | Makes defects traceable to material or process |
| Appearance | Agreed reference part, viewing conditions and defect limits | Turns “smooth” into an inspectable requirement |
| Packing release | Contact material, pressure, hold period and blocking check | Recoat readiness does not establish packing readiness |
Condition the board to its room before finishing. The US Composite Panel Association bulletin describes 35–45% RH at 70°F for conditioning and warns that panels waiting for gluing, lamination or finishing may need a week or more to reach temperature and moisture balance. Days on a calendar won’t tell you the middle of a thick stack has caught up, so check it.
Build the documented recoat interval into the route and log the time and conditions of each coat. Inspect edges, recesses and the back, not only the flat face. Where adhesion or abrasion matters to the buyer, name the test method and pass mark; an unnamed “scratch test” gets measured differently in every workshop.
Keep the batch ID with the parts and record every repair or coating swap. If you plan to face the board instead of painting it, the MDF lamination workflow covers bonding and pressing, and the laminated MDF specification guide shows how to describe the finished panel.
When is silicone decorative film a useful MDF finish?
On flat furniture panels where you want a continuous tactile surface and can laminate. Keep paint for designs whose color or shaped details need a coating, and compare whole constructions, edges and back included.
Puremorfilm makes decorative film with a silicone functional surface as a paint-free alternative to finishing MDF. An optional silicone touch layer, 5 to 30 μm thick, gives a soft, leather-like feel, and more than 100 patterns are available with texture and gloss customized by project. The silicone surface is inherently flame-retardant, with higher grades up to UL 94 V-0 available on request. The film uses a No DOP formulation, and in the manufacturer’s laboratory tests, coffee and red wine left for 24 hours at 25°C wiped off with no obvious change.
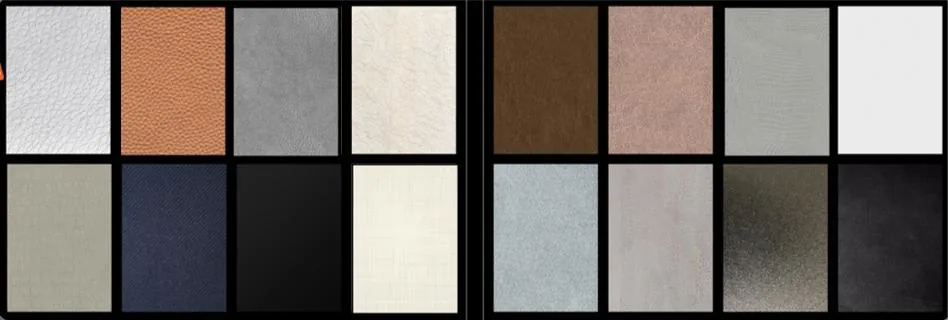
For furniture, the film goes on with flat-lamination equipment and PUR adhesive. Agree the adhesive route, bonding side and edge detail with the panel processor before you treat the film as a finished spec. The furniture decorative-film page introduces that route.
Film results describe the film, so joints, cutouts and exposed core still need design and inspection. The film is not for floors, cooktop countertops, shower floors or other walked-on areas. For kitchens, the cabinet-material selection guide puts the finish next to the core and construction choices.
Which finishing route should you approve?
Paint for an opaque color, real veneer for natural grain, or a film-faced build for a manufactured surface. Approve the face, edge and back together, with handling conditions written into the spec.
- Paint: name the MDF primer and topcoat, the prep route and the drying milestones.
- Veneer: define the bond, back construction, exposed-edge treatment and veneer finish.
- Film: define the bonding route and full panel construction before release.
- Repeat orders: keep the agreed appearance reference and processing record with the order.
Our silicone face gives you a paint-free route, and a different surface from PVC, melamine, PP and PETG. Approve a full sample with the MDF and edges in place.
Bring the part drawing, the surface you want, the exposed-edge detail and the room it will go in when you contact us.
Frequently Asked Questions
Can you paint MDF without primer?
No, not on bare MDF. Without primer, the faces and especially the cut edges soak up paint unevenly and raise fibers, leaving a rough, blotchy finish. Pre-primed MDF can be painted directly, but freshly cut edges still need sealing.
Can you use PVA glue to seal MDF edges?
Yes, diluted PVA wood glue is a common DIY edge sealer, but results vary and some paints do not stick well to it. For a reliable finish, use a primer or sealer made for MDF edges.
Can a clear finish make MDF look like solid wood?
No. A clear coat shows the fibers and adds no grain. Choose real wood veneer if the design needs the look of timber, and finish that veneer as its own surface.
What is the best paint for MDF?
Use an MDF primer, often oil- or shellac-based because water-based primers can raise fibers on bare edges, then a durable cabinet enamel or waterborne alkyd topcoat. Follow the paint system’s recoat and cure times before handling the parts.
How do you get a smooth finish on MDF edges?
Sand the edge with a block, apply a sealer or thinned filler, let it dry, sand smooth again and repeat until the edge feels like the face. Then prime and paint the edge together with the face.