
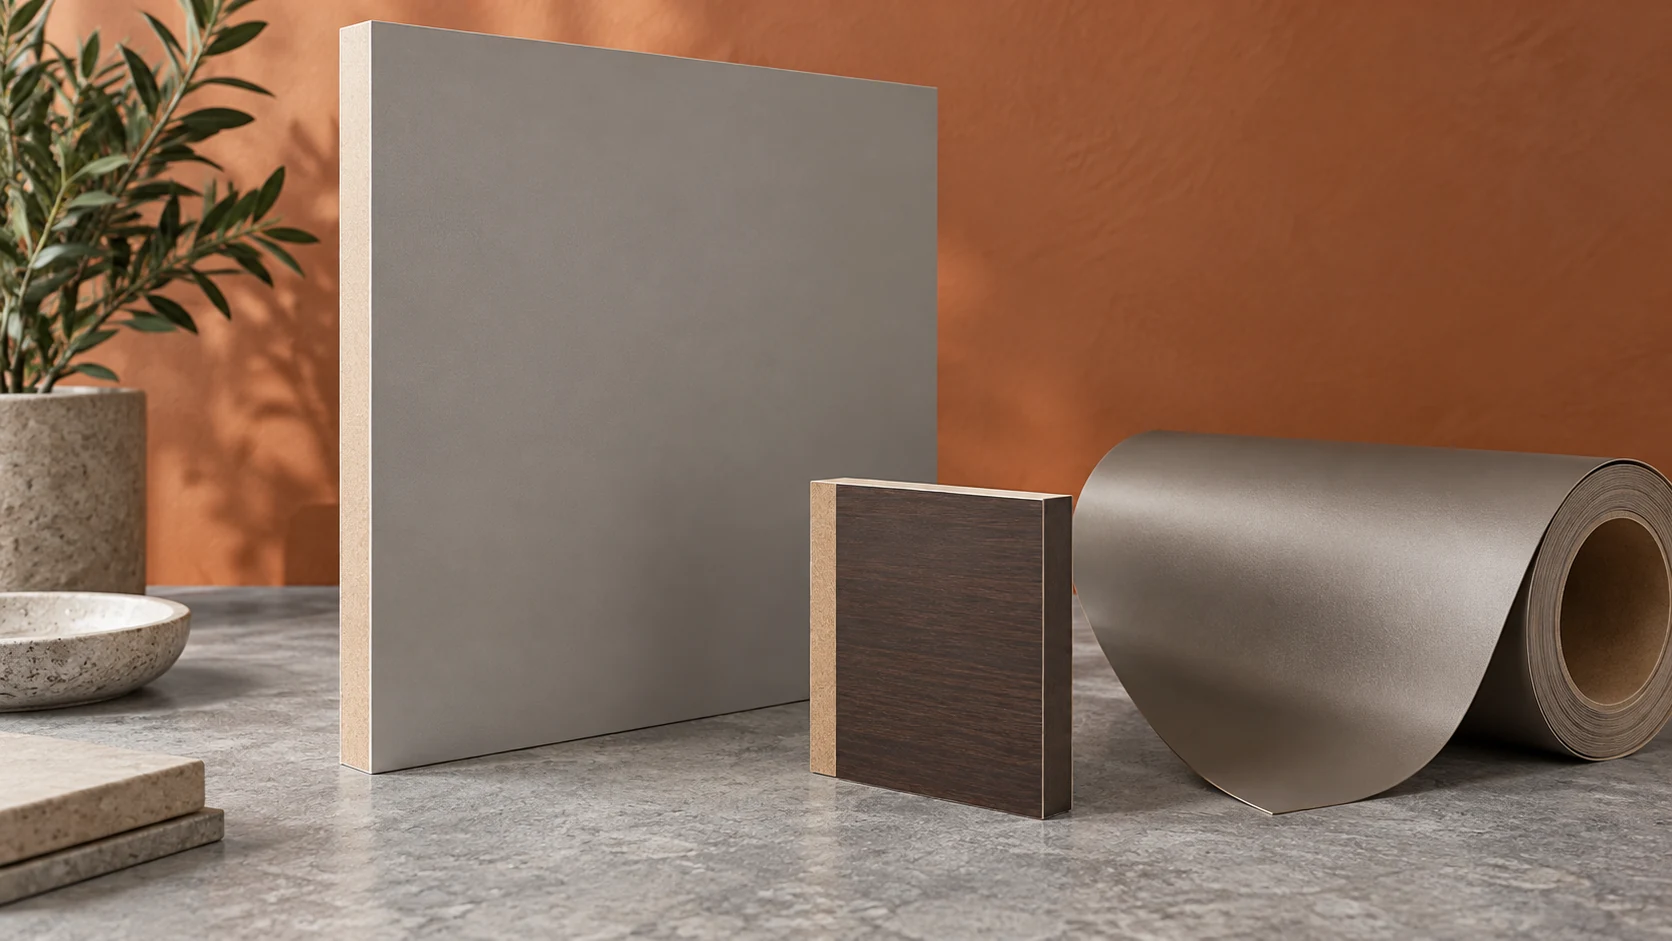
To laminate MDF, choose the facing first, prepare a sound and balanced board, apply the adhesive specified for that facing, consolidate the whole bond and inspect after the required cure. Hand-bonded HPL uses a contact-adhesive procedure; thin decorative film uses a qualified factory lamination line. The two routes require different settings.
Which laminate should you use on MDF?
An HPL sheet for the hand contact-bonding method in this guide, and a dedicated flat-lamination process for thin decorative film. Thermally fused laminate, or TFL, is resin-treated decor paper pressed straight onto the board, so it comes from a factory line, not your bench.
HPL is made as a separate sheet and bonded to a substrate afterwards; TFL is fused directly. That is why “laminate” alone doesn’t tell you which glue to buy.
| Facing | How it joins the MDF | Practical starting point |
|---|---|---|
| HPL sheet | A separate sheet is adhesively bonded | Select an HPL-compatible adhesive and a pressure method |
| Thin decorative film | A flexible surface is bonded in a qualified process | Establish film backing, adhesive and lamination equipment |
| TFL | Resin-treated paper is fused directly to the core | Buy the specified factory-faced panel or use its manufacturing process |
| Real wood veneer | A wood face is glued onto the core | Define veneer preparation, pressing and reverse construction |
Start from the finished part. A flat door needs flatness and a stable back; a shaped front needs a facing that can follow its shape. A rigid sheet laid over a routed front will bridge the recess instead of following it. The laminated MDF guide shows how to name the core and surface together.
For HPL by hand, follow the named contact-adhesive procedure below. For a PET-backed decorative film, go to the PUR film-to-MDF route, which links to the grade-specific production-line guide. Do not use the J-roller or contact-cement drying figures as a film-line recipe.
How do you prepare MDF and balance the panel?
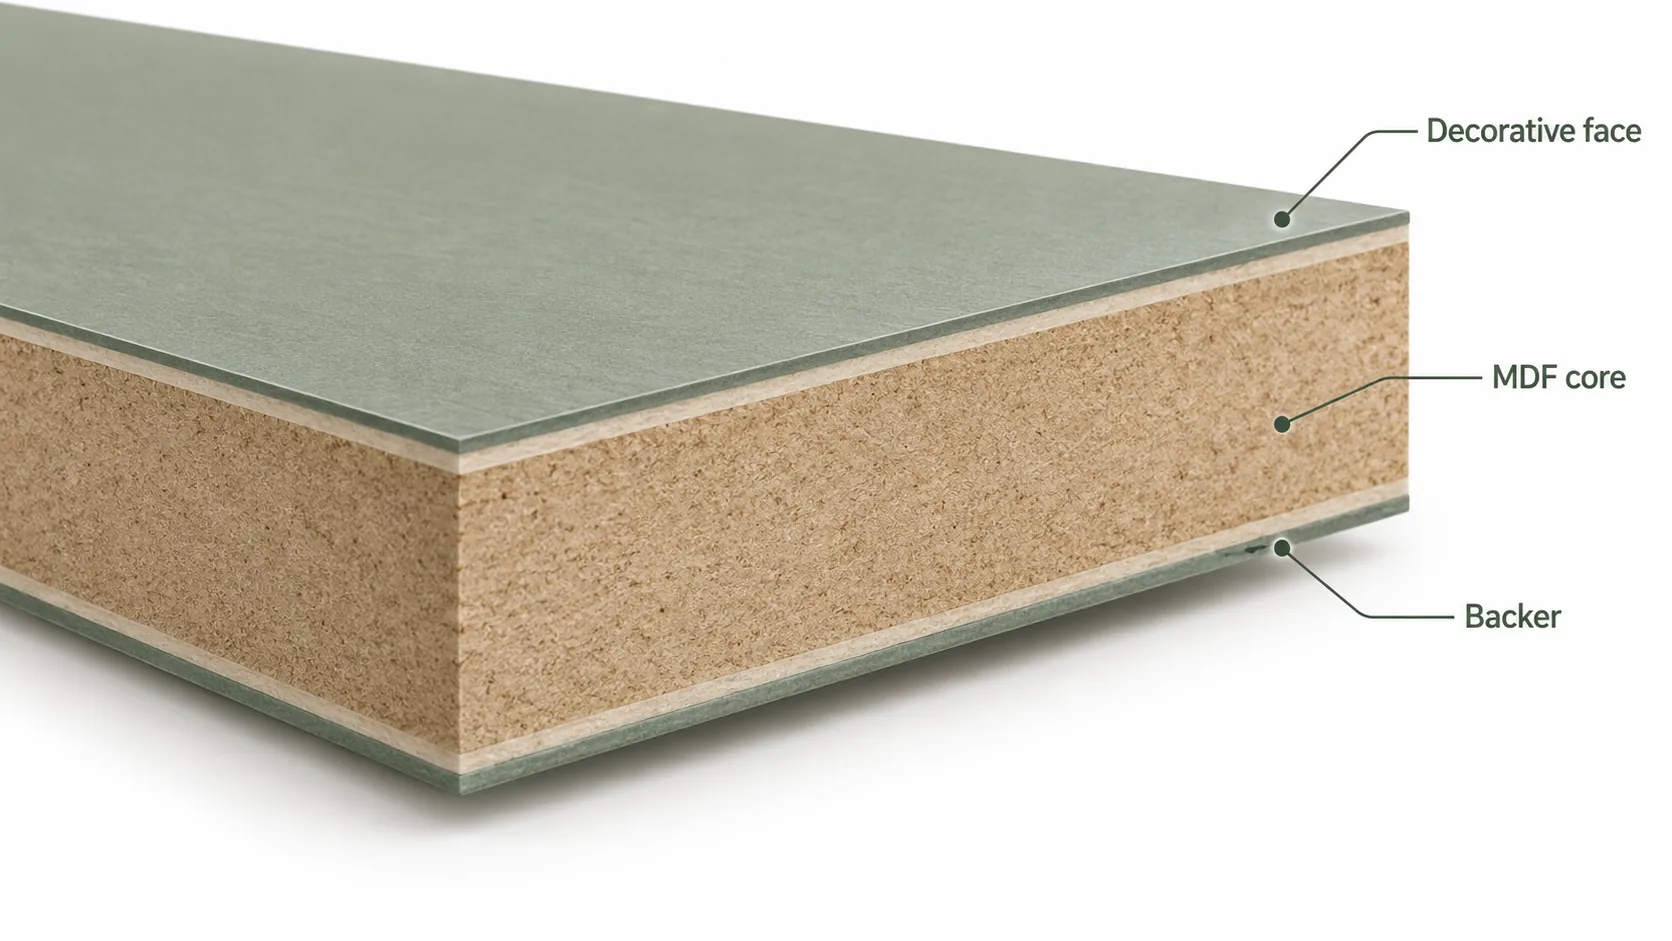
Start with sound, dry, clean MDF with a flat face, and give any freestanding panel a back that balances the decorative face. Clear damage and contamination before glue touches the board.
Look for a bowed sheet, dents, loose fibers and residue. Laminate hides the color of a defect but still shows its shape. Repair a shallow defect with a compatible filler route, and replace swollen or structurally damaged board. The MDF material guide covers the core.
A factory-sanded MDF face is usually ready to laminate. One maker’s current datasheet mentions a light 200-grit pass for very thin foils, which is no reason to sand every face hard. Vacuum the dust and keep oily hands off the cleaned surfaces.
Balance means more than the same color on the back. The Composite Panel Association’s bulletin on minimizing warp looks at similar face-and-back expansion, stiffness and thickness, and at running HPL machine directions parallel. The same facing on both sides generally balances best. Supported countertops with elastic adhesives can be exceptions; a freestanding cabinet door is not one of them.
Store board, laminate and backer together in the room where you will work. The bulletin notes that reaching moisture balance can take two weeks or longer, depending on conditions and air movement. An adhesive’s shorter acclimation time is a separate instruction.
Surface treatment is a separate decision when a film is difficult to bond. Corona treatment vs plasma treatment explains the treatment routes and the checks used before selecting one. Confirm the route for the actual film, adhesive and board combination before adding it to a production process.
What substrate is best for decorative film lamination?
MDF is usually the best substrate for decorative film lamination because its face is smooth, dense and uniform, so thin films do not show the board through. HDF suits thin parts such as door skins and drawer bottoms. Particleboard works for many flat parts if it has a fine, closed surface layer, but coarse chips can telegraph through thin or glossy films. Plywood needs extra sanding or a smoothing layer because grain and voids show through.
| Substrate | Film lamination suitability | Watch for |
|---|---|---|
| MDF | Best general choice for flat panels and fronts | Dust, moisture content and thickness tolerance; seal cut edges |
| HDF | Good for thin, hard parts | Very smooth faces may need a primer or adjusted glue weight |
| Particleboard | Good for flat carcass parts with a fine surface layer | Telegraphing of chips under thin or high-gloss films |
| Plywood | Possible with preparation | Grain, patches and voids showing through; extra sanding |
How do you size and dry-fit the laminate?
Cut the sheet to cover the whole face with a planned trimming allowance, then dry-fit it before any glue goes on. Set alignment marks and spacers while the parts can still move freely.
Measure the actual panel, not its nominal size. Check squareness, note which edges will show and mark the facing orientation. On a woodgrain decor, check the direction across neighboring doors; a turned sheet still fits but looks wrong next to the others.
A good dry fit answers three questions. Does the sheet cover every corner? Can you position it without touching glue too early? Can the trimming tool reach the final edge? A strip that barely covers the board leaves no room for an alignment error, while too much overhang leaves a fragile edge. Pick the allowance for the sheet, the part and the trimming method.
Prepare edge strips and face sheets in the order the edge design needs. If the face overlaps a laminated edge strip, fit the strip before you trim the face. For a band applied later, keep its bonding surface clean. The MDF cutting guide covers clean, accurate core machining.
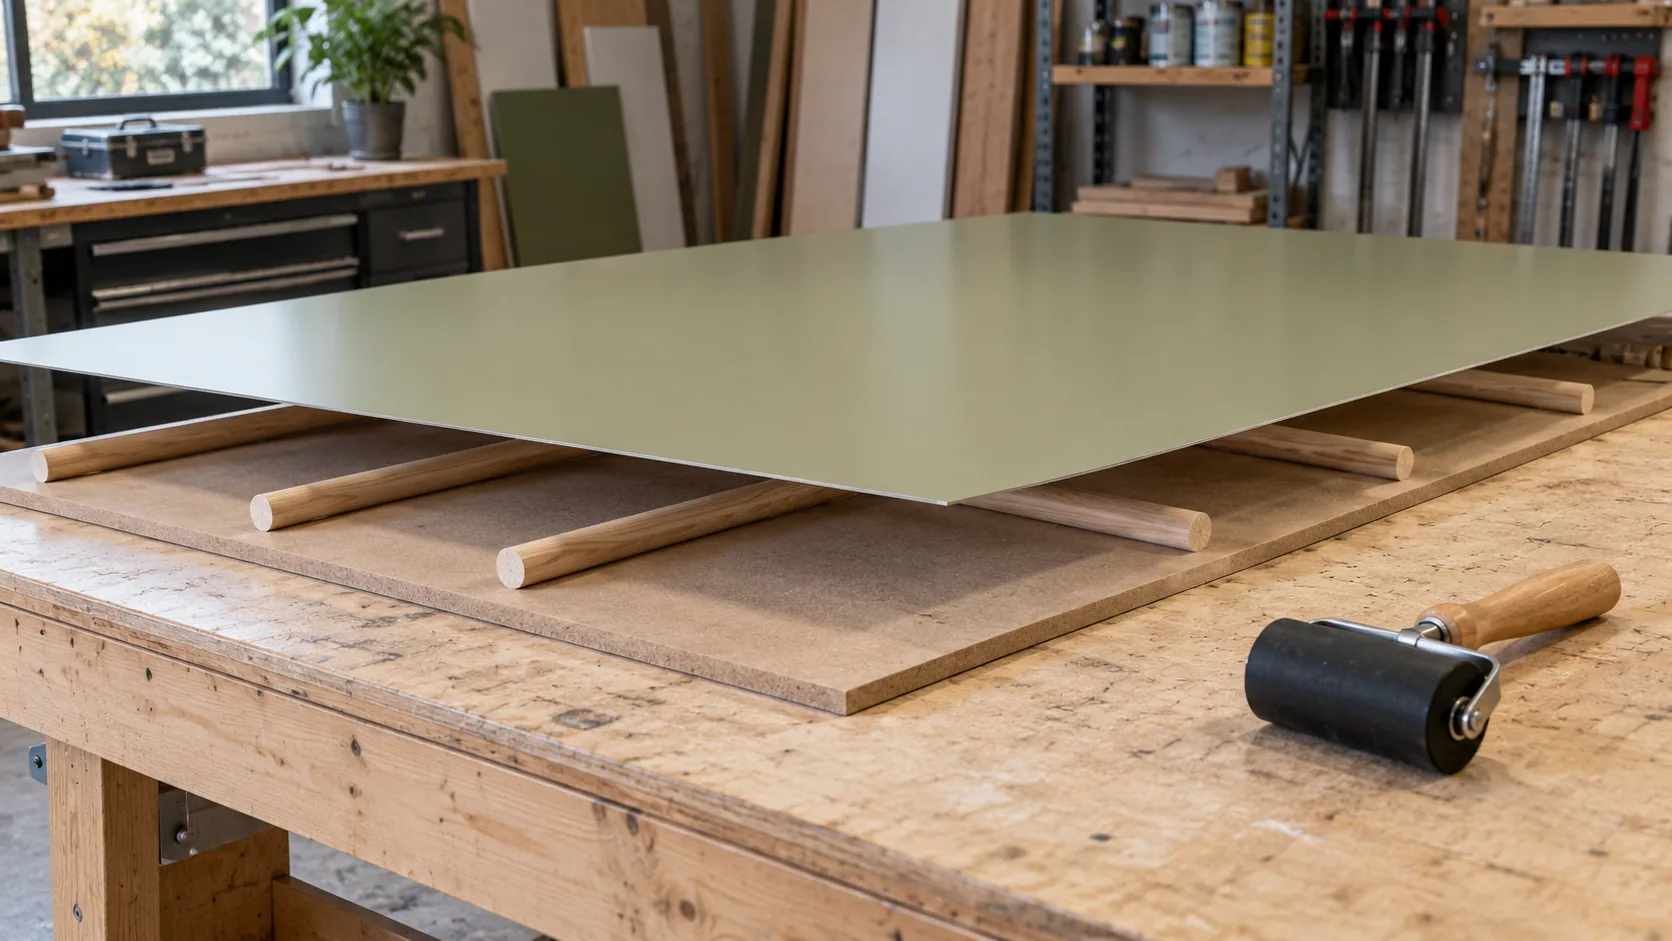
Lay clean spacer rods so the sheet stays off the core until it is aligned, and check that you can pull them one at a time without shifting it. Contact cement grabs on first touch, so solve the handling in the dry fit.
Which adhesive and conditions give a reliable bond?
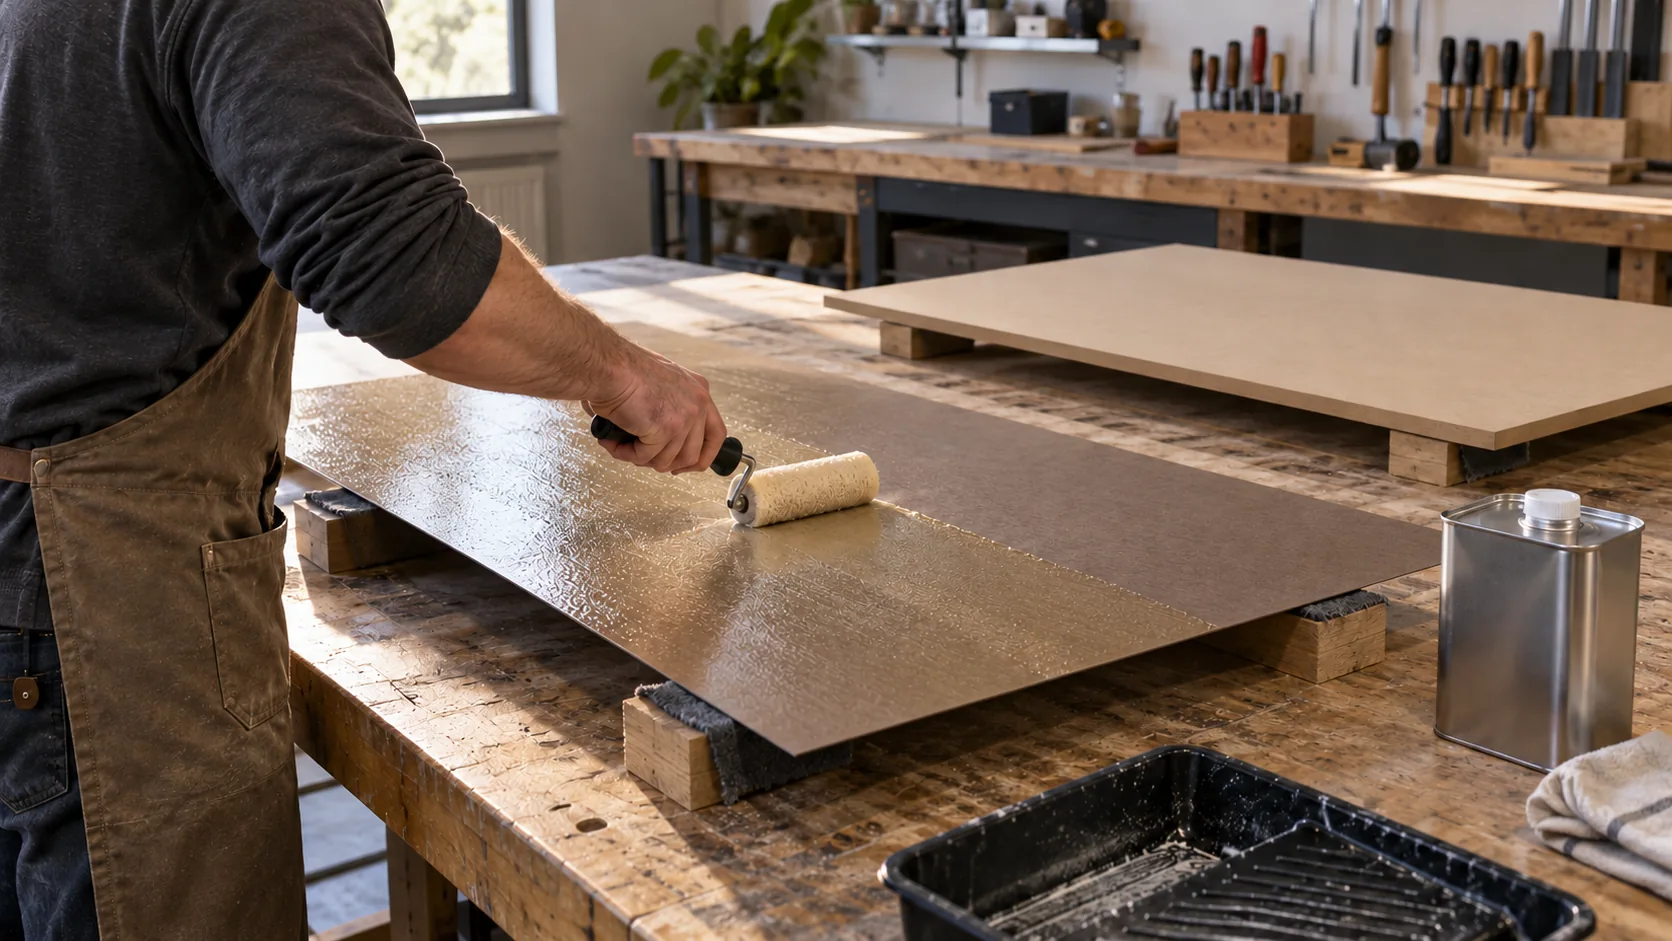
For a hand-laid HPL sheet, a solvent-based contact cement such as DAP Weldwood Original Contact Cement coats both mating surfaces, dries to a tack and needs firm pressure across the whole bond. Keep the parts, the adhesive and the room above the minimum temperature before and after you work.
The values below come from that product’s technical data sheet (revision 08/2018); another contact cement, or a PUR system, has its own instructions.
| Control | DAP Weldwood Original example | What to check |
|---|---|---|
| Temperature and preparation | Air, adhesive and surfaces above 65°F (18°C) for at least 24 hours before and after application; at least one surface porous | Clean, dry parts and suitable working conditions |
| Glue coverage | Both surfaces coated; about 216 sq ft per gallon | Continuous coverage, without starved areas |
| Drying and open window | 15–20 minutes drying; open time up to 2 hours; recoat if not assembled within 2–3 hours | Tacky with no transfer before assembly |
| Consolidation | 25 psi applied evenly from the center to the edges, about 75 lb on a 3-inch J-roller | Pressure over the whole mating area |
| Cure | Maximum holding strength after 7 days; trimming allowed immediately after bonding | Handling and service milestones |
Go by the surface, not only the clock. A coat that still transfers to your knuckle is wet, whatever the timer says. A coat left past its open window needs recoating. Don’t assemble wet glue, and don’t confuse the open window with cure time.
Solvent cement needs ventilation and no ignition sources nearby. Keep the can closed between uses and follow its safety information. Don’t thin it or heat it to speed things up. The melamine and laminate comparison explains how a bonded HPL sheet differs from factory TFL.
How do factory lines choose a panel lamination adhesive?
Factory lines choose the adhesive from the facing’s bonding side, the board surface and the equipment that will bring them together. Bonding a decorative face onto MDF and bonding structural skins to a sandwich core place different demands on wetting, pressure, stiffness and durability. Identify that joint before selecting an adhesive family.
A veneer back, an HPL back and a decorative film can need different bonding systems even when the finished faces show the same woodgrain. A formulation that works between absorbent wood surfaces may need a different process when one surface cannot absorb water. For a flat furniture panel, the trial should establish continuous contact, an acceptable face and a balanced construction on the actual materials you intend to run.
Specify assembly, pressing and release for further processing as distinct stages, using the selected grade’s current data sheet and the conditions on your line. Identify when the coated parts meet, how the press consolidates them and when the bond can withstand the next operation. The panel lamination adhesive overview explains the adhesive families and the checks for each construction.
How does PUR bond a PET-backed decorative film to MDF?
PUR bonds the film through a combination of cooling and moisture cure: heat makes the reactive hot melt coatable, cooling gives initial grip, and moisture crosslinks it into its final bond. The cured adhesive forms a network that does not remelt like a conventional thermoplastic hot melt. This curing mechanism supports the heat and moisture resistance sought in decorative-panel bonding.
The glue line also affects how the finished face looks. Under a thin or glossy film, particles and uneven application can show through even when the film appeared smooth before bonding. Evaluate the bonded panel’s appearance alongside its adhesion, particularly for a door that will catch reflections across a kitchen. A sound bond and an acceptable visible face are separate parts of approval.
Choose the grade around assembly timing, initial grip and the film’s tendency to spring back, using equipment designed for reactive hot melts. Take coating and assembly settings from that grade’s data sheet, then qualify them on the actual film and board; packaging-film settings describe a different construction. The PUR adhesive for PET film lamination article explains grade selection, smooth coating and panel trials.
How do you position, press and trim the sheet?
Line the dry-coated sheet up on clean spacers, lower it progressively, press every area, then trim. For the DAP example, roll from the middle out to the edges with a 3-inch J-roller; on a large sheet, lay dowels every 6 to 12 inches and pull them out one by one as you press the sheet down.
Check the overhang and pattern direction while the spacers still hold the coated faces apart. Pull them in order and lower the sheet without dragging it across the core or letting it buckle. A sheet can sit in the right place and still have patches underneath that never bonded.
Roll the whole face, margins included. Hand pressure in the middle of a panel misses the edges and corners. The 25 psi figure is pressure on the bond, not a setting for some other press.
You can trim right after bonding. Support the panel, use a guarded trimming tool and take off the overhang without gouging the finished edge. Keep the router bearing and its path clean so glue residue can’t push the cutter off line. Ease sharp laminate edges with the method that suits your sheet.
Check one corner and one long edge before you carry on around the part. Where a separate band forms the edge, the MDF edge-banding guide covers that joint. Clean up with a solvent approved for your facing and glue; one that suits HPL can damage a polymer film.
How do you laminate decorative film onto MDF on a production line?
To laminate decorative film onto MDF in production, clean the board, roll-coat a measured layer of hot-melt PUR (or another adhesive approved for the film back), lay the film on under even tension, press it with nip rollers, trim the edges flush and let the PUR cure before cutting. A flat lamination line does the same job as hand bonding, but continuously and with controlled glue weight, pressure and temperature. A typical PUR or water-based line for film or paper facings runs in this order:
| Stage | What happens | What to control |
|---|---|---|
| Board infeed and cleaning | MDF panels are fed flat and brushed or vacuumed to remove dust | Board flatness, thickness tolerance and moisture content |
| Adhesive application | A roll coater spreads hot-melt PUR or a water-based adhesive across the face | Glue weight and temperature, set on trial panels |
| Film unwinding | The decorative film or paper unwinds from a roll under tension | Even tension, so the face does not stretch, wrinkle or shrink back |
| Pressing | Nip or calender rollers press the facing onto the glued board | Roller pressure, line speed and roller temperature |
| Trimming and stacking | Overhanging film is cut flush and panels are stacked flat | Clean edges, protection of the finished face |
| Curing | Reactive PUR keeps curing with moisture after pressing | Cure time before cutting, edge banding or packing |
Balance still applies on a line: laminate or seal the back face as well, or the panel can cup. Our silicone decorative film is supplied for this kind of PUR flat lamination; if you want faced boards instead of running your own line, see our laminated MDF panels.
What causes bubbles when laminating film onto MDF?
Bubbles usually come from trapped air or gas between the film and the board: too little or uneven adhesive, dust or dents on the MDF face, too much moisture in the board, low pressure or uneven nip rollers, or an adhesive that had cooled past its open time before pressing. Bubbles that appear days later often point to moisture, incomplete cure or heat in use.
Check glue weight across the panel, board moisture and cleanliness, roller pressure and the time between coating and pressing, and cut a sample to see whether the failure is in the adhesive, at the film back or in the board surface. Our decorative film delamination and defects guide covers bubbles, orange peel, wrinkles and edge lifting in one troubleshooting table.
What should you inspect before releasing a batch?
Flatness, full-area bonding, flush edges and finished dimensions. Diagnose each defect by its cause; extra pressing won’t fix them all.
Record whether a defect appears at press exit, after cure, after trimming or in service. A blister can be trapped air or a local area without contact; a rippled reflection can be glue-line or board texture; a fold calls for feed checks. A bowed panel and a lifted facing are different observations. Use the five-symptom lamination troubleshooting table to separate possible film, adhesive, board and process causes before adjusting the line.
| Item | What to specify | Why |
|---|---|---|
| Core and facing | MDF grade, thickness, facing identity and orientation | Keeps the approved construction identifiable |
| Reverse face | Backer, adhesive and material orientation | Makes flatness review meaningful |
| Adhesive operation | Product, temperature, spread, dry stage and assembly window | Tracks bond conditions across the batch |
| Finished geometry | Dimensions, edge design, flatness method and acceptance limits | Defines what the component must fit |
| Appearance and bonding | Viewing conditions, edge integrity and agreed bond test | Separates cosmetic and construction defects |
| Handling release | Stacking arrangement, contact material and inspection stage | Prevents an early operation from becoming an unsupported packing deadline |
Keep the real process record with the parts; “glued and pressed” leaves out the conditions that explain a failed bond. When a fault repeats, look at what changed in the material or the operation before adding glue or roller force. Hold affected parts aside until you decide on repair or replacement.
The MDF moisture guide explains why openings and joints still need attention under a decorative face. If you are changing the core itself, the MDF and plywood comparison keeps the glue route apart from the structural choice.
What should you do if a laminated panel delaminates later?
Identify the layer that separated before changing the lamination process. Preserve the failed pieces and inspect both exposed faces before cleaning or adding glue. Adhesive left on both sides, a clean release at an interface and board fibers attached to the facing point the investigation toward different parts of the construction.
Compare the damaged panel with sound material from the same relevant production stage. Cutting, handling or installation can add strain or heat that exposes an existing weakness, so record where the separation first appeared and what had happened immediately beforehand. A failure found after trimming needs a different comparison from damage first seen beside a leak after installation. Moisture changes can stress a wood-based assembly that looked satisfactory at its first inspection.
Keep the failure location, material identity and exposure history together when choosing the next check. A hand peel helps locate separation but cannot provide a repeatable acceptance value. Compare prepared specimens under consistent conditions, record the failure surface as well as the measured result, and trial a correction before returning affected construction to production. Use the same investigation record to track the separated layers through a controlled comparison.
When does silicone decorative film suit the panel?
Puremorfilm manufactures silicone decorative film in China with a silicone functional face on a PET support. We supply rolls without self-adhesive backing for PUR flat lamination to boards, or silicone laminated panels quoted per project. Use the current product for furniture fronts, cabinet doors, wall panels and other vertical or low-wear faces; exclude floors, countertops and stovetops.
A fault in the silicone-to-PET construction calls for review of the supplied film. A fault at the PET-back-to-board joint calls for review of the PUR grade, preparation, contact and cure. Keep those interfaces separate when you send a failed sample.
Standard furniture and wall-film rolls start at 500 m per pattern. Laminated panels are 1220 × 2440 mm and start at 200 sheets per pattern; the core and facing configuration are quoted per project. Compare the furniture decorative film and wall-film application with your component.
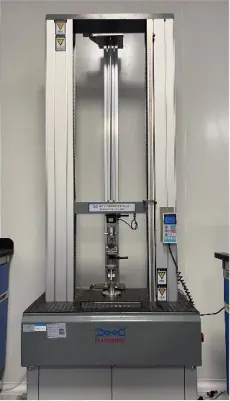
Illustrative equipment image; not a record of testing this finished panel.
Which lamination route should you choose?
Contact-bonded HPL for a flat part you laminate yourself, factory TFL for a fused paper face, and a qualified thin-film process for decorative film. Plan the back and edges with whichever you pick.
- Flat HPL-faced part: record prep, balanced backing, glue coverage, the open window and full-area pressure.
- TFL: order the factory-faced panel with its finished machining and edges.
- Decorative film: qualify the backing, the PUR flat-lamination route and the finished furniture panel.
- Repeat batches: keep the construction identity and process records with the agreed acceptance criteria.
Our silicone face is paint-free and a different surface from PVC, melamine, PP and PETG. Whichever route you choose, approve a full sample with the core and edges, not a face swatch.
Bring the part drawing, the facing you need and the exposed-edge detail when you contact us.
Frequently Asked Questions
Can MDF be laminated on both sides?
Yes. An unsupported door or panel stays flatter with a balanced back. Matching the facing’s properties and orientation matters more than matching its color.
Can you laminate over a painted MDF face?
No, it is not recommended. The bond is only as strong as the paint’s grip on the MDF, so the laminate can peel off with the paint. Sand back to bare MDF, or at least scuff the paint and test a sample first.
Is contact adhesive the same as PUR lamination glue?
No. Contact cement goes on both surfaces, dries before contact and is pressed during assembly. The furniture-film route here uses PUR on flat-lamination equipment, with a schedule set for that construction.
What glue do you use to laminate MDF?
For HPL sheets by hand, solvent-based contact cement applied to both surfaces is the standard choice. In factories, PUR hot melt or PVA on a flat press is common for films and papers. Use the adhesive specified for your facing.
Why is my laminate lifting at the edges?
Usually because the edges got too little adhesive, the sheet went down outside the adhesive’s tacky window, or the roller missed the margins. Water entering an unsealed MDF edge can also push the laminate up, so coat edges well, roll right to them and seal exposed MDF.