
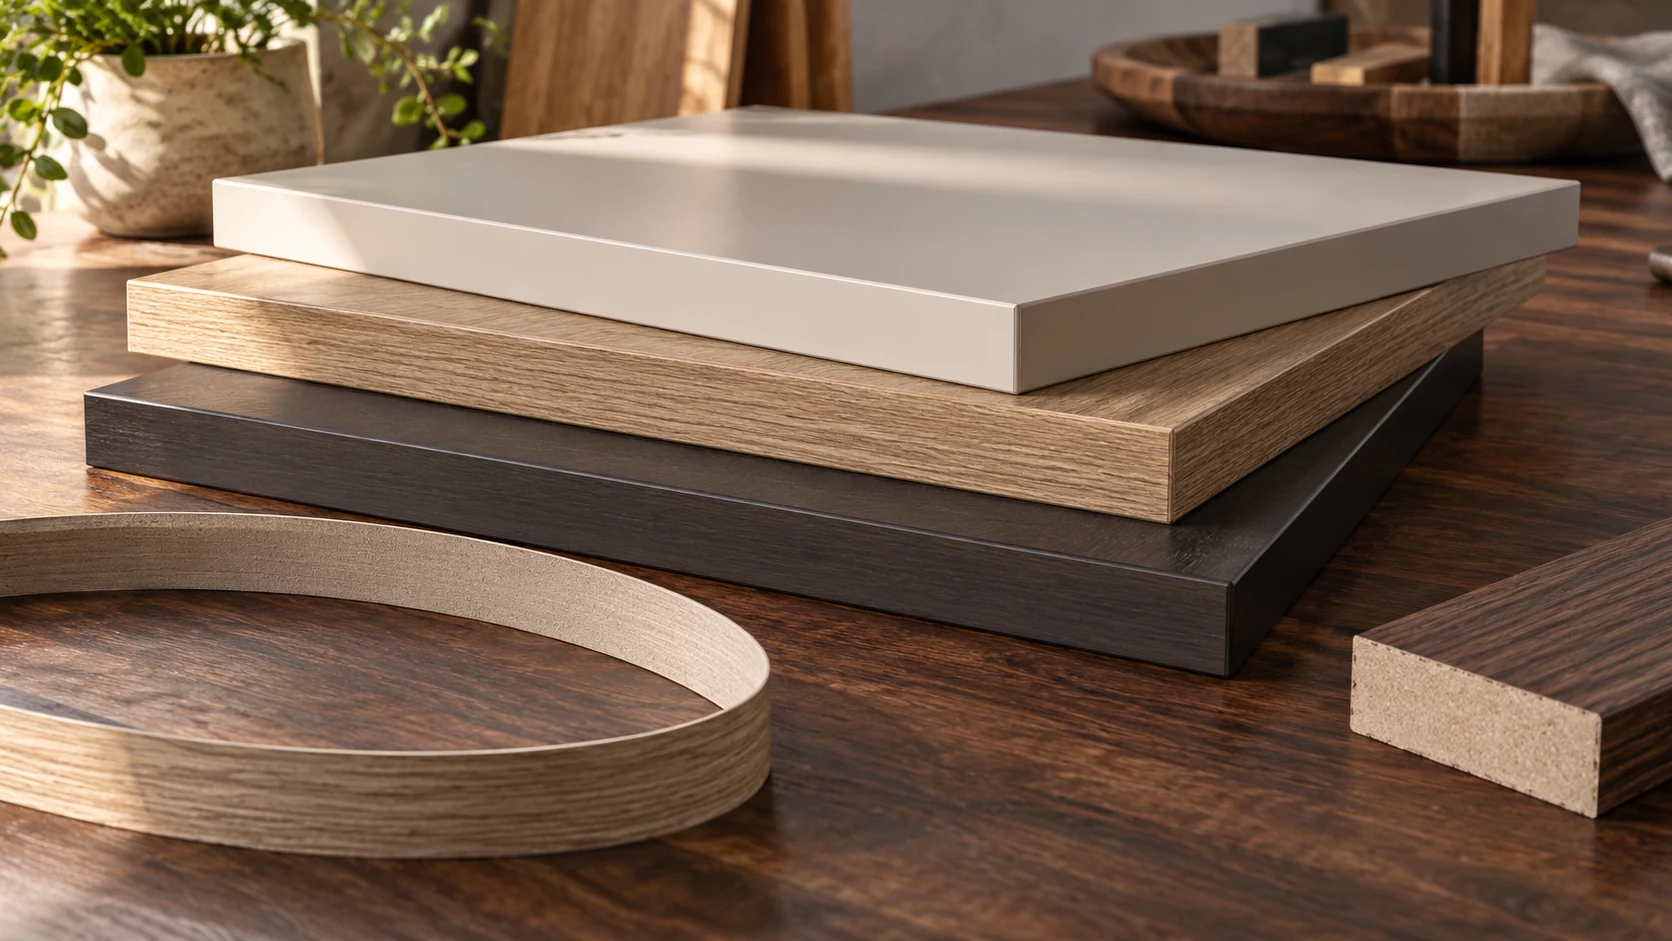
MDF edge banding is a thin strip of PVC, ABS, wood veneer or melamine glued to a cut edge to hide the brown core and protect it from knocks and moisture. Match the band to the face and allow the trimming overhang your equipment needs. Use preglued iron-on tape by its own instructions, or a separate adhesive on a compatible edgebander. Painted MDF can skip banding if the edges are sealed, primed and painted.
Do MDF edges need banding or a painted finish?
They need a finish, but a painted part can use a sealed, primed edge instead of a separate band.
MDF is wood fiber bonded with resin and pressed into a panel, and its factory face and a fresh machined edge take coatings very differently. The European Panel Federation’s MDF guide covers its use with paint, decorative foils and veneer; our MDF overview explains the board under those finishes.
A sealed and painted edge continues an opaque finish around a prepared profile. A bonded band adds a separate material outside the blank, so allow for its thickness, adhesive joint and trimming.
When is paint enough?
On a door, shelf or routed front painted one color all over. Prepare the exposed MDF and use a compatible sealer, primer and topcoat, and the coating runs unbroken around the profile with no strip or seam.
Machined edges soak up coating faster than the face, so edge-finishing guidance recommends a compatible sealer to control it. Piling on topcoat leaves the edge rough or uneven; the fix belongs underneath. Our MDF finishing guide gives the painting sequence.
When should you add a band?
When the panel has a factory-finished face. A band is usually the practical way to carry that color or wood look around a straight edge. Decide before you cut, because the band adds to the finished width and changes the corner profile.
Match the edge to where it sits. A hidden edge may only need protection, while a visible return on a door front needs the full look on the whole corner.
Which edge banding works best on MDF?
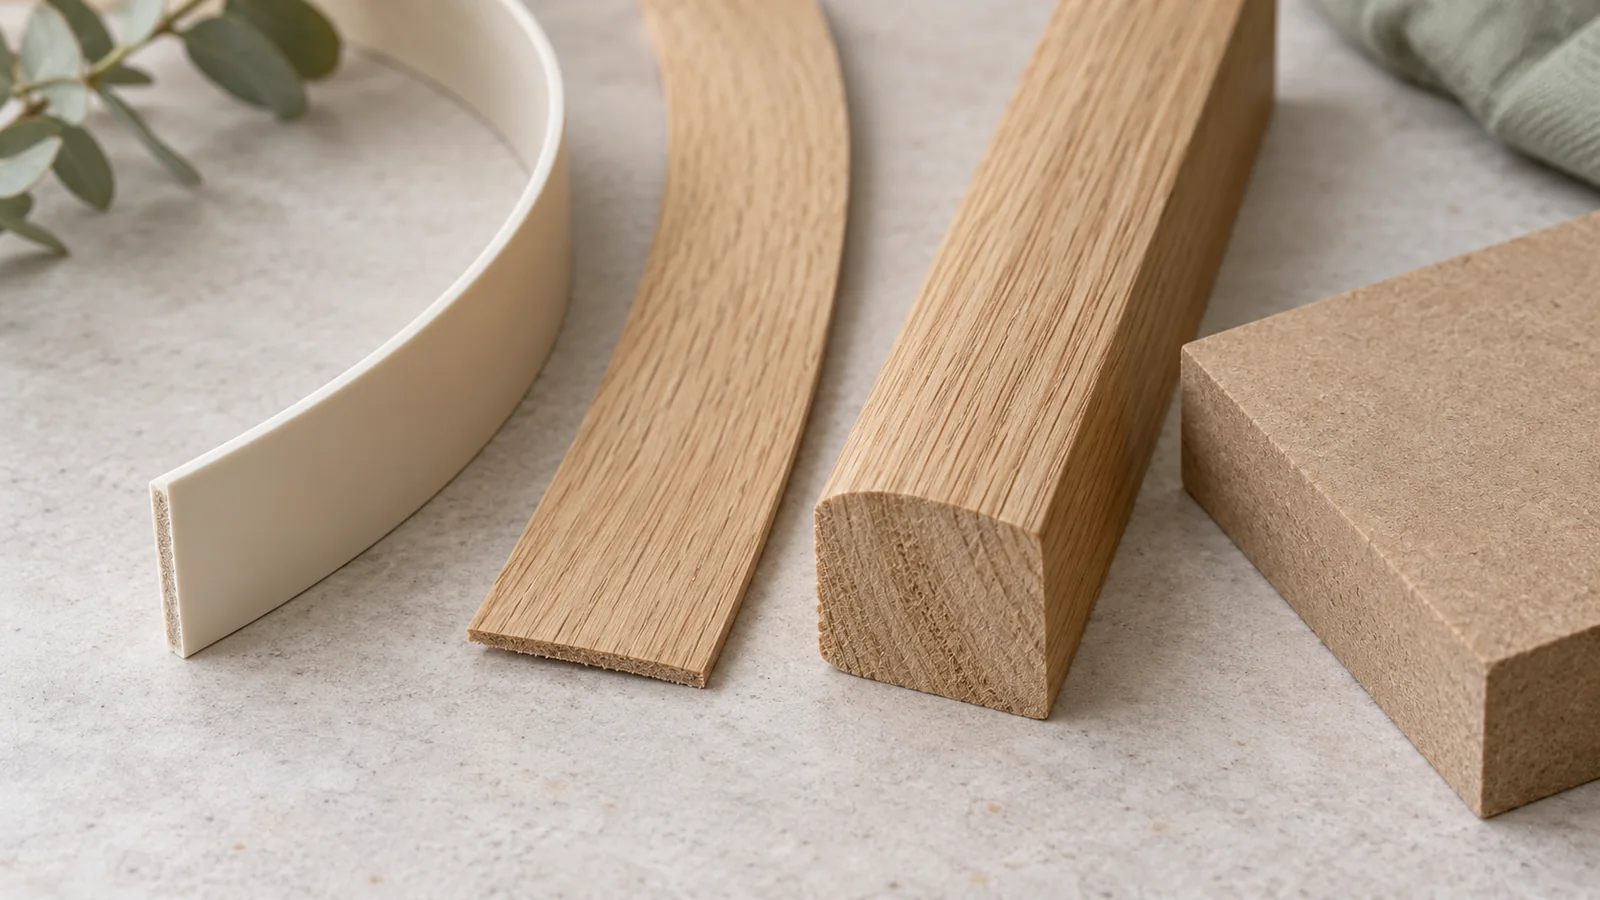
Matching ABS or PVC edging for a flat, factory-faced part; veneer for a real-wood edge; a paint-ready treatment for an opaque painted part.
Pick by construction, not by a durability league table. Thermoplastic strips, veneer and solid lipping need different backing treatments, tools and finishing. Check the band and adhesive as a combination.
| Edge treatment | Useful starting point | What changes the choice |
|---|---|---|
| ABS or PVC strip | A coordinated edge on a flat, factory-faced panel | Available color and texture, backing treatment, corner profile and machine compatibility |
| Wood veneer | A real-wood edge beside a veneer face | Grain direction, splice visibility, finish and trimming direction |
| Solid wood lipping | An edge detail requiring a solid wood section | Added dimensions, joint design and the separate finishing operation |
| Sealed and painted MDF | A continuous opaque finish, including routed profiles | Edge porosity, coating compatibility and preparation quality |
A wood-look print and real veneer can look alike in a small photo, yet they cut and finish differently. The wood veneer and laminate comparison helps you tell which surface you are matching.
How do you match the face and edge?
Compare color, sheen, texture and pattern direction on a real corner. The same color name can still show a change at the joint, especially where a smooth band meets a heavily textured face.
For curved parts, stay within the band’s stated bending limits and use a supported contour process. A strip that works on a straight panel may crack on a tight return. If a matching band can’t follow the shape, change the edge build or choose a deliberate contrasting edge.
How do you choose band width and finished dimensions?
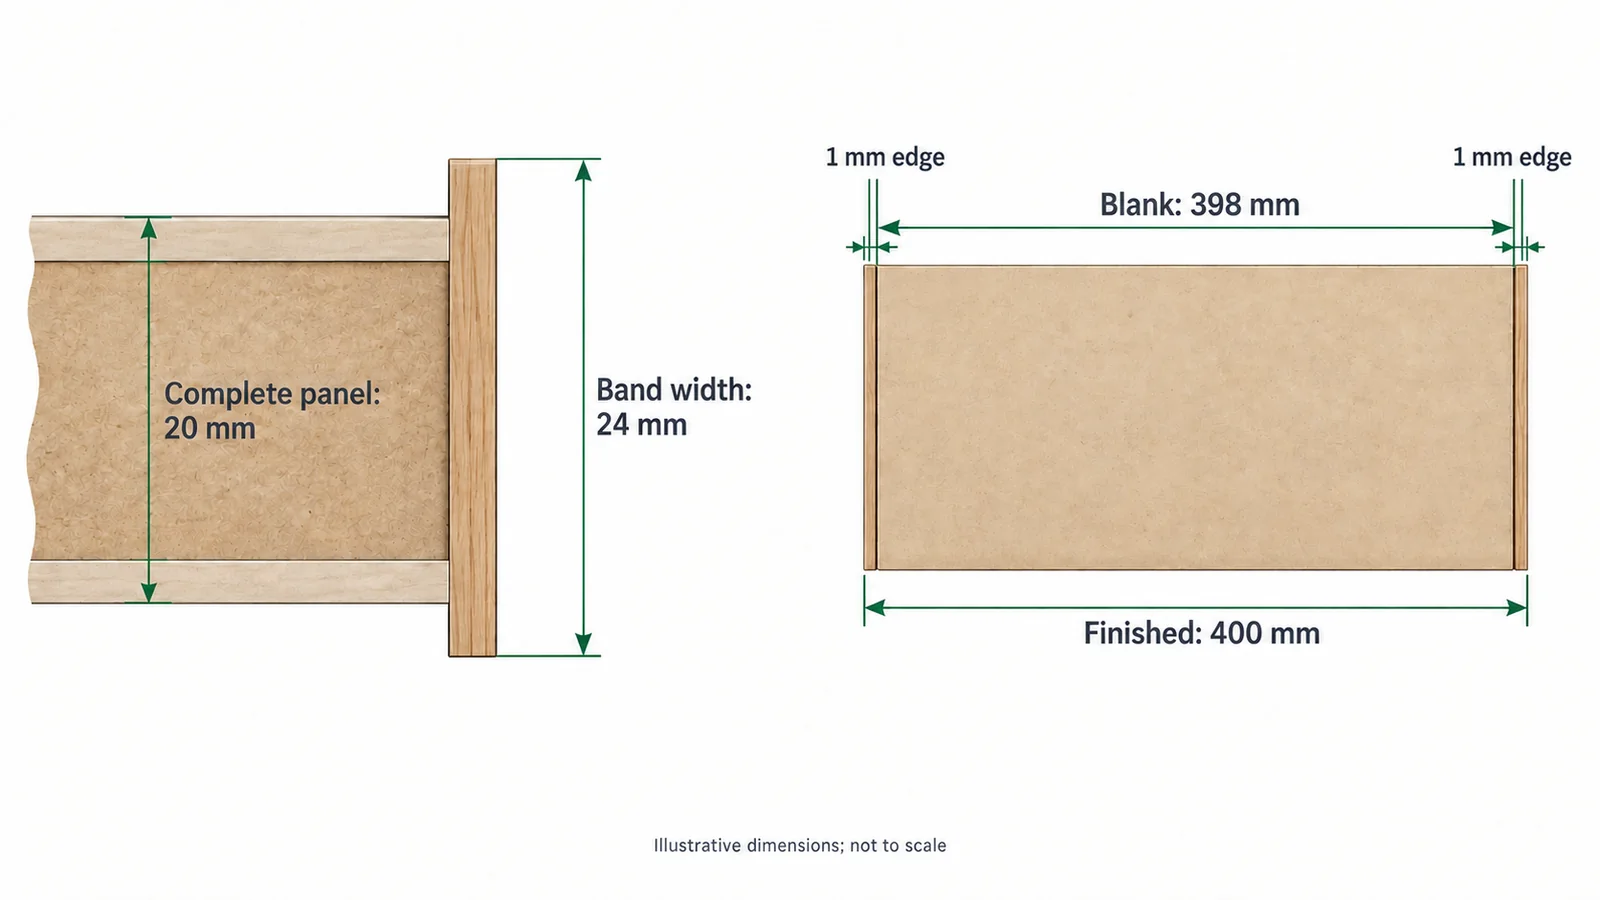
Pick a width that covers the full panel thickness plus trimming allowance, and use the finished band thickness to size the blank.
Width runs across the board’s edge; thickness builds outward from it. Measure the panel you will actually band, face and back layers included. On a laminated MDF panel, the core’s nominal thickness may not describe the full section.
For a concrete width, the CONTURO manufacturer’s handbook, page 24, specifies about 4 mm of extra edging height over the prepared panel thickness. A measured 18 mm panel therefore takes about 22 mm band width, roughly 2 mm overhang on each face when centered. That allowance is for that workflow; other machines and angled edges may need a different width.
A thinner band adds less to the edge; a thicker one leaves more material for a rounded profile. Set the cutters and scraper for the thickness you choose.
| Dimension | What it controls | Example or selection rule |
|---|---|---|
| Panel thickness | The section the band must cover | Measure the core plus relevant face and back layers |
| Band width | Coverage and trimming overhang | For the cited CONTURO workflow: about 4 mm extra overall; a measured 18 mm section uses about 22 mm band width |
| Finished edge build-up | The added size at each edged side | Use the measured completed detail, including its bond line |
| Blank size after pre-milling | The size before the band adds material | Finished size minus the build-up on the opposing edges |
Say a part must finish at 400 mm wide and the completed edge adds 1 mm on each side. The blank after pre-milling must then be 398 mm wide: 400 − 1 − 1. Those are drawing values for the example, not a recommended tape thickness.
Is thicker edging always better?
No. Thicker edging allows a different corner profile and leaves more to machine, but it also grows the finished size, so choose it for the profile and the knocks the part will take.
In architectural casework under ANSI/AWI 0641-2019, section 3.4.7.1, decorative laminate casework uses edging from 0.5 to 3 mm thick, and PVC and ABS edging thicker than 1 mm must be radiused or beveled. Those rules cover that casework category, not every furniture panel.
Mark whether hinge and hardware positions reference the raw blank or the finished edge. Otherwise cutting and drilling can each match their own drawing while the assembled door ends up with the wrong clearance.
What preparation do MDF edges need before bonding?
Start with a straight, square, sound edge, clear the cutting dust, and bring board and band to temperature before glue goes on.
A band follows whatever edge it sits on, so an uneven edge gives an uneven part. Check the cut or pre-milled edge for deep saw marks, loose fibers, crushed corners and missing material. Our MDF cutting guide covers the cut that makes this bonding surface.
What should you correct before gluing?
- Recut or pre-mill an irregular edge when there is enough material left for the finished size.
- Clear loose fibers and dust without rounding an edge that should stay square.
- Keep the bonding surface free of oil, grease and cleaner residue.
- Replace a swollen or crumbling blank that can’t meet the required shape and core condition.
Don’t put paint sealer on an edge you plan to glue unless the adhesive system supports that coated surface. Prep for paint and prep for bonding are two different routes.
Why does material temperature matter?
Cold board and tape pull heat out of hot-melt glue before it wets the joint. Condition the materials within the adhesive system’s instructions before they reach the machine.
Material conditioning, glue temperature, coverage and feed are separate settings in the adhesive’s own instructions. A winter delivery left in a cold loading bay is the typical case.
How do hand application and production edgebanding differ?
Heat and pressure for a specified iron-on band; the adhesive’s own application cycle for unglued bands on an edgebander.
Preglued tape carries its own adhesive. An unglued strip needs a separate adhesive that suits its back and the MDF. Broad-face MDF lamination is a different job, and its glue and pressing routine shouldn’t be copied to a narrow edge.
What changes with preglued tape?
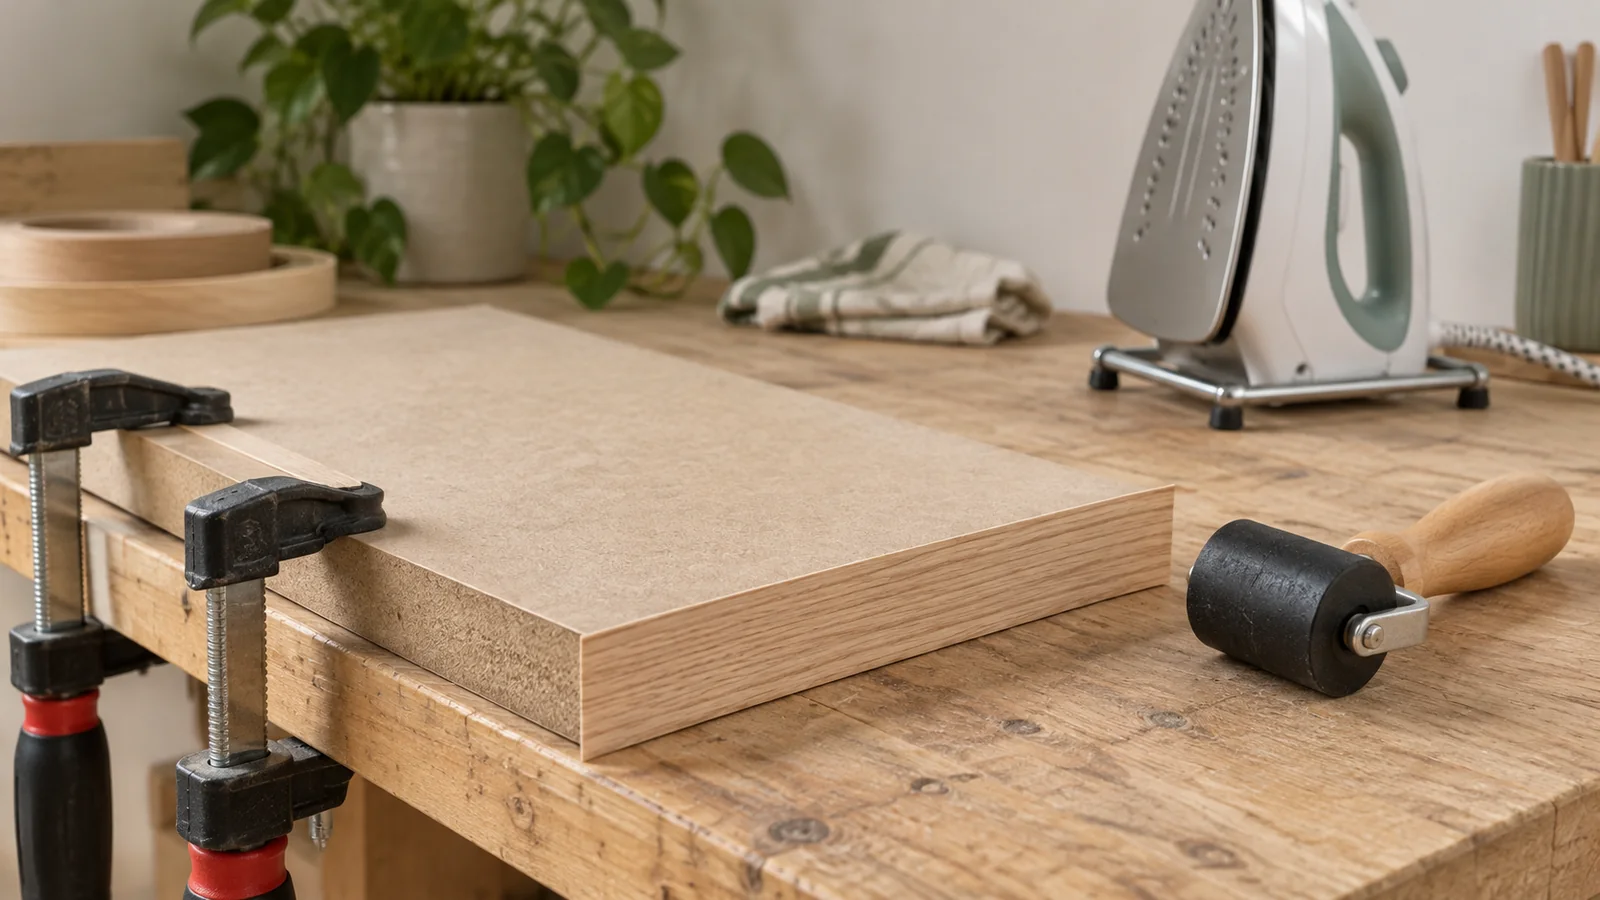
For iron-on veneer tape:
- Prepare a clean edge and cut the strip with overhang at the ends and sides.
- Position it so that overhang is left for trimming.
- Heat along the strip at the tape’s setting without scorching the veneer or the face beside it.
- Press the warm strip into full contact with a block or roller.
- Let it set, check the ends and fix any loose spot by the tape supplier’s method before trimming.
The CMT edge-banding iron instructions cover heat-activated, preglued edging, so use the tape’s own heat setting. An iron cannot add glue to an unglued strip, and the face beside it may need shielding.
What changes on an edgebander?
Lay a continuous adhesive film, bring the band into contact within the glue’s working interval, and press it along the whole edge. Check the start and end as well as the middle, and set trimming and scraping for the actual band and profile.
EVA hot melt sets as it cools; reactive PUR also crosslinks chemically, driven by moisture and temperature. The Jowatherm PUR 608.00/01 technical sheet lists a processing temperature of 100–120°C, depending on application, and an open time of approximately 7 ± 3 seconds by the maker’s methods. With a window that short, the band has to meet the glue and the pressure zone almost at once.
Those values are for that adhesive on suitable PUR equipment with moisture-protected supply. The same sheet calls for dry materials free of dust, oil and grease, ideally at a minimum of 18°C. It points to ISO 21368:2022 for guidance on running a quality-controlled bonding process. The sheet asks for trials with your actual boards, backing treatment and feed, and glue coverage should come from those trials, because panel porosity, material temperature and application method all change the bond.
When can the part be trimmed or packed?
Trim once the adhesive has enough early strength for it; some machine systems allow downstream machining well before PUR finishes crosslinking. For PUR 608.00/01, the same sheet lists an approximate reaction time of 4–7 days, depending on ambient conditions. Set the machining and packing release from trials on the tested joint in your actual factory conditions.
What causes trimming faults and loose bands?
Tool wear, unsuitable overhang and a poor scraping setup can damage the band; cold materials, uneven adhesive coverage, poor contact and an irregular edge can leave it loose. Trim a properly set band flush without cutting into the face, and when an edge lifts, check the edge, the adhesive and the MDF one by one.
Use the tool and profile made for the band. With veneer, cut with the grain in light passes to limit tearing. With a polymer band, match trimming, radius and scraping to its thickness. A broad sanding pass over the finished panel can strip the decorative face before it fixes the edge.
What does a failed edge tell you?
Before you reheat or add glue, photograph both sides of the separated joint. Where the glue ended up, the state of the backing and any torn MDF narrow down the cause, though appearance alone rarely proves it.
| Observation | First checks | Useful next action |
|---|---|---|
| Lifting at a start or end | Adhesive coverage and contact at that transition | Correct the application or pressure sequence and run a comparison part |
| A gap along the edge | Cold material, insufficient coverage, edge geometry or roller contact | Inspect the prepared edge and actual bonding conditions before increasing glue |
| Chatter, chipped band or a pale scraped radius | Tool condition, overhang and scraping setup | Correct the trimming operation instead of changing a sound adhesive joint |
| Swollen or crumbling MDF | Moisture exposure and core condition | Stop the moisture source and replace the damaged part when geometry cannot be restored |
These checks separate edge geometry, adhesive coverage and trimming faults. More glue will not straighten a crooked edge or restore a damaged backing; compare a corrected part before releasing the run.
Does a closed edge joint make the panel waterproof?
No. A sound edge closes one way in, but holes, joints, backs and damaged areas are still part of the panel. Overlays and moisture differences can still change a panel’s shape, as the Composite Panel Association’s dimensional-stability bulletin explains. The MDF moisture guide separates moisture-resistant grades from waterproof assemblies.
How does silicone decorative film fit the edge detail?
It finishes the panel face; the MDF edge still needs its own band, chosen and bonded separately.
Puremorfilm makes decorative film with a silicone functional surface over a thermoplastic backing; PET is the backing in stable production. The film is bonded to board with PUR adhesive on flat-lamination equipment. The silicone surface is inherently flame-retardant, with higher grades up to UL 94 V-0 available on request, and the film uses a No DOP formulation. See our furniture decorative film page.
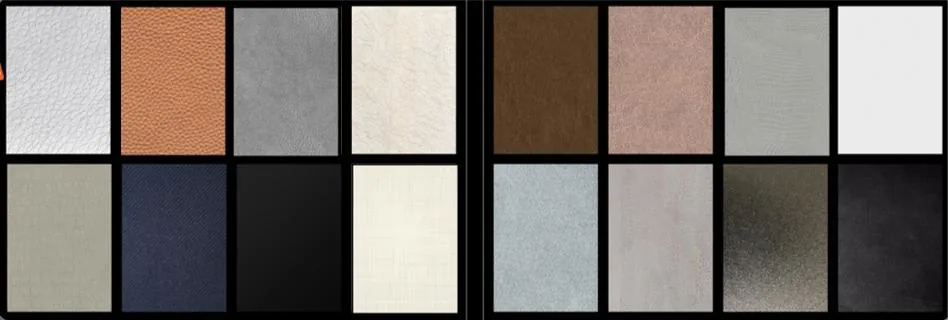
How can the face and edge work together?
A leather-like silicone face beside a smooth polymer edge changes texture at the corner. Use that contrast as a design feature, or pick an edge closer to the face’s color and sheen.
Keep the PUR flat-lamination bond and the edge bond separate. We supply the face film for flat lamination; iron-on edging and profile wrapping need their own process validation, and a matching strip needs its own material, backing and application method.
Which product boundaries affect this choice?
The film’s flame-retardant surface describes the film only, with no fire rating for the whole MDF part, its adhesive or its edge.
The silicone surface is a paint-free finish for suitable furniture and wall uses. It is not for floors, cooktop countertops, shower floors or other walked-on areas, whatever edge you choose.
Which edge finish should you approve for production?
Sealed paint for a painted MDF part, veneer for a wood look, coordinated polymer edging for a factory-faced part, judged on a finished corner.
| Batch application | Main edge question | Starting choice |
|---|---|---|
| Painted doors or routed fronts | Can the coating remain even across the face and profile? | A compatible sealed and painted edge; add paint-ready banding only when the detail calls for it |
| Veneered furniture panels | Will the edge continue the intended wood appearance? | Veneer or specified solid lipping, with grain and finishing reviewed together |
| Factory-faced or silicone-faced panels | Can the face and perimeter form the intended finished detail? | A coordinated band with a supported bond and trimming process |
Keep the accepted sizes, the actual face and band, the adhesive and the machining sequence with that corner sample. Check a finished part from the real production route before you release the batch; a loose color swatch approves neither the bond nor the final size.
Our paint-free silicone face is a different surface from PVC, melamine, PP and PETG decorative faces. To discuss it alongside your planned edge, contact us with the part shape and intended application.
Frequently Asked Questions
Is edge banding better than painting MDF edges?
Yes for faced panels, where banding matches the decor and protects the edge from chips. No for painted MDF: a well-sealed, primed and painted edge shows no joint line and is easier to touch up.
What’s the best adhesive for MDF edge banding?
EVA hot melt for suitable dry-interior parts on compatible machines, the tape’s own adhesive for preglued tape, and a specified PUR system for more demanding joints when its equipment and cure needs are met. The backing treatment and service conditions decide whether a combination works.
How do I know if an edge band is wide enough?
It is wide enough when it covers the whole panel thickness after alignment, with the trimming overhang your equipment needs, as in the width example above. Band width controls coverage; band thickness controls how much material is added to the finished part.
Can edge banding make MDF waterproof?
No. Banding can reduce direct exposure at a cut edge, but it cannot certify the whole panel against leaks or immersion. Specify the core grade for the environment and account for holes, joints, backs and damage as well as the edge.
Can silicone decorative film be used as iron-on edging?
No. Our film is made for flat lamination onto board faces with PUR adhesive, not as a pre-glued iron-on tape. Use a matching edge band for the edges.