
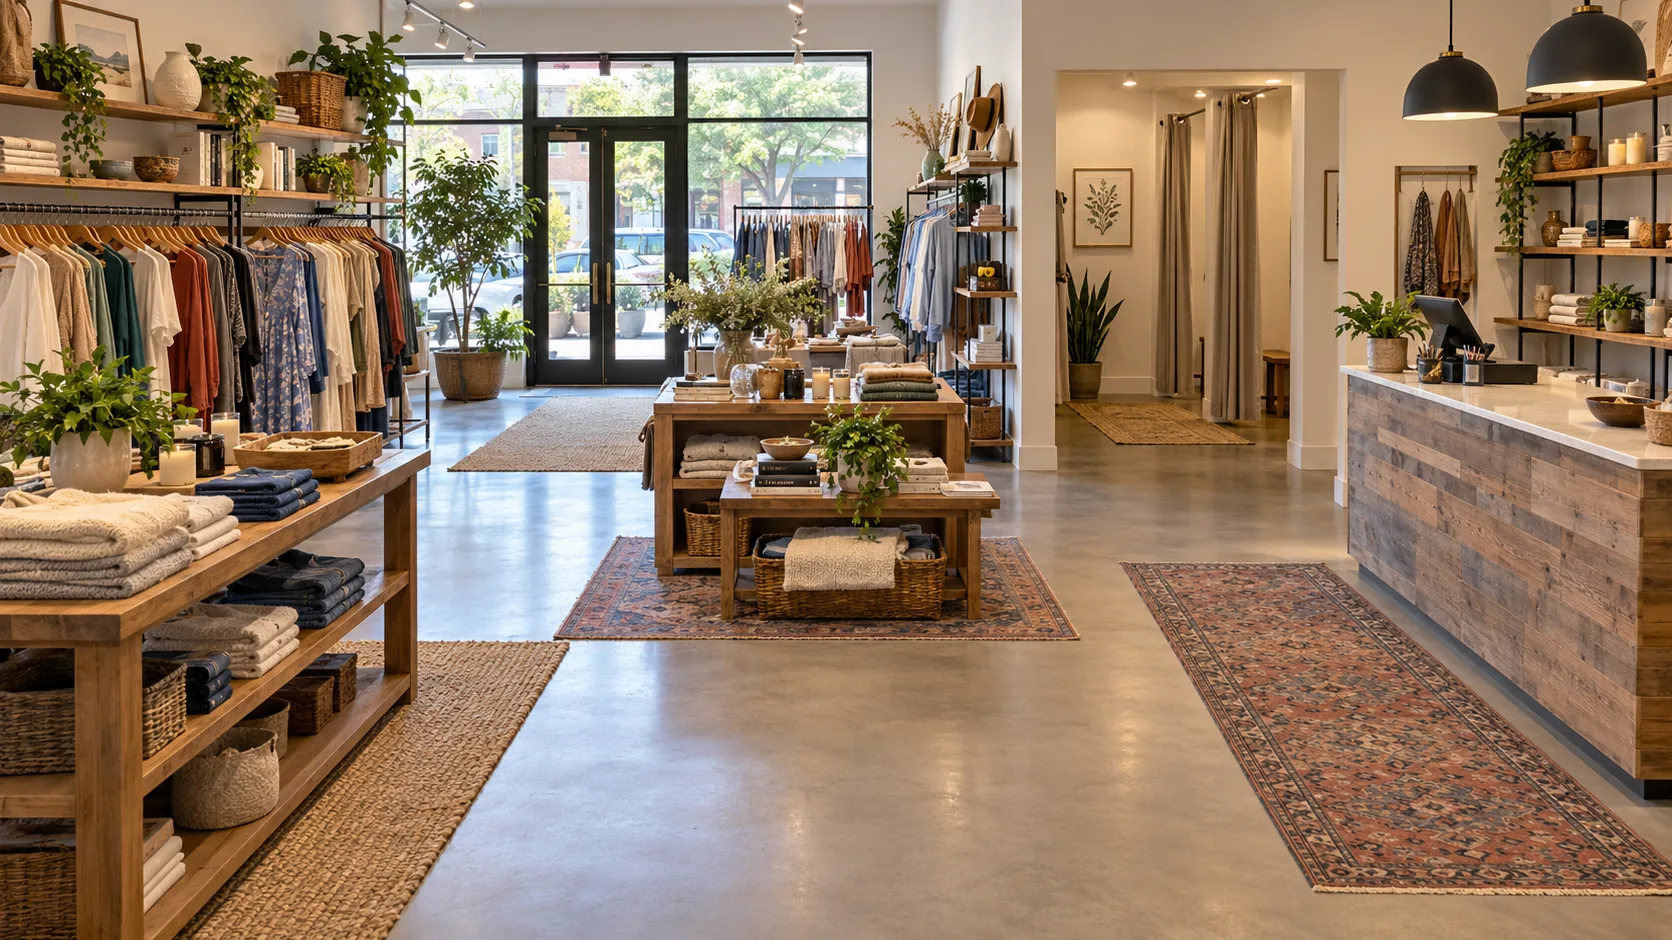
Retail store design plans a shop’s layout, fixtures, displays, lighting, signs and customer facilities around what it sells and how people use it. Settle the merchandise, customer routes and any fitting rooms first. Fixture faces and finishes follow those decisions.
A useful plan lets you trace a shopping trip from the entrance to the checkout while seeing how staff replenish stock and answer questions. The sequence below covers those decisions, with specific examples from the 2010 ADA Standards for self-service shelves and fitting rooms.
What does retail store design include?
It covers the physical shop, its merchandise presentation and the work needed to run it. Moving a wall changes the space available for displays. Moving the checkout changes where people queue and where staff need power and data connections.
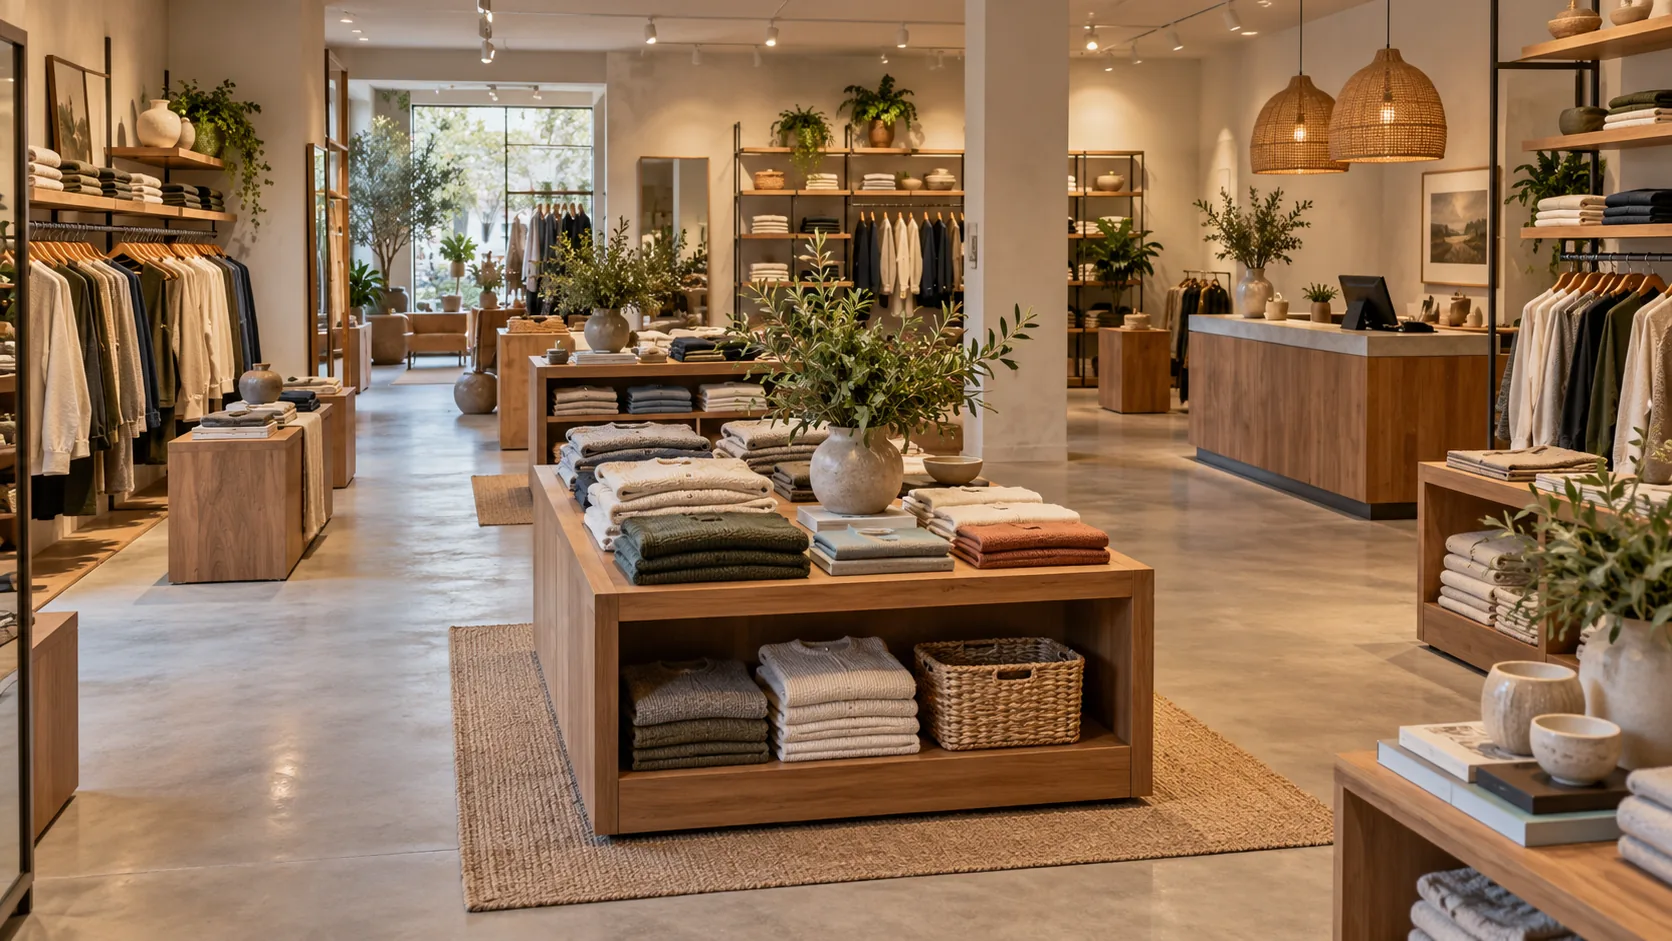
The scope includes permanent structures, fixtures, lighting, floor and ceiling materials, customer facilities, signs and entrances. It also includes less visible work: stock storage, staff facilities, security and connections for sound or other equipment. Bridgewater Studio’s retail design guide describes these as connected parts of the interior.
A clothing shop needs places to view garments, try them on and pay. A homewares shop may need room to walk around a display and inspect an object from several sides. Both need a route for replenishment that still works when customers are browsing.
That makes the merchandise part of the brief from the start. A shelving system that suits boxed goods may be awkward for hanging clothing or products that need demonstration. Describe what people must do with the products before choosing how the room should look.
The wider commercial interior design process helps organize responsibilities and project stages. The store plan then turns that brief into positions for merchandise, people and equipment.
What should you know before drawing the floor plan?
Measure the existing space, list the merchandise and equipment, and map the tasks that happen during a shopping visit. Those inputs let you compare layouts against the actual shop.
Record columns, doors, changes of level and narrow points on the measured plan. Include fixed services and equipment such as refrigeration, demonstration stations or a payment terminal. A display that looks compact on a blank drawing can block access to an existing service point.
The LEAFIO layout guide starts with the building, product range and customer profile. It also describes using entrance counts, camera reviews, sales by product location and heat maps to understand an existing store. Use these as observations about your shop; a busy area alone does not explain why an item sells.
| Input | What to put on the plan | Decision it helps you make |
|---|---|---|
| Building | Measured outline, entrances, columns and bottlenecks | Which routes and fixture positions are feasible |
| Merchandise | Product groups, display methods and any trial equipment | Which layout types deserve a closer look |
| Customer tasks | Browsing, advice, collection, fitting and payment | Where people need to stop or wait |
| Staff work | Replenishment, stock storage, office and staff facilities | How the shop operates behind the displays |
| Services | Lighting, security, power and data locations | What must be coordinated before construction |
For an existing store, mark where a stock cart, customer queue or open cabinet interrupts movement. Test the proposed arrangement against those same tasks.
Which store layout suits your merchandise?
A grid suits repeated shelving, while free-flow and boutique arrangements suit a more varied browsing experience. A loop provides a route through the shop; a spine provides a main route with displays branching from it.
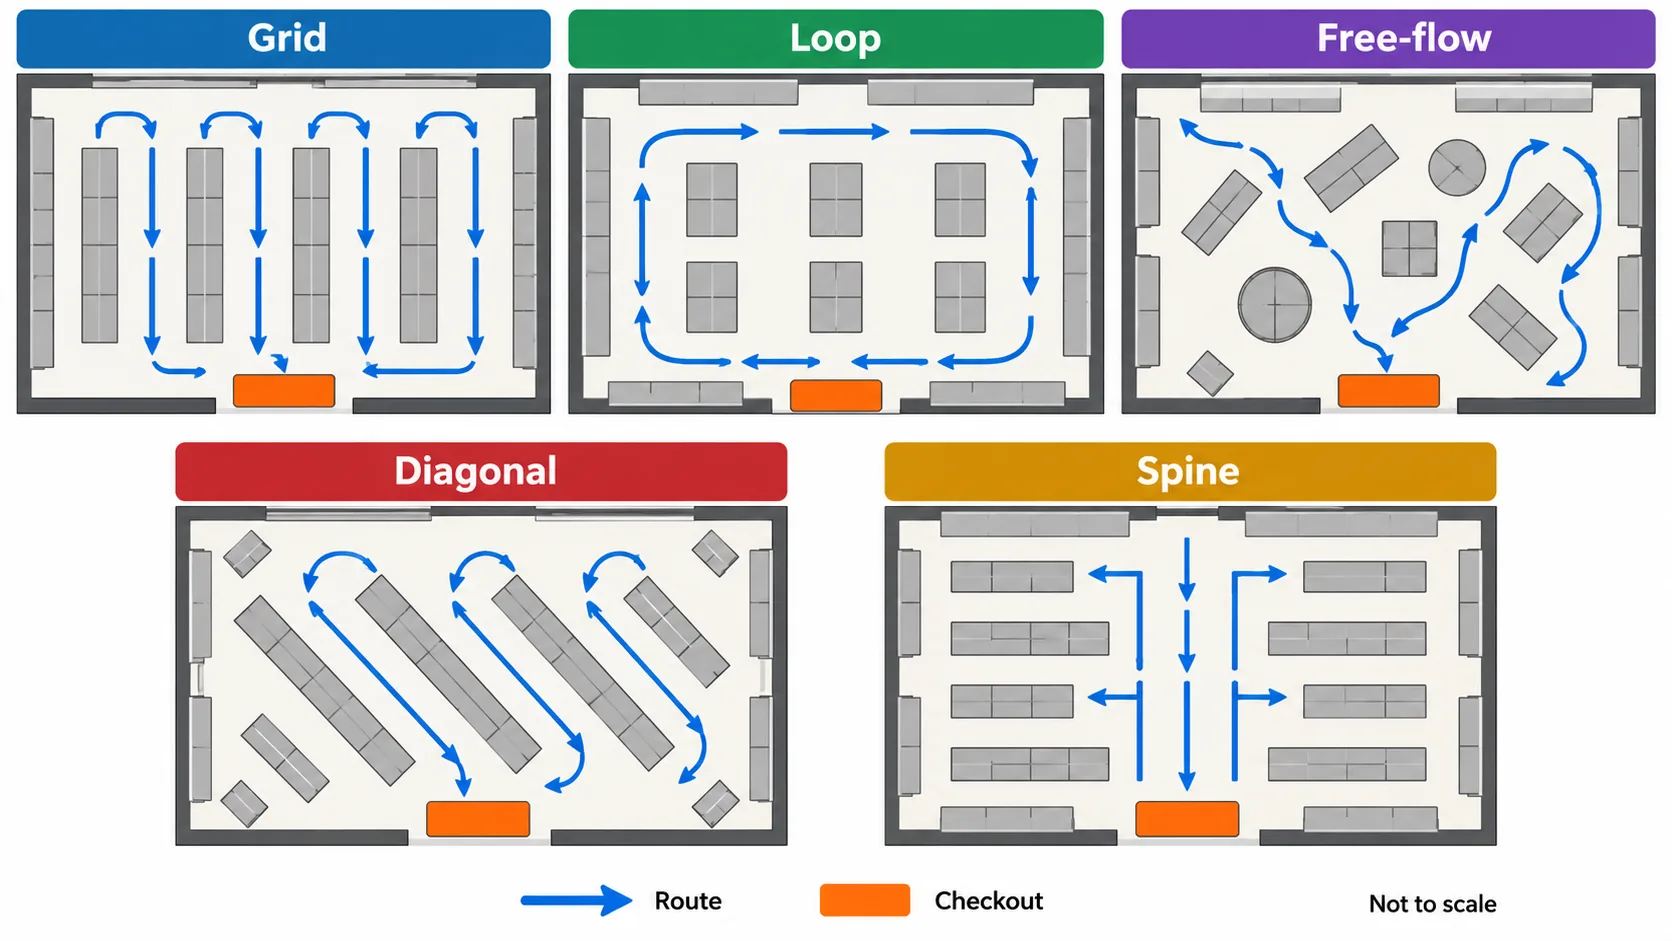
The names describe familiar arrangements, rather than a single official classification. The guides use different lists and counts. Creative Displays Now and Decorilla explain several of these options and their trade-offs.
| Layout | Where it can fit | What to test on your plan |
|---|---|---|
| Grid | Shelved merchandise, convenience goods and repeated product groups | Narrow aisles can feel cramped; check browsing and replenishment together |
| Loop or racetrack | A route through several departments or displays | A customer seeking one item may face a long trip |
| Free-flow | Boutiques and varied displays | It takes careful planning to keep circulation clear |
| Straight or spine | A small shop organized around a main aisle | Check how easily customers see and enter side displays |
| Diagonal | Angled fixtures that allow views across displays | Angled aisles can become narrow and congested |
| Angular or boutique | Selected collections and feature products | Allow for the space used by individual presentation areas |
| Forced-path | A planned sequence of displays or settings | Test shortcuts, direct shopping tasks and the route to payment |
| Herringbone | A narrow space holding a large product range | Inspect the ends of rows and staff visibility across fixtures |
Draw the merchandise into each option. A floor plan full of identical empty rectangles hides the differences between hanging garments, small accessories and bulky goods.
You can combine arrangements. A main circulation route might connect a grid of everyday products to a looser feature area. Choose that combination because it accommodates the stock and shopping tasks you identified, then test the transitions between the areas.
A layout review should include both a quick purchase and a longer browse. Trace how someone finds a product, asks for help and reaches the checkout. Then trace a staff member carrying replacement stock to the same display.
How should the entrance, sight lines and checkout work together?
Leave space to enter and orient, maintain useful views across the shop, and place the checkout where its queue can be accommodated. An entrance display can hide the payment point or force arriving customers into a waiting line.
The entrance needs to communicate what the shop offers without becoming a wall of merchandise. LEAFIO describes the transition or decompression zone as an orientation area and advises against putting the main new-product display there. Products farther into the store give customers a reason to continue through the plan.
Decorilla’s June 2022 guide describes this transition zone as extending up to fifteen feet from the entrance. That is the guide’s design suggestion, to be tested against the actual doorway, shop depth and merchandise. It is not an entrance dimension prescribed by the ADA examples used here.
Next, look from the positions where staff usually work. Tall fixtures can obscure a display or hide someone who needs help. Check those views with the proposed fixture heights, rather than with an empty floor plan.
Place payment equipment, bagging and customer waiting space together on the drawing. Then inspect what happens when the queue grows: does it cut across a main route, cover a nearby display or make the exit difficult to find?
A leased shop may already have fixed entrance and exit positions. Bring those constraints into the first layout discussion. Moving displays is a different undertaking from changing the building’s openings.
Where should displays and self-service shelves go?
Place displays where customers can inspect them while retaining the routes the plan needs. Self-service shelves and other storage also need to be classified correctly before applying accessibility requirements.
Feature displays can help organize a product group or mark a change of department. Keep the merchandise in that area connected to the display, so a customer who notices an item can find its alternatives nearby. End displays need the same review as a freestanding fixture: people stop there, and products may project beyond the original footprint.
The 2010 ADA Standards, Section 225.2.2, require self-service shelves to be on an accessible route complying with Section 402. They expressly exempt self-service shelving from the reach requirements of Section 308. The advisory includes store and library shelves among its examples.
Other storage has a different rule. Under Section 225.2, where storage is provided in accessible spaces, at least one of each type must comply with Section 811. That section addresses clear floor space, a permitted reach range and operable parts.
For the drawing review, distinguish merchandise shelves from cupboards, drawers, hooks and other storage elements. Write down the function of each instead of applying one reach-height assumption to every fixture in the shop. The route to self-service shelves still needs to be accessible.
Wall displays deserve a separate look at projections into circulation space. The discussion of protruding objects in universal design in interior design explains that review. Inspect the merchandise in its displayed position, including anything hanging over a fixture edge.
How should fitting rooms be planned if the store has them?
Plan fitting rooms around the merchandise and privacy needed, then count accessible rooms within each cluster and use type. The federal requirements below apply when fitting rooms are provided; they do not require every retail store to install them.
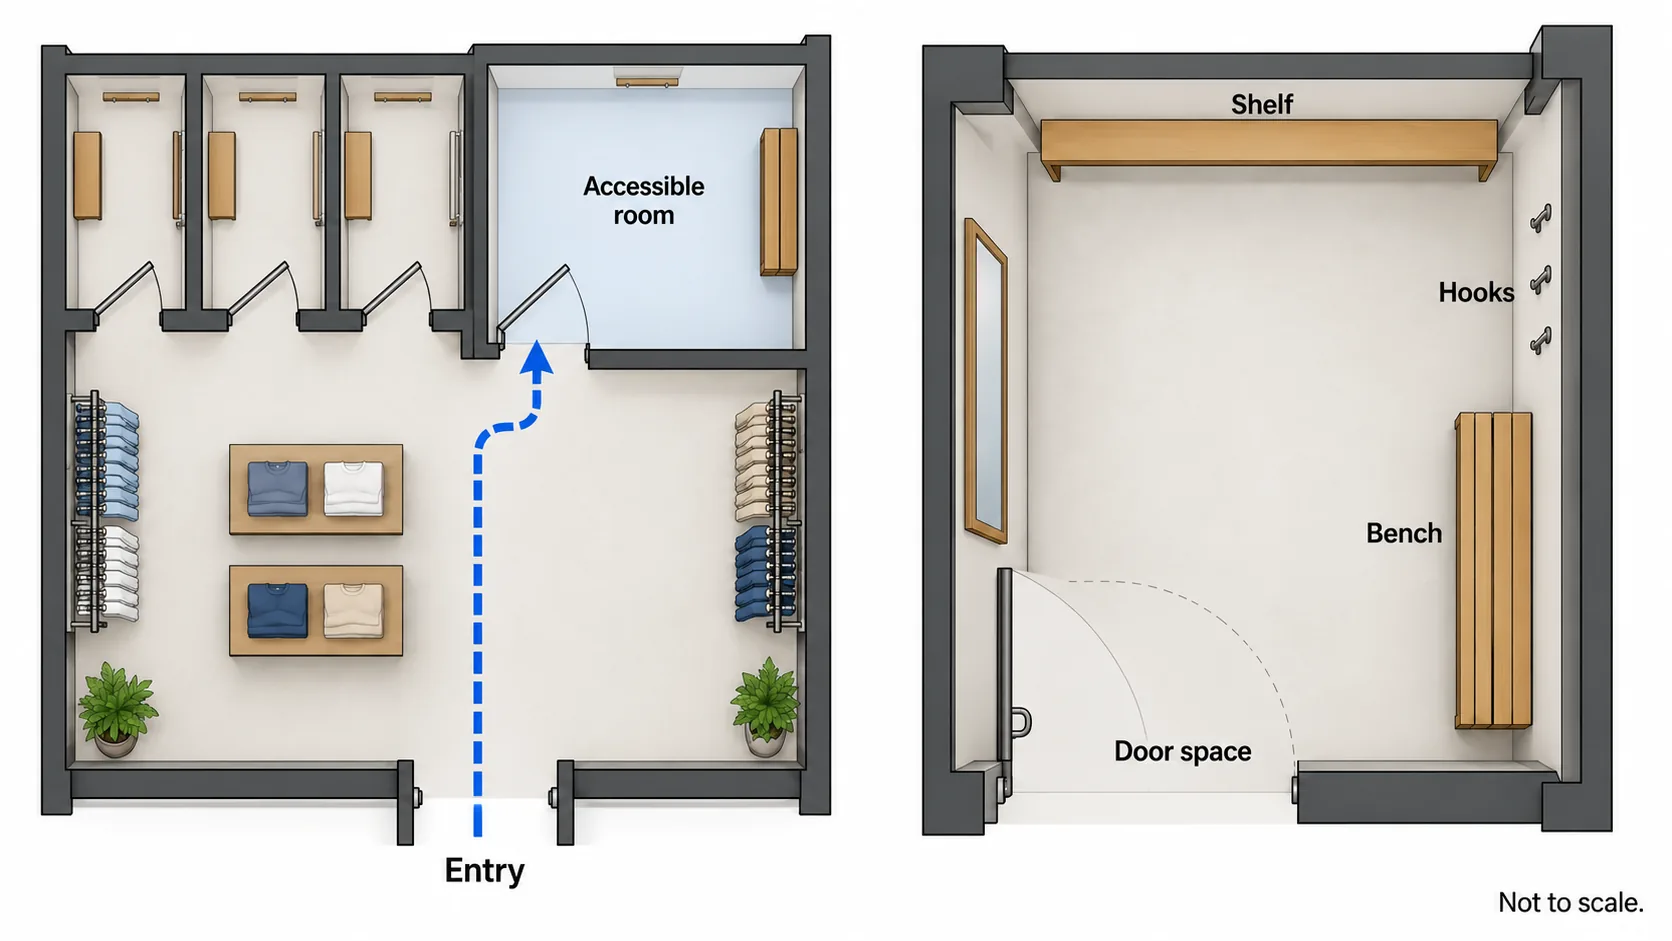
Section 222.1 requires at least 5%, and no fewer than one, of each type in each cluster to comply with Section 803. A cluster is a group of rooms close together; the advisory describes rooms within sight of, or adjacent to, one another. Accessible rooms should offer equivalent privacy and convenience.
Fractional results round up under Section 104.2. For example, a cluster of twelve rooms of one type produces 0.6, requiring one accessible room. Thirty rooms of that type produce 1.5, requiring two.
Alterations have a specific technical-infeasibility exception. It calls for an accessible room for each sex on each level; where only unisex rooms are provided, an accessible unisex room is permitted. Have the project architect assess the applicable federal, state and local scope against the actual alteration.
Inside the room, Section 803 calls for turning space, a bench and accessible hooks or shelves. A door may swing into the room only when the required clear floor space remains beyond its swing. Coordinate these elements on the same drawing.
| Component | Requirement in the cited 2010 ADA provisions |
|---|---|
| Shelf | Between 40 and 48 inches above the finished floor |
| Hooks | Within one of the permitted Section 308 reach ranges |
| Bench seat | At least 42 inches long, 20–24 inches deep and 17–19 inches high |
| Bench back | Back support complying with Section 903.4, or attachment to a wall |
| Bench structure | Seat, fasteners, mountings and supports assessed for a 250-pound vertical or horizontal force at any point |
The bench dimensions and strength provisions come from Section 903. They concern the complete bench and its support. A decorative facing is only one component of that assembly.
Where fitting areas have no individual rooms, Section 222.2 instead addresses at least one of each type of hook or shelf. Keep the room arrangement visible in the brief so the correct provision is assessed.
How do brand, colour, lighting and signs fit the plan?
Use colour, lighting and signs to clarify the store and support the merchandise. Set the visual direction after the main routes and product groups are established.
A neutral background can let varied stock carry the colour. A stronger wall colour can define a feature area. Test the background with the actual merchandise: the same finish can sit behind pale clothing one season and strongly coloured products the next.
Lighting has several jobs. General illumination supports movement through the shop; accent lighting draws attention to selected displays. Task lighting serves work such as payment or product consultation, while decorative lighting contributes to the interior’s appearance.
Review those jobs together. A striking pendant over the checkout still leaves a practical question about light on the payment surface. A bright feature wall also needs a deliberate choice between even illumination and an emphasis on texture; wall washing and wall grazing produce different effects.
Keep department names, graphic styles and directional signs consistent along the route. Seasonal presentation can change within that system. If the concept includes sound or scent equipment, place its services on the drawing before the finishes close up the relevant walls or ceiling.
When should fixtures and finishes be chosen?
Choose fixtures after the layout, display functions and fitting-room requirements are settled. Then choose the face materials against the wear, cleaning and replacement needs of each component.
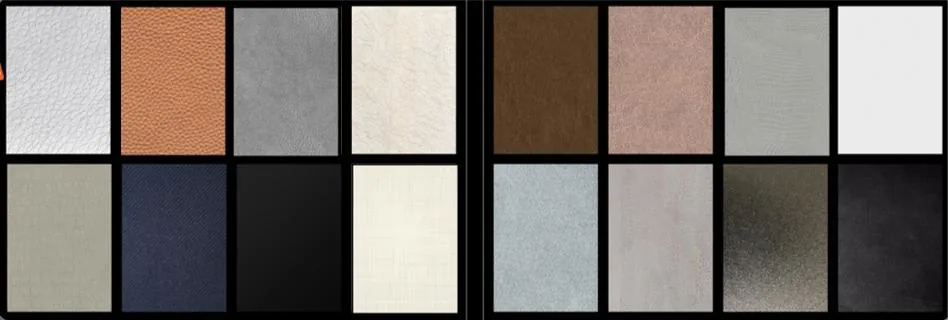
The guide to retail fixture materials covers those component choices. For fixed joinery, commercial millwork film and a physical material board help connect the intended appearance to a facing sample.
Puremorfilm makes a paint-free decorative film with a silicone functional face, distinct from PVC, melamine, PP and PETG decorative faces. The silicone surface is inherently flame-retardant; higher grades up to UL 94 V-0 are available on request. In the manufacturer’s laboratory tests, coffee and red wine left at 25°C for 24 hours showed no obvious change after wiping. Our formulation is No DOP, with more than 100 patterns available. We mainly supply rolls that panel and furniture makers apply by PUR flat lamination; faced panels are available on request.
The film’s leather-like feel and some elasticity make it unsuitable for floors, stove worktops, shower floors and other walked-on areas. Film test results describe the film, not a complete panel, fixture or wall.
- A route conflict or unresolved queue: revise the floor plan before approving the fixtures.
- A fitting-room change: coordinate the room, door and bench before selecting its visible finishes.
- A settled fixture design: compare facing samples with the merchandise, lighting and panel construction.
You can contact us with the component locations, desired colours and textures, and panel construction for a discussion of facing samples.
Frequently Asked Questions
What is retail interior design?
Retail interior design is the planning of a shop’s interior around merchandise, customer activities and staff work. It connects the room layout with displays, lighting, facilities and the visual identity of the store.
What makes retail interior design distinct from other interior design fields?
A store must accommodate browsing, product evaluation and transactions alongside replenishment and stock storage. Those activities influence where fixtures go and how the public and staff move through the interior.
What are the main types of store layout?
Common types include grid, loop, free-flow, spine, diagonal, angular and forced-path layouts. Published guides use different classifications, and a shop can combine arrangements for different product groups.
What is the meaning of “retail display”?
A retail display is an arrangement used to present merchandise, including the fixtures, products and surrounding visual elements. Examples include a window presentation, a shelving display or an end display beside an aisle.
How do you plan a small retail store?
A small store plan starts with measured space, the product range and the trips customers and staff need to make. A free-flow or boutique arrangement can suit a compact shop, but its fixture footprints, storage and payment queue still need to fit the drawing.