
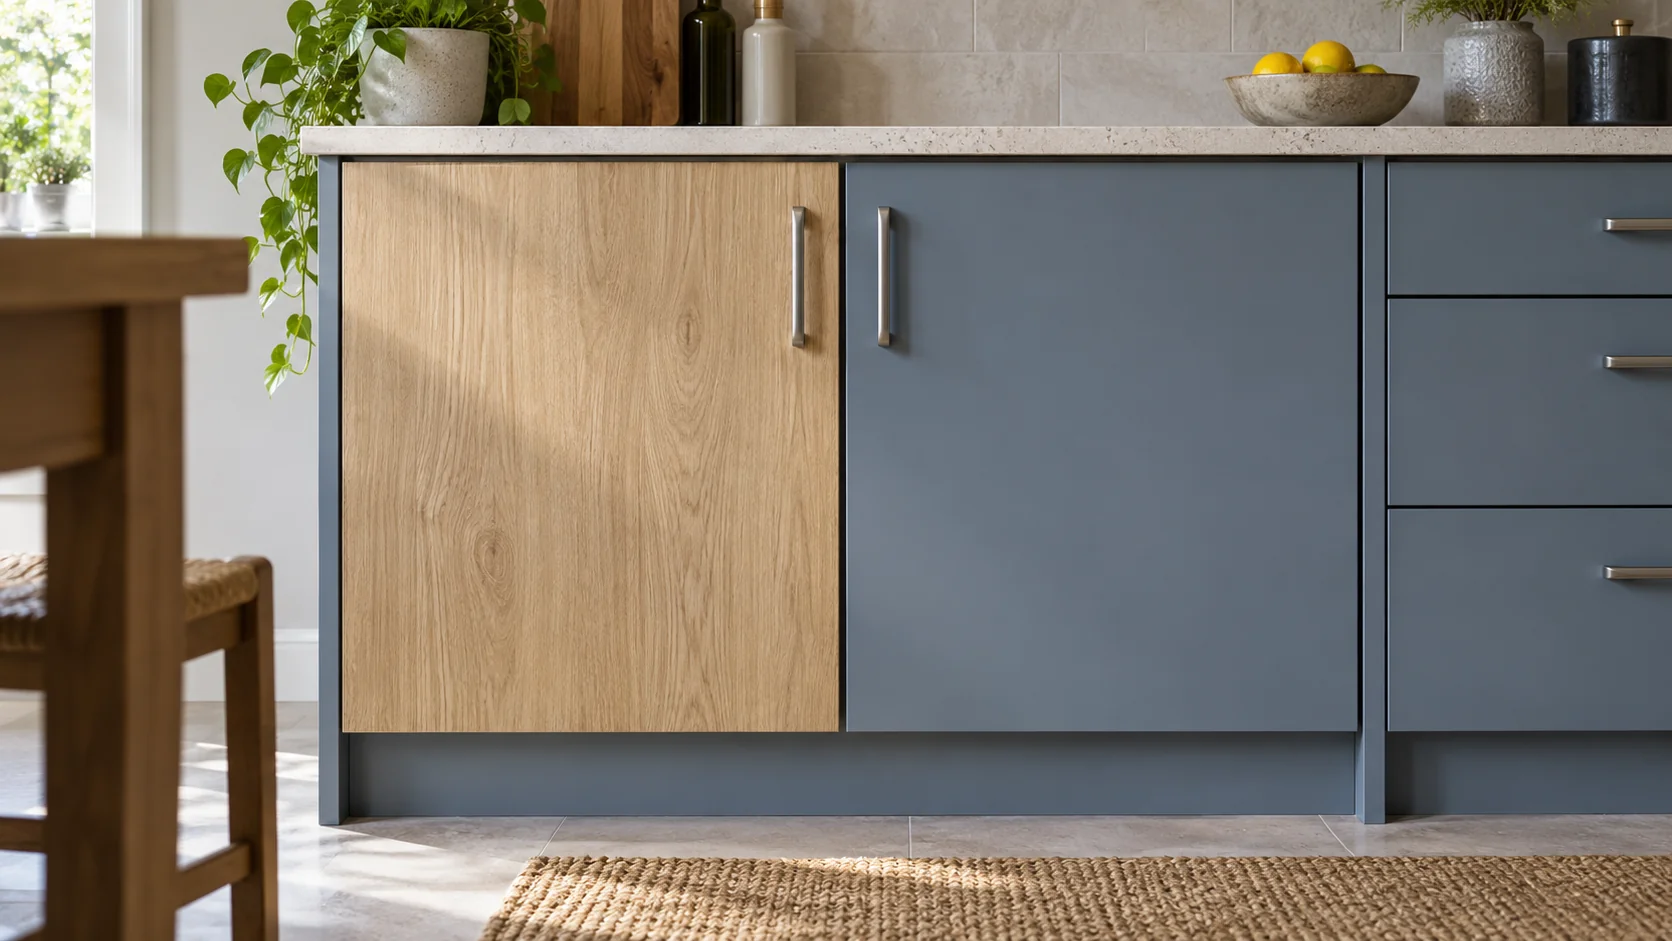
Wrap flat, sound doors when you want a new pattern quickly; paint detailed wood doors or when you want one exact color. Cabinet wrapping covers the existing doors with a pressure-sensitive decorative film, while painting builds a new coating after cleaning and priming. Installers quote one to three days for some wrap projects, and paint takes longer because every coat has to dry.
Both keep your existing doors, so check them first: look under the sink, beside the oven and along the bottom edges. A swollen core or a loose face has to be fixed or replaced before either finish will last.
What Is the Difference Between Wrapping and Painting Cabinets?
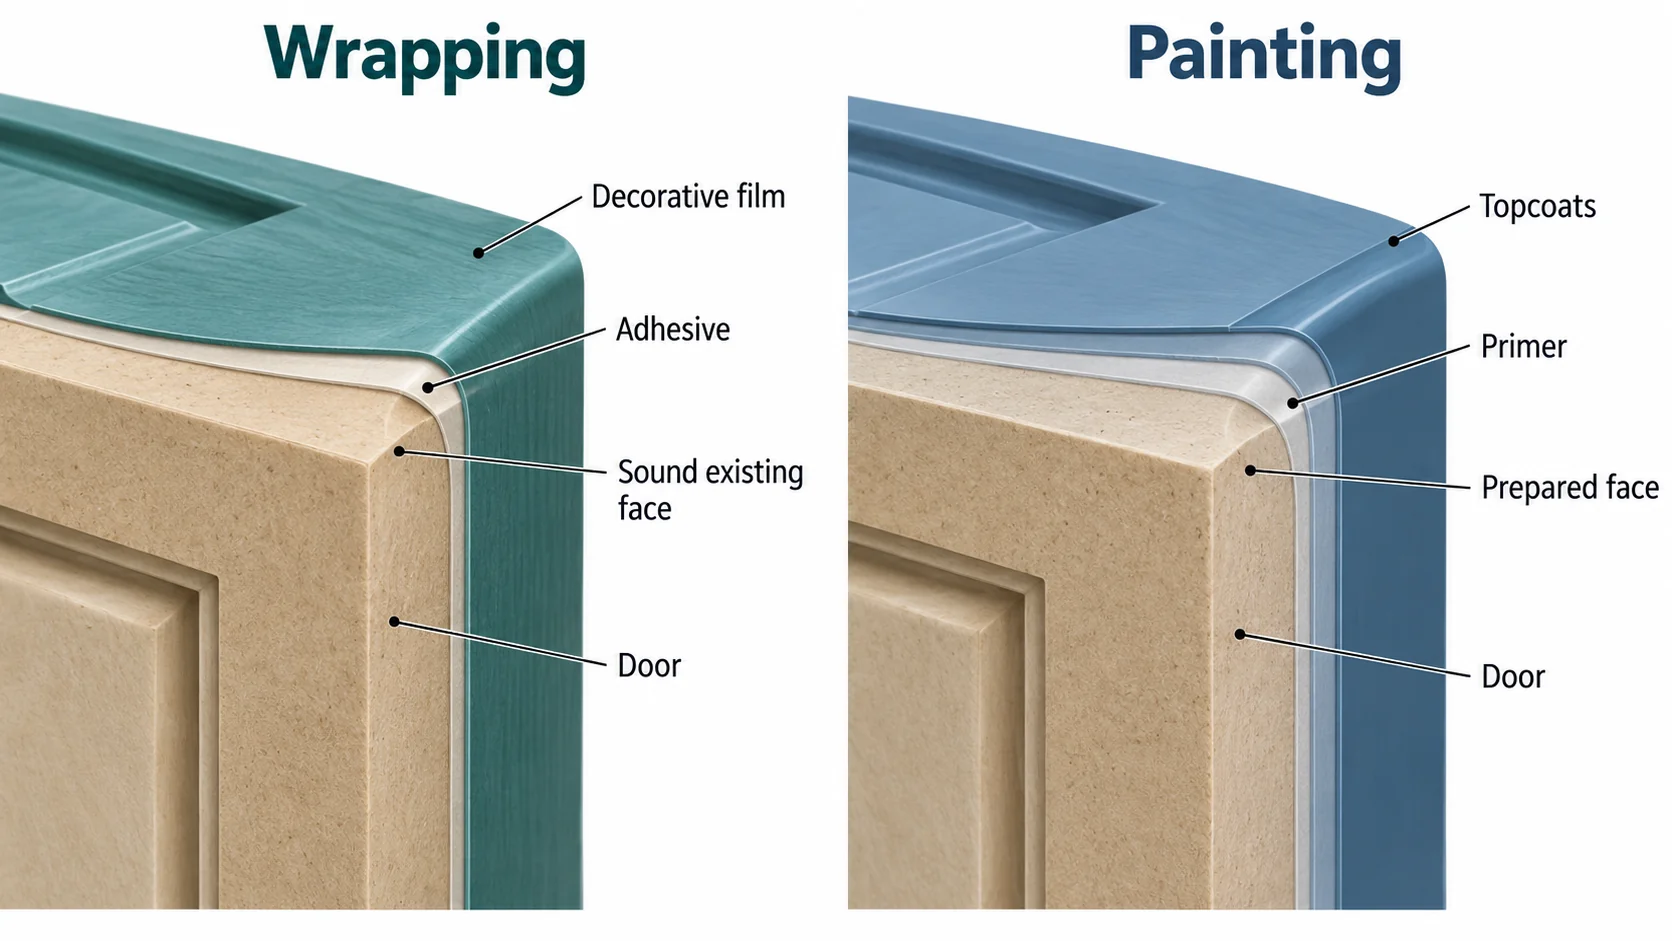
Wrapping sticks a separate decorative sheet onto the door; painting builds a coating on the door’s own surface. If your kitchen mixes flat laminate fronts with carved wood doors, the easier method may differ from door to door.
| Decision | Wrapping | Painting |
|---|---|---|
| New surface | Decorative film with a pressure-sensitive adhesive | Primer and a compatible paint system |
| Preparation | Remove grease; make the existing face smooth and firmly bonded | Remove grease; prepare the face and check primer adhesion |
| Appearance | Printed wood grain, solid color or another available film finish | A selected paint color and sheen |
| Door shape | Flat fronts are simpler to cover; corners need careful finishing | Brushes or spray can reach detailed profiles |
| A damaged spot | An installer may replace the film on that front | A local touch-up is possible, although sheen or color may differ |
| Future change | Remove or replace the film using its supplier’s procedure | Prepare the coating and repaint |
| Near cooking appliances | Verify the selected film’s heat limits and appliance clearances | Verify the selected coating’s limits and clearances |
| Cost and time | Faster on site; often priced per front | Slower because each coat must dry; quoted for the whole job |
A pressure-sensitive adhesive is tacky when dry and bonds with light pressure. It does not need water, solvent or heat to activate. An installer may use heat to shape a wrapping film around an edge; that shaping step differs from activating the glue.
Paint has to suit the old finish: glossy laminate and bare wood need different preparation. The comparison of kitchen cabinet finishes shows how paint, laminate and thermofoil faces differ.
For the wider choice of cabinet cores and door faces, compare kitchen cabinet materials.
Which Cabinets Can Be Wrapped, and Which Should Be Painted?
Wrap flat, smooth doors whose face is still firmly attached; paint doors with deep details and carved wood. Neither fixes a water-damaged door.
The installer Kitchen Wrap Direct says an already painted door can be wrapped when its paint remains sound. The same installer favors paint for deeply detailed doors. Ask to see how the film handles a real corner, routed groove and hinge side before you sign.
Open every cabinet before accepting a quote. Look for bubbling under the existing face, paint flakes, soft edges and changes in thickness near the sink. A film stuck to loose paint is attached to that loose paint, not to a reliable door surface. If the old face is separating, use the checks in our guide to peeling thermofoil cabinets before covering it.
A raised edge under the sink deserves particular attention. MDF’s response to water explains why a swollen core may require a new door even when the front still looks presentable. Covering the stain would leave the damaged core in place.
Also distinguish an on-site adhesive wrap from a factory-made thermofoil cabinet door. The two can look similar, but their manufacturing and bonding methods differ. A quote for wrapping your old doors does not automatically recreate their original factory finish.
Which Costs Less, Wrapping or Painting Cabinets?
Neither is always cheaper. Published examples put professional painting in a lower range than a local wrap example, but they measure different jobs, so compare quotes for the same doors, frames and prep.
| Published example | Price reported | Scope and date |
|---|---|---|
| Professional cabinet painting | $425–$1,466; average $942 | Angi national project data, updated September 8, 2026 |
| Professional cabinet wrapping | About $1,500–$2,500 | Houston Kitchen Wraps local typical-kitchen example, updated July 2026 |
| Wrapping priced by front | About $49 per door or drawer front | The same Houston installer example |
| DIY wrap materials | About $100–$500 | The same local guide’s material estimate |
The painting cost guide is a national survey of completed projects; the Houston wrapping guide describes one local market. Subtracting one from the other would give a savings figure neither source supports.
List every door and drawer front, then separately list exposed end panels, tall panels, frames and toe kicks. A price per front may leave those surfaces out. Ask whether handle removal, hinge adjustment, damaged-face repair, disposal and return visits are included. For painting, clarify whether the quote covers brush, roller or spray application and where the doors will dry.
DIY shifts the math. Film cost leaves out the hours spent practicing corners and redoing mistakes; paint cost leaves out cleaning, sanding, masking and waiting. If it is your first time, budget for a spare roll or an extra quart.
How Long Does Each Project Take?
Wrapping is usually quicker, because paint needs drying time between every coat. Plan around the days you need the kitchen, not just the day the crew arrives.
The Houston guide gives a professional wrapping example of one to three days. Its beginner DIY estimate runs from a weekend to a week of evenings. Front count, deep profiles and extensive frame wrapping can change the amount of work. Confirm which cabinets will remain accessible and where food and utensils should be stored during the job.
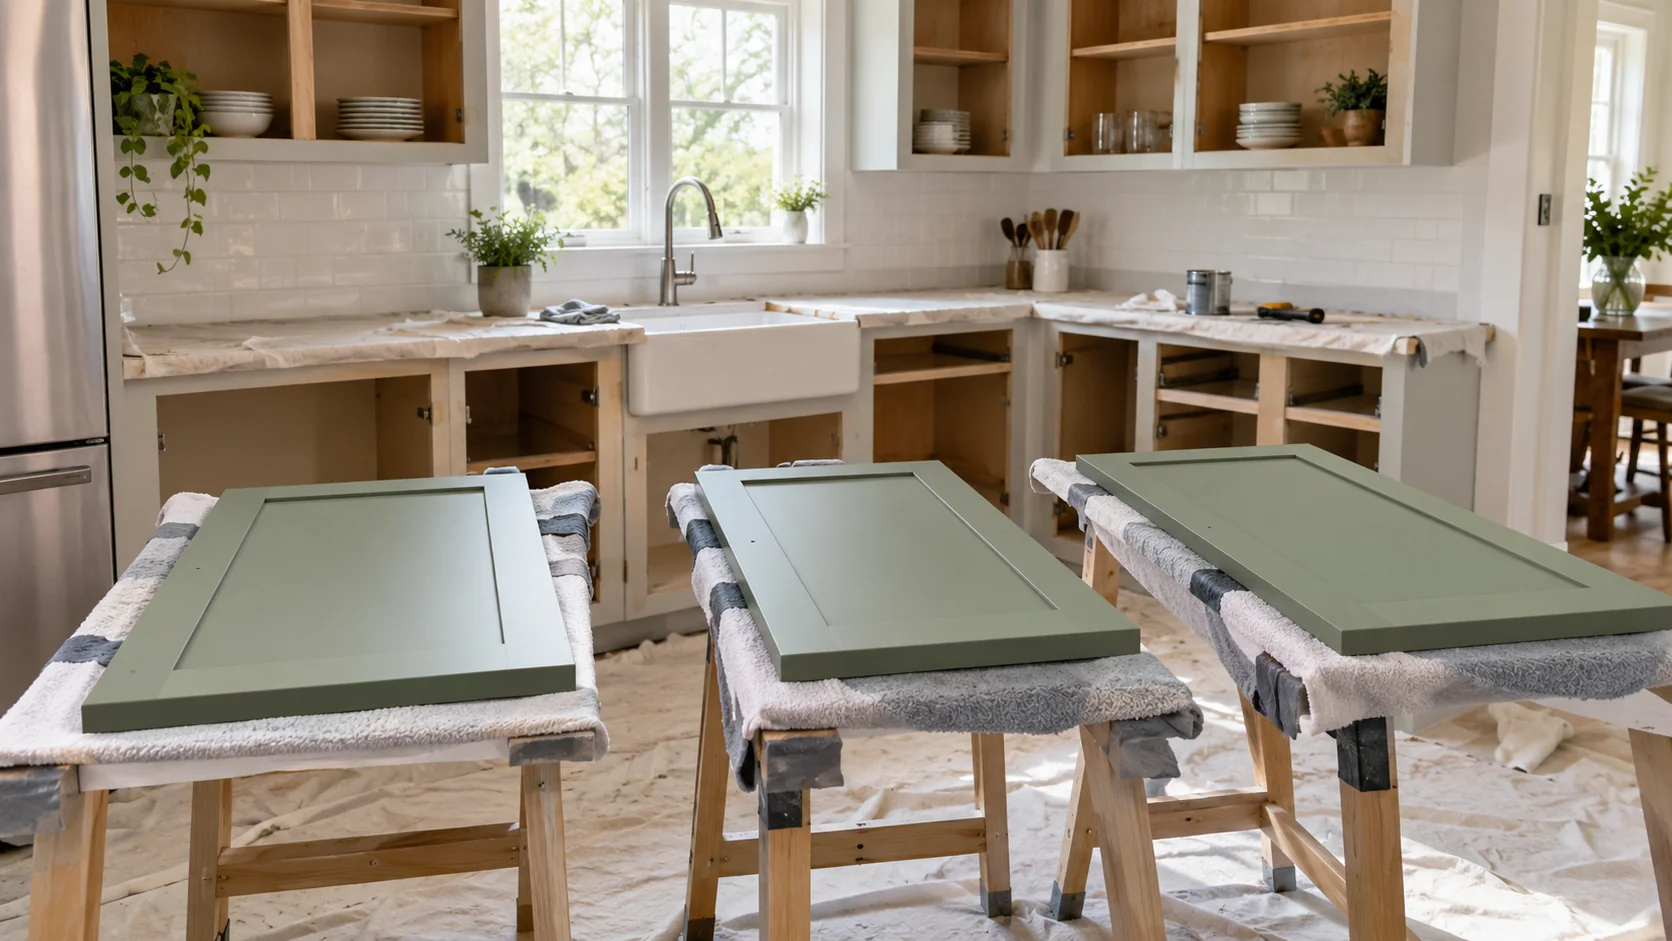
Sherwin-Williams’ cabinet-painting guide labels the project “3+ Days.” Its example allows at least 24 hours for primer to dry and 24–48 hours between paint coats. It also calls for removing doors and hardware, cleaning, checking primer adhesion and applying two paint coats.
Your own primer and paint labels set the real recoat and cure times. Paint that feels dry can still mark when you rehang a handle or scrub a splash in the first days.
Ask for separate dates for starting work, rehanging doors and resuming normal cleaning. A promise to finish on Friday is incomplete if the kitchen must stay lightly used afterward. Choose your matte or gloss cabinet appearance before ordering material so a late change does not disrupt the schedule.
Which Holds Up Better in a Busy Kitchen?
Neither wins outright: wrap tends to fail at edges and near heat, paint at chipped edges and handles. No independent lifespan figure exists for either, whatever installer pages promise.
The installer Armor Kitchen Wrap lists lifting film edges and heat damage near ovens among wrap problems. It also lists chipping at painted edges. Another installer describes wraps more favorably near cooking areas. That disagreement makes the selected material’s heat instructions more useful than a general claim that one finish always wins.
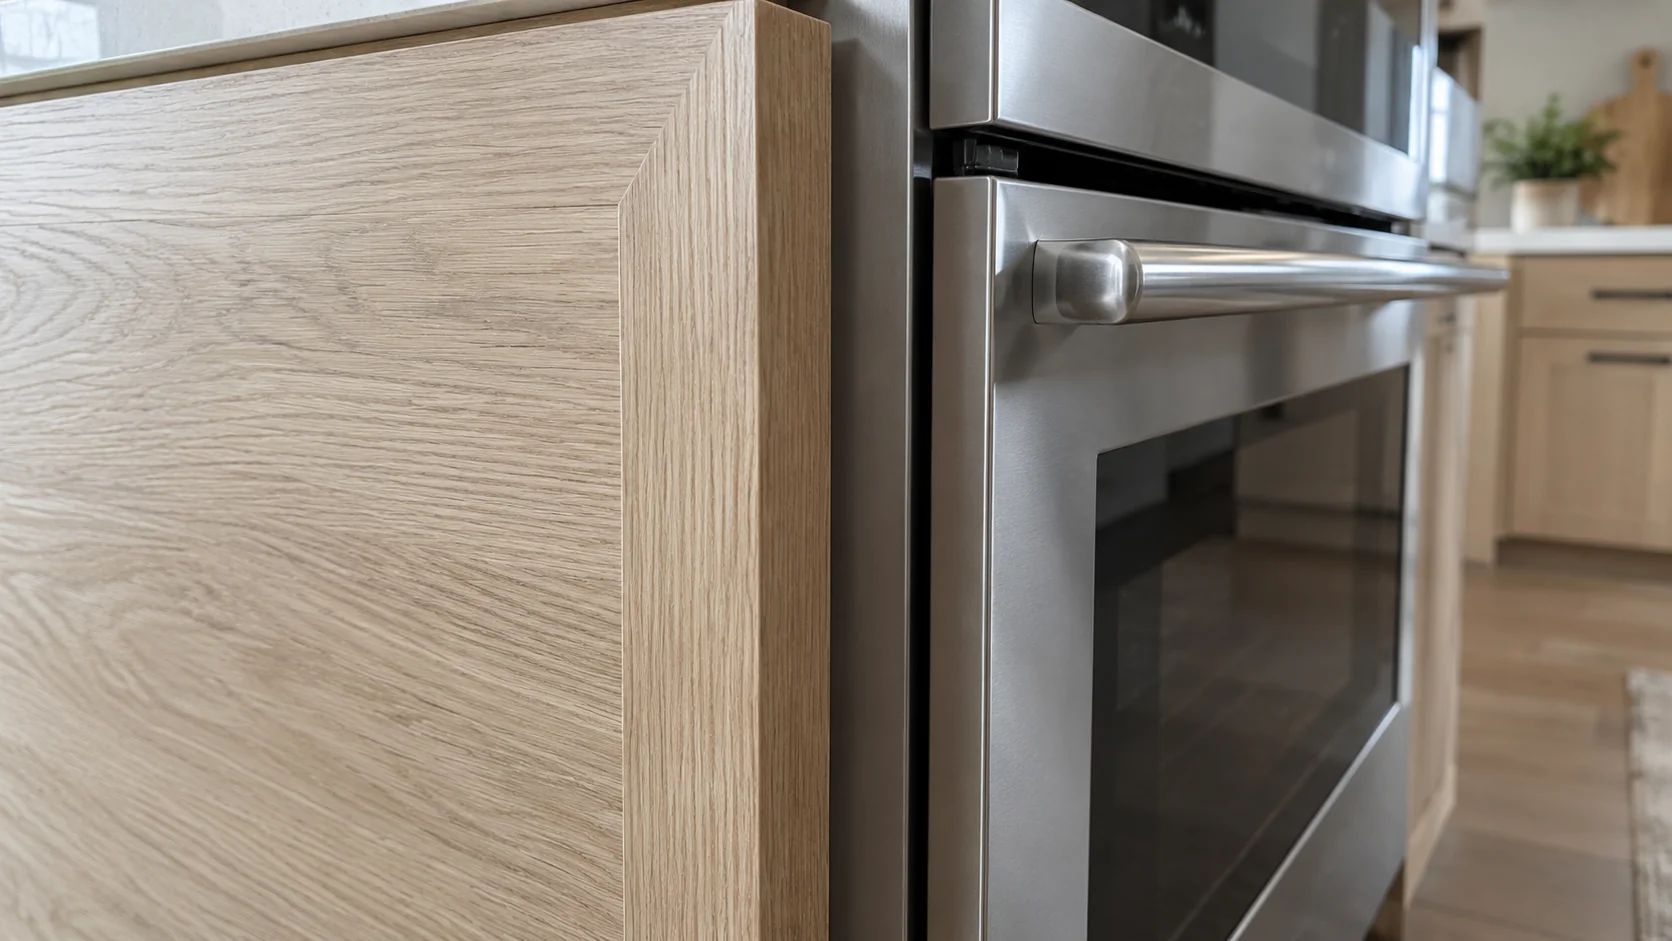
For the two doors beside an oven, provide the installer with the appliance model and its required clearances. Ask whether the film is suitable at that location and what edge treatment the installation requires. Painting also needs a coating suitable for the location; it does not cancel an appliance’s clearance requirements.
At the handle, consider repeated fingernail contact, rings and the way the door meets its neighbor. A flat sample viewed across a showroom proves little about a frequently touched edge. Ask to see a completed corner and a handle hole in the proposed finish.
Cleaning adds another source of wear. Use the actual finish supplier’s care directions instead of assuming that the old cabinet cleaner is suitable. Our cabinet cleaning guide distinguishes several existing finishes; a replacement film or fresh paint needs its own confirmed cleaning instructions.
Can You Remove a Wrap or Paint Over It Later?
Usually you can peel a wrap off later, but how cleanly it comes off depends on the adhesive and the finish underneath; painting over it needs a paint system approved for that film.
Installers warm the film to lift it and can re-cover a single damaged front. In a rental, ask for the removal method before installation: weak old paint can come away with the adhesive, and leftover glue needs cleaning off.
Painting over film introduces another interface. First establish that the film is firmly bonded and that the paint supplier approves that substrate. Then use its preparation and primer instructions and check adhesion on a small area before coating the kitchen. The primer test in the cabinet-painting guide is a useful checkpoint, but it does not approve every wrapping film for paint.
If the film has lifted or the core has swollen, resolve that failure before adding a coating. A new layer would inherit the loose layer underneath. Our guide to painting laminate cabinets covers preparation for sound laminate; it should not be read as permission to paint any flexible wrap.
Where Does a Factory-Laminated Film Fit?
A factory-laminated replacement door is a separate option when the old door is damaged; compare refacing and replacement before choosing another surface treatment.
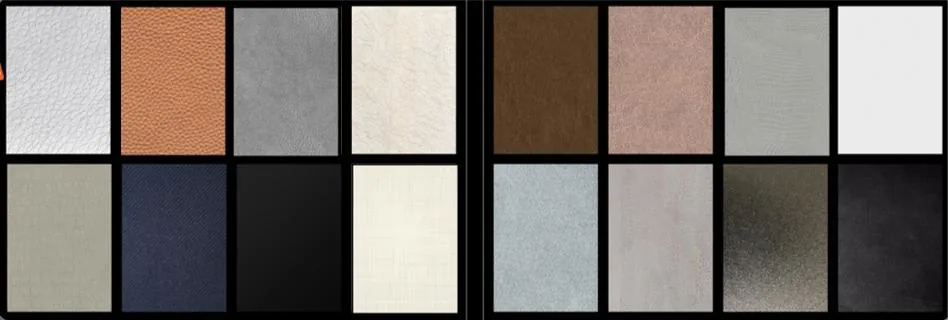
Puremorfilm furniture decorative film uses a silicone functional surface and PUR flat lamination. Standard supply has no back adhesive; back adhesive can be added on request. Current use is flat lamination, excluding profile wrapping and thermoforming. The silicone surface is inherently flame-retardant; higher grades up to UL 94 V-0 are available on request. In the manufacturer’s laboratory tests, coffee, red wine and soy sauce left at 25°C for 24 hours showed no obvious change after wiping. The composition claim is No DOP. Supply is mainly rolls, with laminated panels available. This paint-free silicone face differs from PVC, melamine, PP and PETG decorative faces; these film claims do not rate a complete cabinet.
Should You Wrap or Paint Your Cabinets?
Choose the method your sound doors can support, then compare quotes for the finish and disruption you can accept. Replace damaged doors before spending money on their appearance.
| Your situation | Choice to investigate first |
|---|---|
| Flat, firmly bonded doors; you want a printed wood grain | A suitable wrapping film and an installer who can show finished edges |
| Detailed wood fronts; you want a particular paint color | A compatible cabinet-paint system |
| Limited time without the kitchen | A written wrap installation schedule compared with the paint drying schedule |
| Doors immediately beside a cooking appliance | Material-specific heat suitability and appliance clearances before either choice |
| Swollen core, loose face or peeling coating | Repair assessment or replacement doors |
| Lowest DIY spending is the priority | Two itemized material lists, plus your preparation and practice time |
For cabinet and door manufacturers considering new laminated fronts, contact us with door dimensions, quantity and the decorative finish you want to discuss.
Frequently Asked Questions
Is wrapping cabinets worth it?
Yes, when the doors are flat and sound and you want a new decorative pattern with a manageable installation schedule. Damaged cores and loose faces need repair or replacement first.
What are the downsides of vinyl wrap?
Vulnerable edges, material-specific heat limits and variable installation quality are the main drawbacks. Film also cannot provide a reliable face over a loose underlying finish.
What’s better, painting or wrapping?
Wrapping suits flat, sound fronts and a printed pattern; painting suits detailed wood doors and a particular paint color. Door condition and the material’s suitability near appliances should decide the final choice.
How much does it cost to wrap cabinets?
A Houston installer gives a local professional example of about $1,500–$2,500 for a typical kitchen. Ask for a quote covering your front count, exposed frames and preparation rather than treating that example as a national price.
Can you paint wrapped cabinets?
Yes, if the film is firmly bonded and the chosen paint system is approved for that film, with preparation and adhesion testing completed first. Lifted film should be addressed before adding paint.